Deploy Komodor on AKS via the Flux Cluster Extension using Pulumi
All GitOps Style
Cloud Native Pilgrim | Kubernetes Enthusiast | Serverless Believer | Customer Experience Architect @ Pulumi | (he/him) | CK{A,AD} |
TL;DR Le code
Introduction
To celebrate the launch of the Free Tier of Komodor, I have created a sample Pulumi project that deploys Komodor on AKS via Flux. Full GitOps style. Flux itself will be activated on the AKS cluster via the cluster extension feature.
After the initial setup of our cluster, Flux will take care of the rest. It will deploy the Komodor Helm chart for us.
Prerequisites
You need following prerequisites if you're going to follow this demo in this blog article
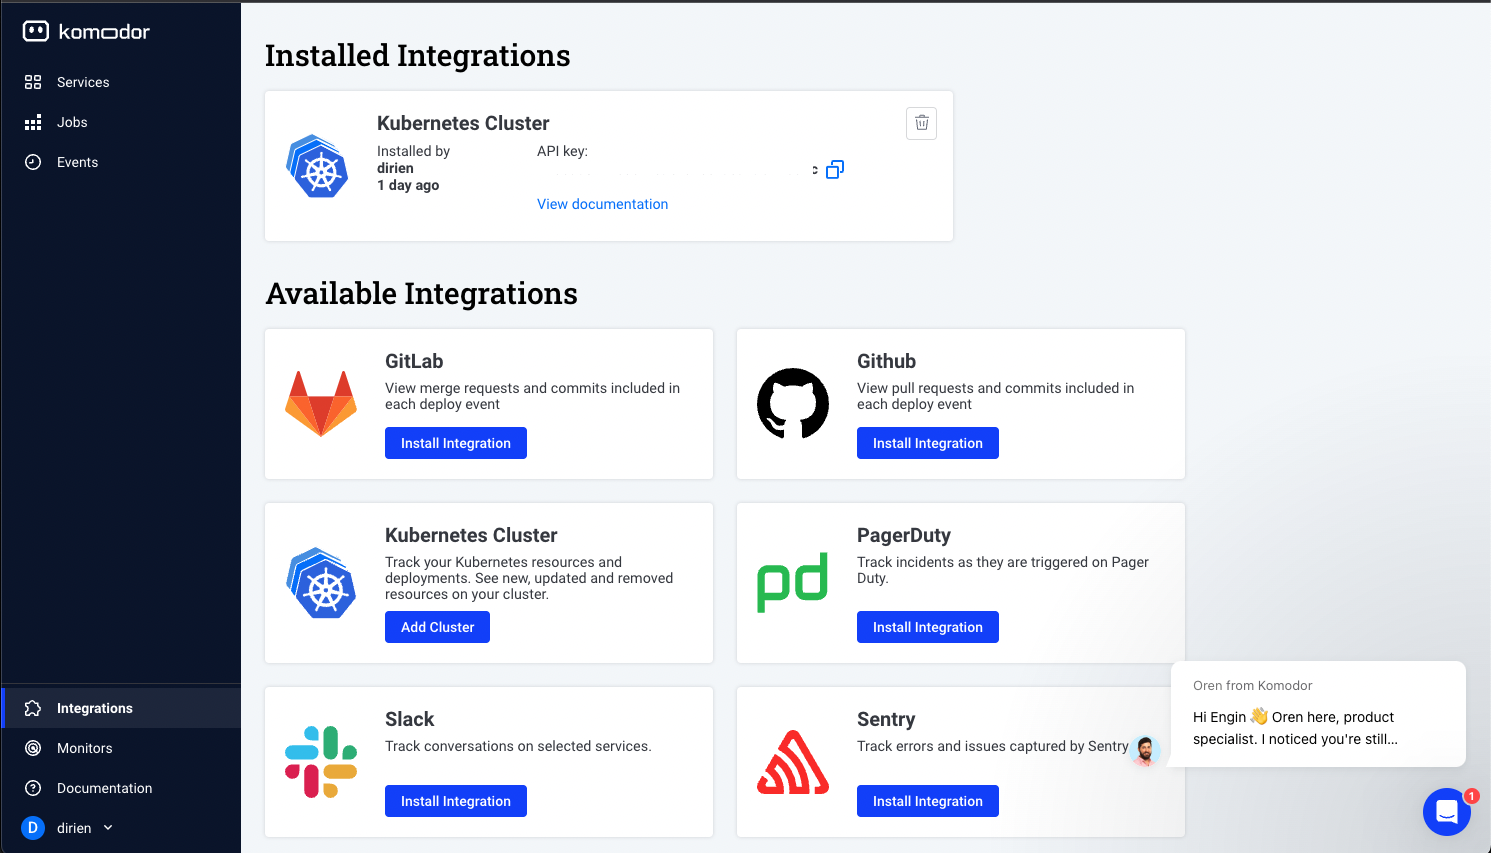
Komodor Account (it's free!)
What are Azure Cluster Extensions?
Azure Cluster Extensions are a feature in Azure Kubernetes Service (AKS) that allows you to easily add and remove different Azure capabilities to your AKS cluster. The cluster extension feature itself builds on top of the packaging components of Helm.
Cluster operator can use the cluster extension feature to:
Install and manage key management, data, and application offerings on your Kubernetes cluster.
Use Azure Policy to automate at-scale deployment of cluster extensions across all clusters in your environment.
Subscribe to release trains (for example, preview or stable) for each extension.
Set up auto-upgrade for extensions or pin to a specific version and manually upgrade versions.
Update extension properties or delete extension instances.
An extension can be cluster-scoped or namespace-scoped. You can define the scope of the extension when you create it.
You can find a list of available extensions here.
We will use the Flux extension in this demo.
What is Komodor?
Komodor is a troubleshooting platform for Kubernetes. It will give you the context to troubleshoot any issue by tracking changes and events across your cluster.
To collect all the data, Komodor uses a Kubernetes Operator that will be deployed on your cluster. Don't worry, Komodor needs only read-only access to your cluster. After the installation of Komodor, you will be able to see:
All the changes that happened in your cluster
The resources that were created, updated or deleted
What caused the changes
The timeline of the changes
Health status of the different resources
The logs of the resources
If you want to learn more about Komodor, you can check out this great article from Anaïs Urlichs:
Or watch the Youtube tutorial:
And there is also the official documentation on the Komodor website
The Pulumi Project
I wrote several different blog post about Pulumi in great detail. Like this one here:
If you want to learn more about Pulumi, switch over to this article of me or the official documentation.
In this project, I want to use YAML to create my Pulumi project.
Create a new directory and initialize a new Pulumi project with the following commands:
mkdir pulumi-azure-fluxcd-komodor
cd pulumi-azure-fluxcd-komodor
pulumi new azure-yaml --force
You can leave the default values for the project name and the stack name by pressing Enter.
This command will walk you through creating a new Pulumi project.

Enter a value or leave blank to accept the (default), and press <ENTER>.
Press ^C at any time to quit.

project name: (pulumi-azure-fluxcd-komodor)
project description: (A minimal Azure Native Pulumi YAML program)
Created project 'pulumi-azure-fluxcd-komodor'

Please enter your desired stack name.
To create a stack in an organization, use the format <org-name>/<stack-name> (e.g. `acmecorp/dev`).
stack name: (dev)
Created stack 'dev'

azure-native:location: The Azure location to use: (WestUS2) WestEurope
Saved config

Your new project is ready to go! ✨

To perform an initial deployment, run `pulumi up`
Now we are good to go!
Now we need to register in Azure the Microsoft.Kubernetes and Microsoft.KubernetesConfiguration providers. This will be done with the following commands:
az provider register --namespace Microsoft.Kubernetes
az provider register --namespace Microsoft.ContainerService
az provider register --namespace Microsoft.KubernetesConfiguration
The registration of the providers can take a while. You can check the status of the registration with the following command:
az provider show -n Microsoft.KubernetesConfiguration -o table
Namespace                          RegistrationPolicy    RegistrationState
---------------------------------  --------------------  -------------------
Microsoft.KubernetesConfiguration  RegistrationRequired  Registered
After the registration is done, we can start to write our Pulumi project.
The first two resources we will create are the ResourceGroup and the ManagedCluster. I kept it simple for the sake of this example. In a real-world scenario, you would want to use a more complex setup depending on your needs and company standards.
resources:
  komodor-rg:
    type: azure-native:resources:ResourceGroup
    properties:
      location: ${location}
      resourceGroupName: ${name}
  komodor-mc:
    type: azure-native:containerservice/v20220301:ManagedCluster
    properties:
      kubernetesVersion: 1.25.2
      location: ${komodor-rg.location}
      resourceGroupName: ${komodor-rg.name}
      resourceName: komodor-mc
      nodeResourceGroup: komodor-mc-nodepool
      dnsPrefix: ${komodor-rg.name}
      networkProfile:
        networkPlugin: azure
        networkPolicy: calico
      servicePrincipalProfile:
      identity:
        type: SystemAssigned
      agentPoolProfiles:
        - name: agentpool
          count: 3
          vmSize: Standard_B2ms
          osType: Linux
          osDiskSizeGB: 30
          type: VirtualMachineScaleSets
          mode: System
The fun part starts now! We will now create the Flux extension and the Flux configuration. In the Extension resource we define the extension name, the scope of the extension, the cluster name and the resource group name. Additionally, I can configure the Extension using the configurationSettings property. In this example, I deactivate the notification, image-automation and image-reflector controllers of Flux.
After the Extension resource, we will create the FluxConfiguration resource. This resource will create the GitRepository and Kustomization resources in the cluster.
I will not go into detail about the configuration of Flux, but you will find more information in the official documentation
Important here is that I instructed Flux to use the git repository https://github.com/dirien/pulumi-azure-flux.git and the /clusters/azure directory as the source for the manifests.
  flux-extension:
    type: azure-native:kubernetesconfiguration/v20220301:Extension
    properties:
      clusterName: ${komodor-mc.name}
      clusterResourceName: managedClusters
      clusterRp: Microsoft.ContainerService
      extensionName: flux
      extensionType: microsoft.flux
      resourceGroupName: ${komodor-rg.name}
      configurationSettings:
        'helm-controller.enabled': 'true'
        'source-controller.enabled': 'true'
        'kustomize-controller.enabled': 'true'
        'notification-controller.enabled': 'false'
        'image-automation-controller.enabled': 'false'
        'image-reflector-controller.enabled': 'false'
      scope:
        cluster:
          releaseNamespace: flux-system
      autoUpgradeMinorVersion: true
      releaseTrain: Stable
  flux-configuration:
    type: azure-native:kubernetesconfiguration/v20221101:FluxConfiguration
    properties:
      clusterName: ${komodor-mc.name}
      clusterResourceName: managedClusters
      clusterRp: Microsoft.ContainerService
      fluxConfigurationName: flux-configuration
      resourceGroupName: ${komodor-rg.name}
      sourceKind: GitRepository
      namespace: flux-system
      gitRepository:
        url: https://github.com/dirien/pulumi-azure-flux.git
        repositoryRef:
          branch: main
      scope: cluster
      kustomizations:
        deploy:
          path: ./clusters/azure
          prune: true
The last part of the Pulumi project is due to the fact, that we have to provide an API key to the Komodor Helm chart. For this, I am going to use the Pulumi inbuilt secret management. Head over to your Komodor account and create a new API key.
Then run the following command to store the key in the Pulumi secret store:
pulumi config set apiKey <APIKEY> --secret
In our program, we will reference the secret with the following code:
config:
  apiKey:
    type: string
    secret: true
And create the Kubernetes Secret for it. Neat! For this, we need the kubeconfig of the cluster and use the pulumi-kubernetes provider to create the resources.
  k8s-provider:
    type: pulumi:providers:kubernetes
    properties:
      kubeconfig:
        fn::fromBase64: ${kubeconfig.kubeconfigs[0].value}
      enableServerSideApply: true
  komodor-namespace:
    type: kubernetes:core/v1:Namespace
    properties:
      metadata:
        name: ${name}
    options:
      provider: ${k8s-provider}
  komodor-apikey-secret:
    type: kubernetes:core/v1:Secret
    properties:
      metadata:
        name: ${name}-apikey
        namespace: ${komodor-namespace.metadata.name}
      stringData:
        apiKey: ${apiKey}
    options:
      provider: ${k8s-provider}
      dependsOn:
        - ${komodor-namespace}
The GitOps Repository
But why did we create a Secret in the cluster and how are we going to use it? The answer is the Komodor Helm chart. So let's take a look into the GitOps repository, we linked in the FluxConfiguration resource.
The repository is structured in the following way:
clusters
 azure
  infrastrucutre.yaml
infrastrucutre
 controllers
  omodor.yaml
  kustomization.yaml
In the clusters directory, we have a directory for each cluster we want to deploy. In this example, we only have one cluster on Azure. You could also have a directory for each environment, like dev, staging and prod.
The infrastrucutre.yaml file contains is a resource of kind Kustomization and references the kustomization.yaml in the infrastrucutre directory.
---
apiVersion: kustomize.toolkit.fluxcd.io/v1beta2
kind: Kustomization
metadata:
  name: infra-controllers
  namespace: flux-system
spec:
  interval: 1h
  retryInterval: 1m
  timeout: 5m
  sourceRef:
    kind: GitRepository
    name: flux-configuration
  path: ./infrastructure/controllers
  prune: true
  wait: true
You could add more files to the clusters directory, like a app.yaml to point to the apps directory if you want to install applications in the cluster.
The infrastructure/controllers directory contains the kustomization.yaml file, which only task is to bundle all the different controllers we want to install in the cluster. Reminder, this is not a FluxCD Kustomization, but the standard Kustomize kustomization.yaml which is normally used by the kustomize CLI if you would deploy the manifests with kubectl apply -k ....
apiVersion: kustomize.config.k8s.io/v1beta1
kind: Kustomization
resources:
  - komodor.yaml
The komodor.yaml file is the actual Komodor Helm chart. We create two resources here, a HelmRepository and a HelmRelease resource. The HelmRepository resource is used to reference the Helm chart repository and the HelmRelease resource is used to install the chart. And here we can use the value existingSecret to reference the name of the secret we created in the via the Pulumi program. In our case komodor-apikey
You can find all the available values in the Komodor Helm chart.
apiVersion: source.toolkit.fluxcd.io/v1beta2
kind: HelmRepository
metadata:
  name: komodorio
  namespace: flux-system
spec:
  interval: 24h
  url: https://helm-charts.komodor.io
---
apiVersion: helm.toolkit.fluxcd.io/v2beta1
kind: HelmRelease
metadata:
  name: komodor
  namespace: flux-system
spec:
  interval: 30m
  chart:
    spec:
      chart: k8s-watcher
      version: "1.3.3"
      sourceRef:
        kind: HelmRepository
        name: komodorio
        namespace: flux-system
      interval: 12h
  values:
    createNamespace: false
    existingSecret: komodor-apikey
    watcher:
      clusterName: azure
      allowReadingPodLogs: true
      enableAgentTaskExecution: true
      enableAgentTaskExecutionV2: true
      enableHelm: true
    helm:
      enableActions: true
Deploying the Infrastructure
Now that we have all the pieces in place, we can deploy the infrastructure. Run the following command to deploy the Pulumi program:
pulumi up
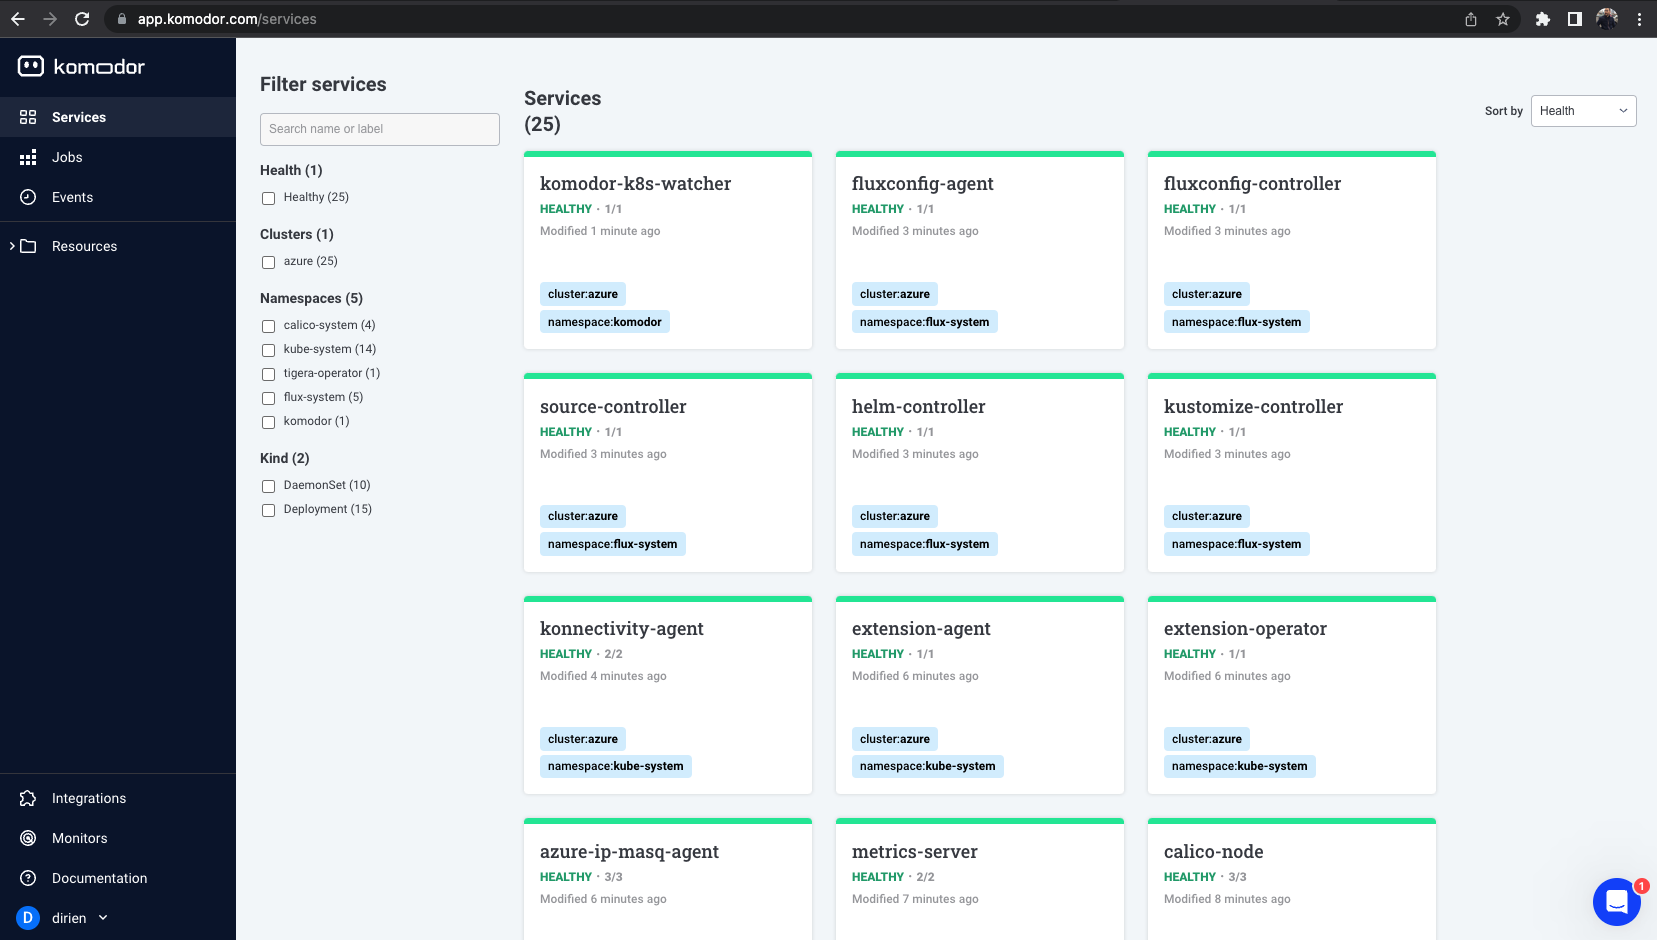
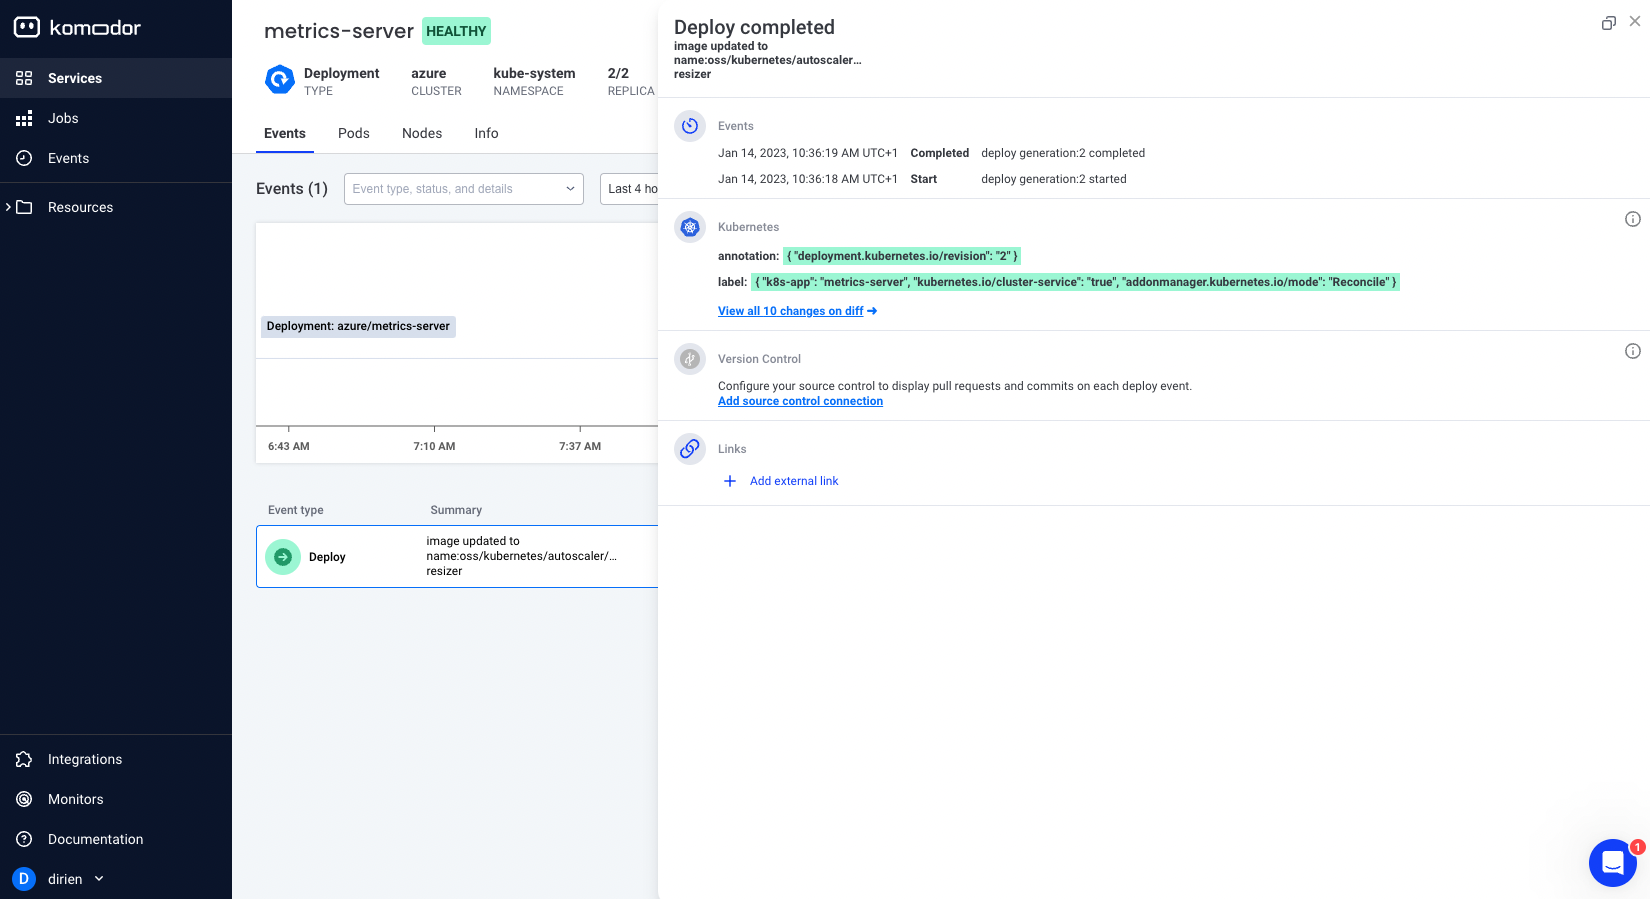
This can take a couple of minutes, but you should see your cluster appearing in the Komodor UI.
Troubleshooting
If you run into any issues, you can get the kubeconfig of the cluster with the following command:
pulumi stack output kubeconfig --show-secrets > kubeconfig.yaml
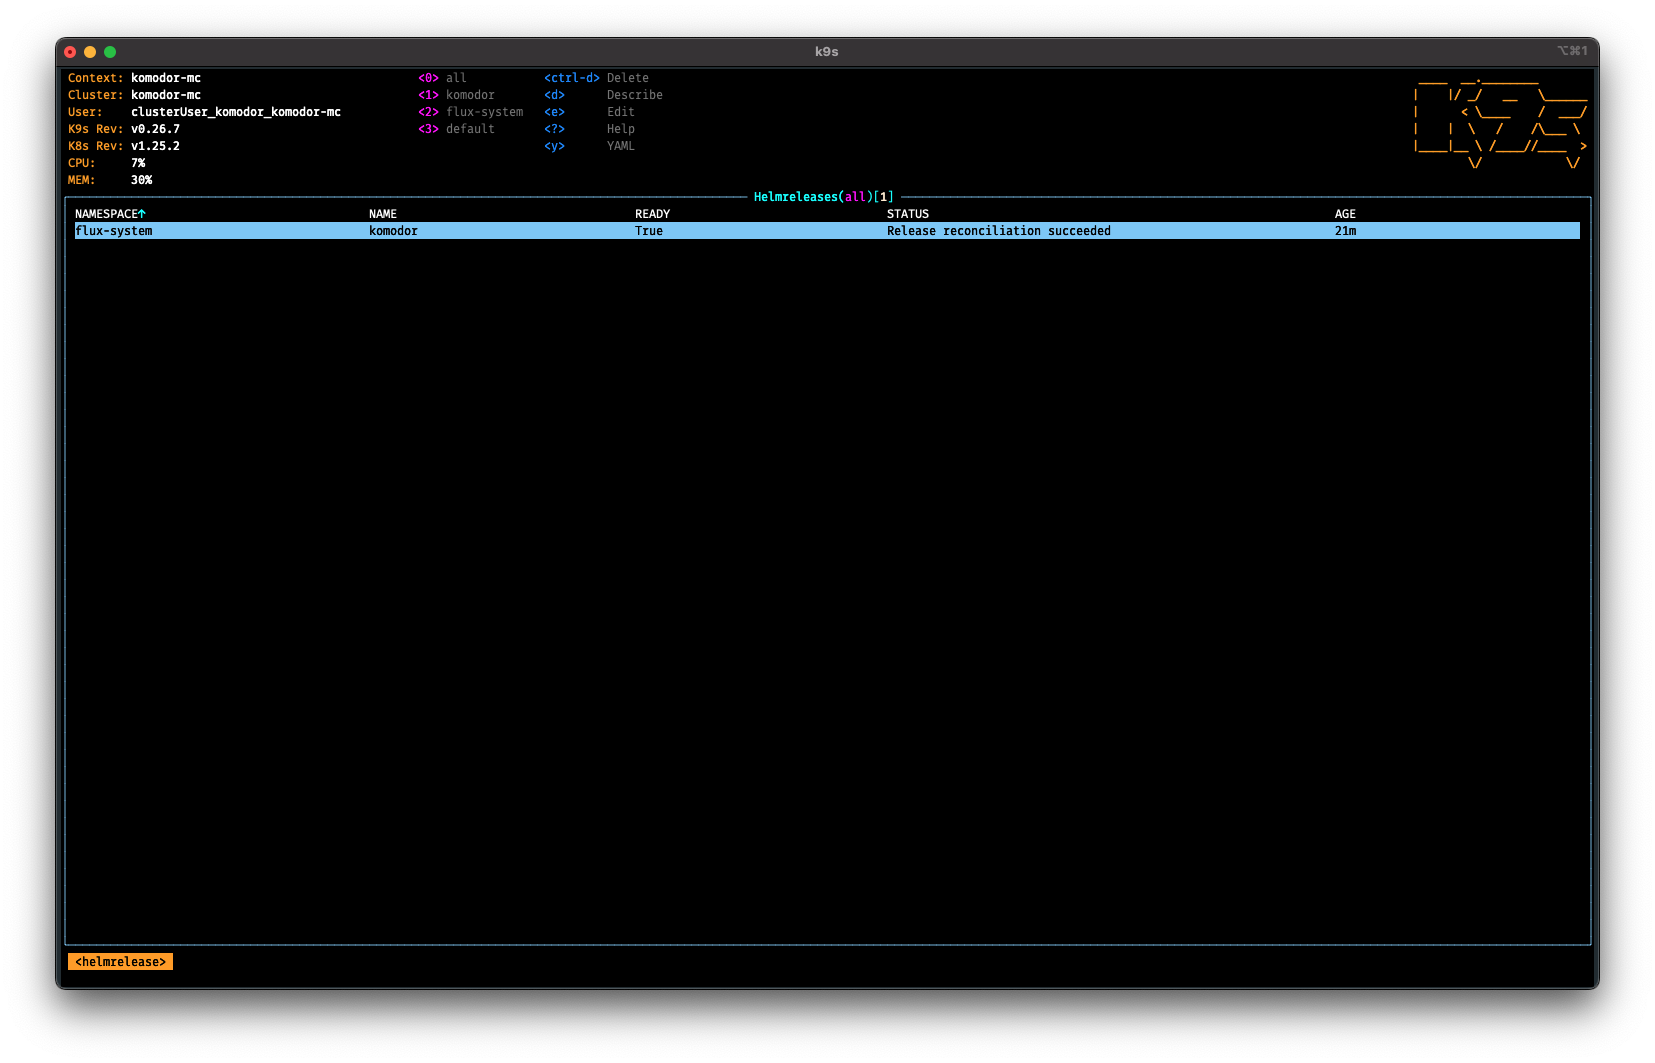
And then use the kubectl CLI or k9s to check the status of the resources.
To gain acces to the kubeconfig, I added the following code to the Pulumi program:
outputs:
  kubeconfig:
    fn::secret:
      fn::fromBase64: ${kubeconfig.kubeconfigs[0].value}
This will output the kubeconfig as a secret, so you can use it with the --show-secrets flag.
Housekeeping
To destroy the infrastructure, run the following command:
pulumi destroy
Conclusion
In this blog post, we have seen how to use Pulumi to create a Kubernetes cluster on Azure and install the Komodor via the FluxCD extension inside the cluster. We used Pulumi to handle the secrets for us so we don't have to store them in the GitOps repository and risk leaking them. In the end, we had a look at the GitOps repository where we defined the Komodor Helm chart.
Now have a look at the Komodor documentation to learn more about the Komodor features.


