Use Pulumi To Deploy Your Static Site to AWS Amplify
My hashnode hackathon entry

Cloud Native Pilgrim | Kubernetes Enthusiast | Serverless Believer | Customer Experience Architect @ Pulumi | (he/him) | CK{A,AD} |
TL;DR
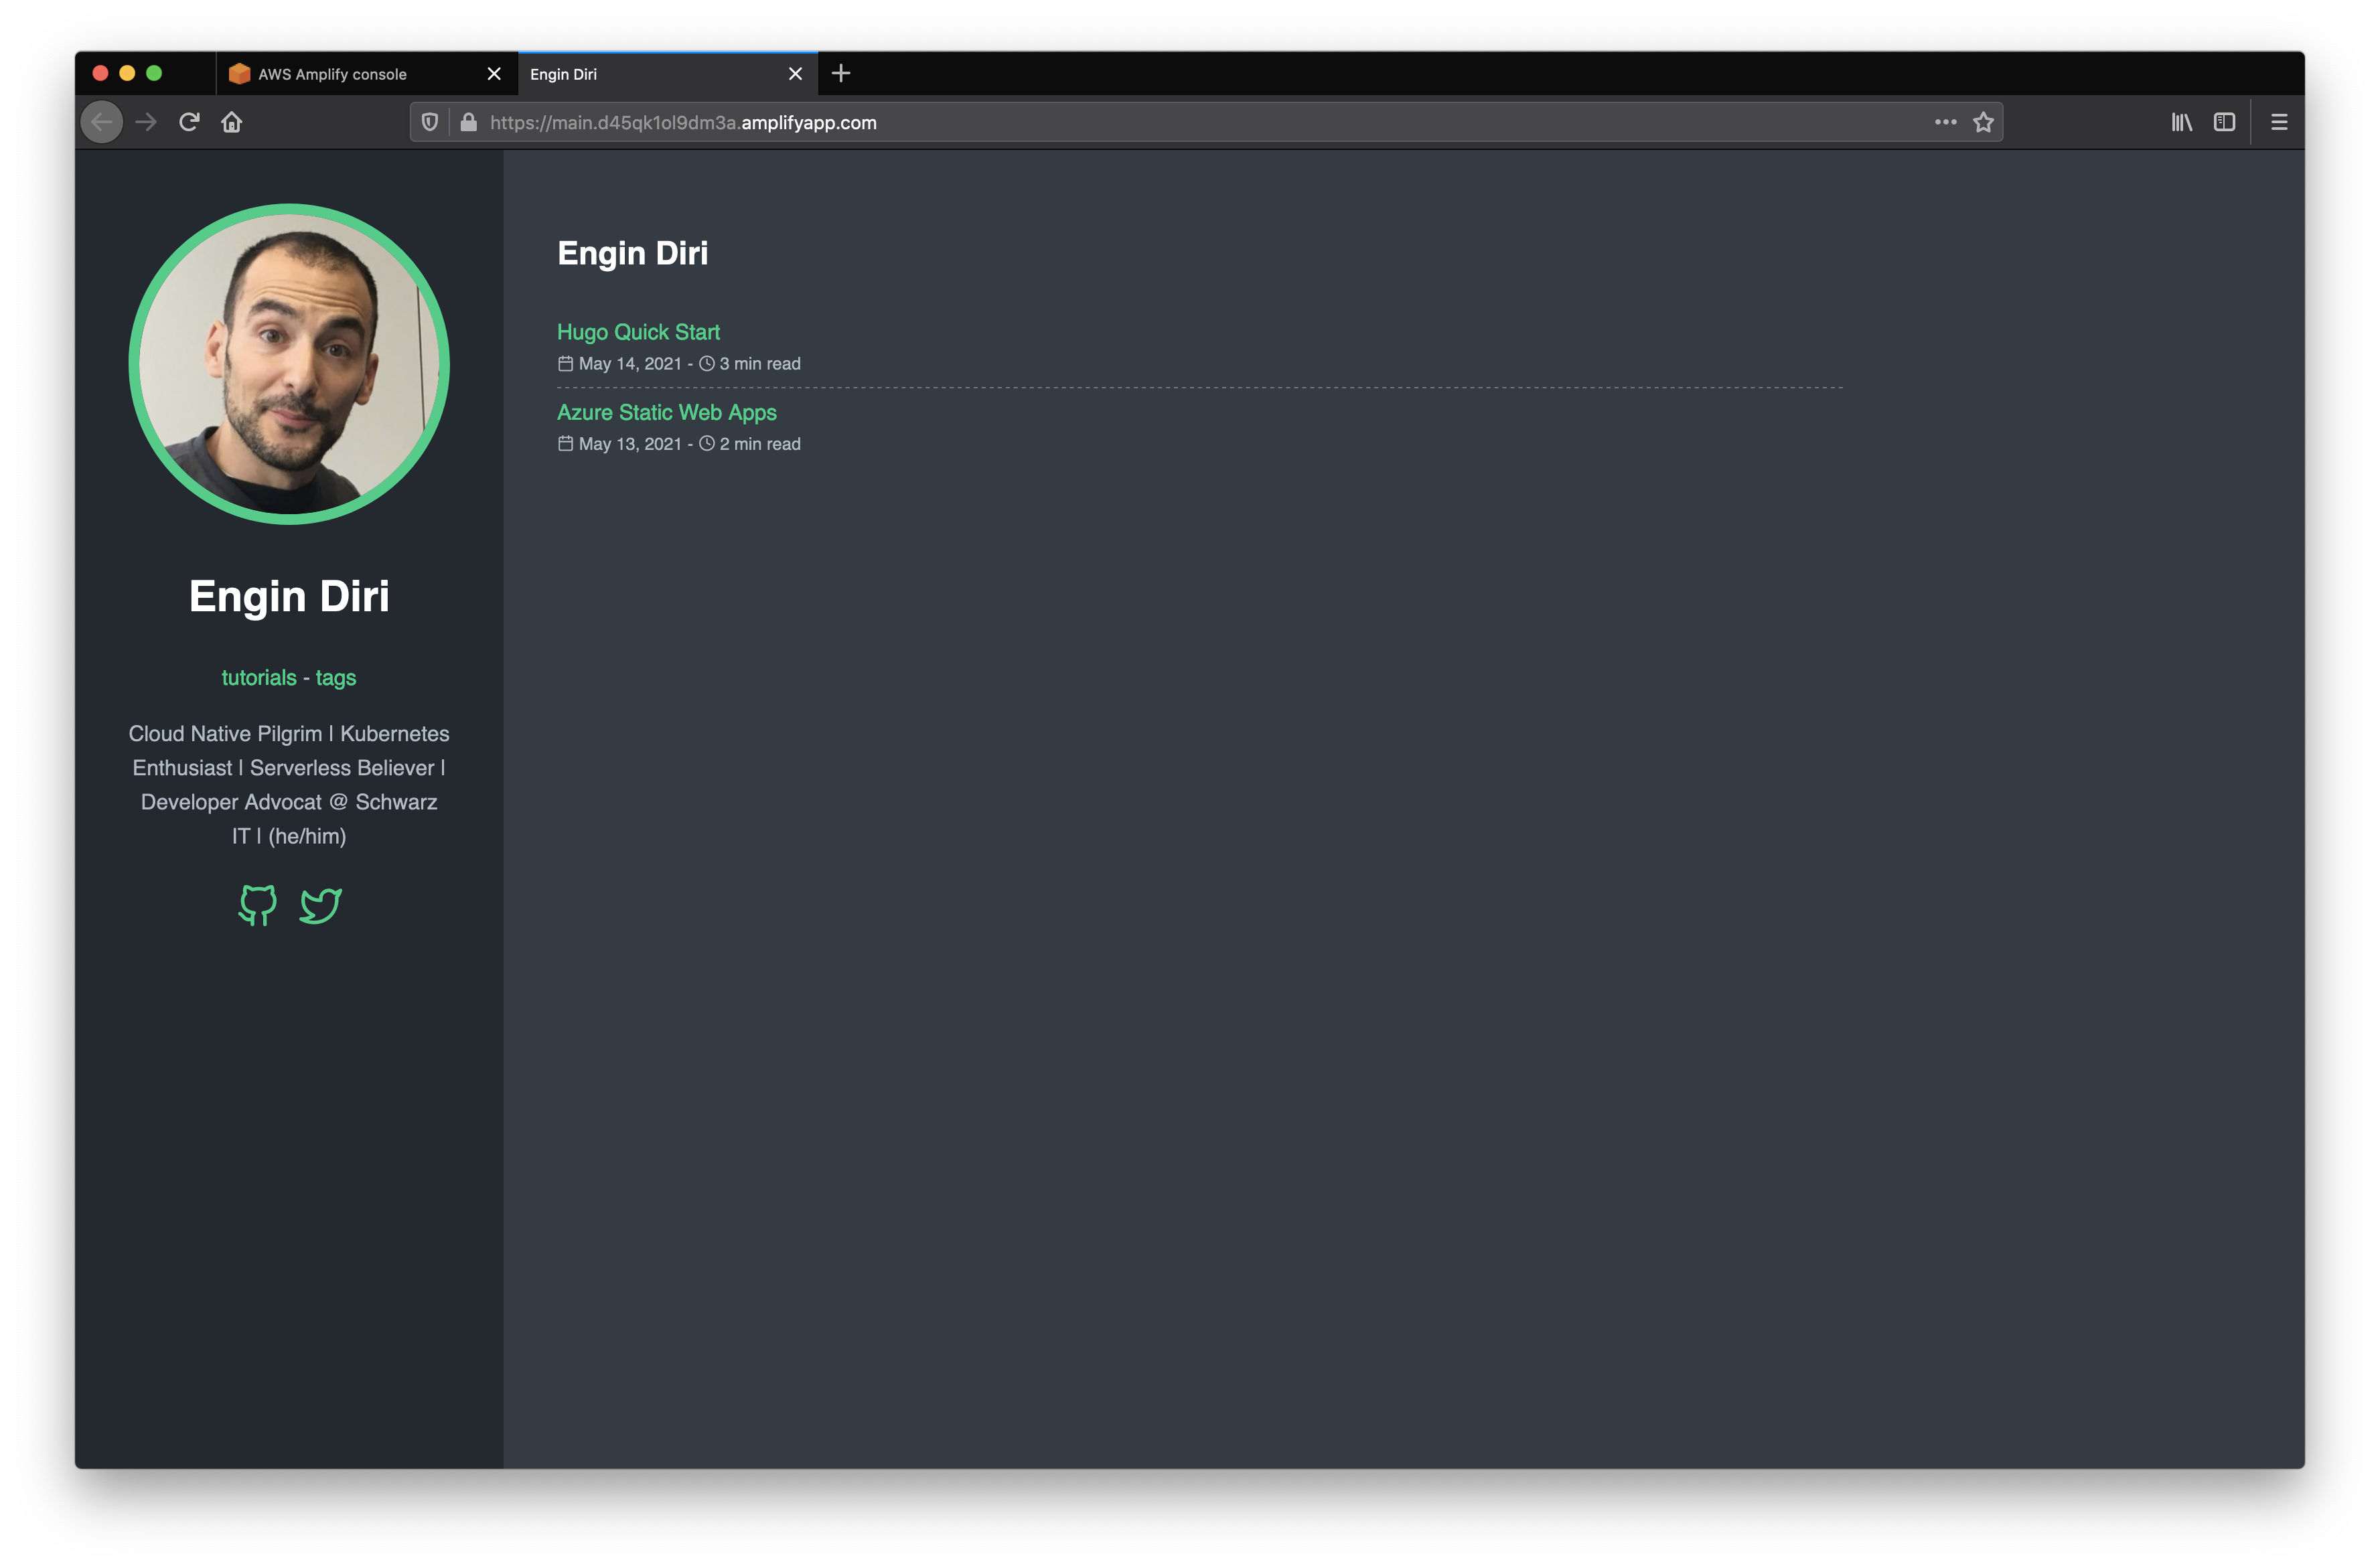
Deployed Static Site
https://main.d45qk1ol9dm3a.amplifyapp.com
Code
Introduction
This is my entry for the Hashnode & AWS Amplify Hackathon.
There is already some great content for the hackathon. So I hope my entry gives a different view on AWS Amplify.

The goal is to describe, how Platform engineers can leverage the power of Pulumi to build an opinionated service for hosting web apps on AWS Amplify. This company compliant service can then be used by developers in the organization in a self-service way to provision the infrastructure for their projects.
The provisioning could then be further integrated into internal developer platform like Backstage or similar.

Prerequisites
If you want to follow along with this article, you need have access to following items:
- Hugo CLI
- A free Pulumi Account (if using the SaaS backend) and the CLI
- AWS Account
- GitHub CLI, to create a PR.
The demo static site

To generate our static site I am going to use Hugo. I will not dive to deep into the creation of the site itself, as it is not really relevant for this post. Our focus is more on the deployment of the infrastructure.
My demo site is available on GitHub:
Under the hello-hugo folder. You can fork it from there and adapt it to your needs. Or just create your own site using the Hugo CLI. Here is the link to the quick start guide.
If you want to see the site in action, you can fork or clone the repo on your development machine and run the hugo server with the following commands:
cd hello-hugo
hugo server -D
This will start a local webserver on port 1313. You can now open your browser and navigate to http://localhost:1313/ to preview the site.
AWS Amplify GitHub App
To fully benefit of the GitHub integration of AWS Amplify, you need to install the AWS Amplify GitHub App.
Add the GitHub app by opening the browser with following URL https://github.com/apps/aws-amplify-<your-region> and connect to your repo you created earlier. Change the <your-region> part of the URL with your preferred AWS region.
Pulumi - Modern infrastructure As Code
Pulumi is an open-source infrastructure-as-code tool for creating, deploying and managing cloud infrastructure. Pulumi works with traditional infrastructures like VMs, networks, and databases and modern architectures, including containers, Kubernetes clusters, and serverless functions. Pulumi supports dozens of public, private, and hybrid cloud service providers.

Installing Pulumi
Before you can start to deploy AWS Amplify Apps, you need to install the Pulumi CLI. This can be done either on your local development machine or on your build agent. We cover the installation of the cli for some scenarios in the next section.
Pulumi stores metadata about your infrastructure so that it can manage your cloud resources and detected any changes between two deployments. This metadata is called state.
Pulumi stores its state in a backend of your choosing. There are two types of backends:
- Service: a managed cloud experience using the online or self-hosted Pulumi Service application
- Self-Managed: There is a wide range of self-managed backends available from AWS S3, Azure Blob Storage, Google Cloud Storage, any AWS S3 compatible server to even your local filesystem.
Head over to Pulumi service to create your free SaaS backend. No need to handle state files.
Installation on macOS
You can install Pulumi through the Homebrew package manager and using the official Pulumi Homebrew Tap. Open a terminal and type the following command:
$ brew install pulumi/tap/pulumi
Installation on Windows
You can install Pulumi using elevated permissions through the Chocolatey package manager:
$ choco install pulumi
Installation on Linux
To install, run the installation script via the following command:
$curl -fsSL https://get.pulumi.com | sh
This will install the pulumi CLI to ~/.pulumi/bin and add it to your path. If this command fails at automatically
adding pulumi to your path, you will be prompted to add it manually.
Alternatively, you can install Pulumi manually. Pulumi provided a prebuilt binary for Linux.
Head over to the available versions page to choose the version of Pulumi you want to install.
Extract the tarball and move the binaries in the pulumi directory to a directory included in your system’s $PATH.
Verifying your Installation
To verify that you have successfully installed Pulumi, run the following command:
$ pulumi version
v3.39.3
Create your Pulumi project
Now that you have installed Pulumi, you need to decided in which programming language you want to create your infrastructure. This is because Pulumi is a multi-language infrastructure as code tool using imperative languages to create a declarative infrastructure description.
You have a wide range of programming languages available, and you can use the one you and your team are the most comfortable with. Currently, (9/2022) Pulumi supports the following languages:
- Node.js (JavaScript / TypeScript)
- Python
- Go
- Java
- .NET (C#, VB, F#)
- YAML
In this article, we will use Go.
- Create a project folder (for example
pulumi-hashnode-aws-amplify-hackathon) and navigate into the newly created directory:
mkdir pulumi-hashnode-aws-amplify-hackathon && cd pulumi-hashnode-aws-amplify-hackathon
- Create a new Pulumi program with the following command:
pulumi new aws-native-go

This command will walk you through creating a new Pulumi project.

Enter a value or leave blank to accept the (default), and press <ENTER>.
Press ^C at any time to quit.

project name: mpulumi-hashnode-aws-amplify-hackathon
project description: (A minimal AWS Go Pulumi program)
Created project 'pulumi-hashnode-aws-amplify-hackathon'

Please enter your desired stack name.
To create a stack in an organization, use the format <org-name>/<stack-name> (e.g. `acmecorp/dev`).
stack name: (dev) team1
Created stack 'team1'

aws-native:region: The AWS region to deploy into: (us-east-1) eu-central-1
Saved config

Installing dependencies...

Finished installing dependencies

Your new project is ready to go! ✨

To perform an initial deployment, run `pulumi up`
When prompted for the stack name you will notice, that I entered team1. The reason is that in Pulumi, I can create multiple stacks for the same project. This is useful, if you want to deploy the same infrastructure to different logical environments.
For example, you can have a dev stack for development, a test stack for testing and a prod stack for production.
In our case, we will use the stack to express the team that will use the provisioned infrastructure. This means a platform team can use stacks as an organisation unit for their service offering. Creating a new stack for each team. Or create a new project for every team and using stacks for the environments.
Before we head over to the actual code, we just need to set the GitHub token as a secret. This is needed from AWS Amplify to check out the code from GitHub without having the trouble of rate limiting.
pulumi config set github:token XXXXXXXXXXXXXX --secret
Please create an extra token for this in GitHub with just read rights to your repo.
Next we add the GitHub provider to our Pulumi project.
go get github.com/pulumi/pulumi-github/sdk/v4/
We discuss the reason for this later in the post.
Time to start with the actual code part and dissect every part of it in detail to understand what is going on.
The first part, is to get the details of our git repository containing the Hugo static site. For this we use the github.LookupRepository function from the github provider.
repository, err := github.LookupRepository(ctx, &github.LookupRepositoryArgs{
FullName: pulumi.StringRef("dirien/hello-jamstack"),
})
if err != nil {
return err
}
Next comes the part, where we're going to load the Amplify build settings from the amplify.yml file.
Before we load the file, lets have a look into the amplify.yaml file:
version: 1
frontend:
   phases:
      preBuild:
         commands:
            - cd hello-hugo
      build:
         commands:
            - hugo --destination ../public
   artifacts:
      baseDirectory: public
      files:
         - '**/*'
   cache:
      paths: [ ]
And we see that I use the preBuild phase to change into the hello-hugo directory and then run the hugo command in the build phase. The artifacts section defines the output directory of the build process. In this case, it is the public directory.
To load the file in go we use following code:
amplifyYaml, err := os.ReadFile("amplify.yaml")
if err != nil {
return err
}
And here comes the full power of Pulumi to the surface. We have full access to all language element provided by the underlying language we are using. In our case, we are using Go.
Nothing is blocking us to use a more sophisticated way to build the Amplify configuration. The limit is your imagination and the functional requirements of your development teams.
The build specification YAML contains a collection of build commands and related settings that Amplify uses to run your build. To get a better understanding of the Amplify build specification, please head over to the AWS Amplify user guide.
The next part of the code is to create the Amplify App and Branch resources, and configure the properties.
app, err := amplify.NewApp(ctx, "hello-amplify-hackathon", &lify.AppArgs{
Name: pulumi.String("hello-amplify-hackathon"),
Repository: pulumi.String(repository.HtmlUrl),
AccessToken: config.GetSecret(ctx, "github:token"),
BuildSpec: pulumi.String(amplifyYaml),
EnableBranchAutoDeletion: pulumi.Bool(true),
})
if err != nil {
return err
}
mainBranch, err := amplify.NewBranch(ctx, "default-branch", &lify.BranchArgs{
AppId: app.AppId,
BranchName: pulumi.String(repository.DefaultBranch),
Stage: amplify.BranchStageProduction,
EnablePullRequestPreview: pulumi.Bool(true),
})
if err != nil {
return err
}
With the lookup of the repository, we can get the default branch name. The default branch name is now used to create the Branch resource. The EnablePullRequestPreview property is set to true, so that we can use the Amplify preview feature and I assume that the default branch always the production branch.
You can create much more branches to your Amplify App. For example, you can create a dev branch for development if you're using a GitFlow workflow.
You can create also a custom domain for your Amplify App. But this is out of scope for this post. Feel free to add this on your own.
The last part of the code, the ctx.Export function is used to export for example the URL of the Amplify App.
Here is the full code of the main.go file:
package main
import (
"github.com/pulumi/pulumi-github/sdk/v4/go/github"
"github.com/pulumi/pulumi/sdk/v3/go/pulumi/config"
"os"
"github.com/pulumi/pulumi-aws-native/sdk/go/aws/amplify"
"github.com/pulumi/pulumi/sdk/v3/go/pulumi"
)
func main() {
pulumi.Run(func(ctx *pulumi.Context) error {
config.GetSecret(ctx, "github:token")
repository, err := github.LookupRepository(ctx, &github.LookupRepositoryArgs{
FullName: pulumi.StringRef("dirien/hello-jamstack"),
})
if err != nil {
return err
}
amplifyYaml, err := os.ReadFile("amplify.yaml")
if err != nil {
return err
}
app, err := amplify.NewApp(ctx, "hello-amplify-hackathon", &lify.AppArgs{
Name: pulumi.String("hello-amplify-hackathon"),
Repository: pulumi.String(repository.HtmlUrl),
AccessToken: config.GetSecret(ctx, "github:token"),
BuildSpec: pulumi.String(amplifyYaml),
EnableBranchAutoDeletion: pulumi.Bool(true),
})
if err != nil {
return err
}
mainBranch, err := amplify.NewBranch(ctx, "default-branch", &lify.BranchArgs{
AppId: app.AppId,
BranchName: pulumi.String(repository.DefaultBranch),
Stage: amplify.BranchStageProduction,
EnablePullRequestPreview: pulumi.Bool(true),
})
if err != nil {
return err
}
ctx.Export("default-domain", app.DefaultDomain)
ctx.Export("branch-url", pulumi.Sprintf("https://%s.%s", mainBranch.BranchName, app.DefaultDomain))
return nil
})
}
Now we are ready to deploy the stack to AWS. Execute the following command:
pulumi up
To get a preview of the changes Pulumi will make and to confirm the deployment, select yes and hit enter.
❯ pulumi up
Previewing update (dev)

View Live: https://app.pulumi.com/dirien/pulumi-hashnode-aws-amplify-hackathon/dev/previews/d73dee84-53e5-474a-a624-f5e5622e5d66

     Type                          Name                                       Plan
 +   pulumi:pulumi:Stack           pulumi-hashnode-aws-amplify-hackathon-dev  create
 +   ├─ aws-native:amplify:App     hello-amplify-hackathon                    create
 +   └─ aws-native:amplify:Branch  default-branch                             create

Outputs:
    branch-url    : output<string>
    default-domain: output<string>

Resources:
    + 3 to create

Do you want to perform this update? yes
Updating (dev)

View Live: https://app.pulumi.com/dirien/pulumi-hashnode-aws-amplify-hackathon/dev/updates/7

     Type                          Name                                       Status
 +   pulumi:pulumi:Stack           pulumi-hashnode-aws-amplify-hackathon-dev  created
 +   ├─ aws-native:amplify:App     hello-amplify-hackathon                    created
 +   └─ aws-native:amplify:Branch  default-branch                             created

Outputs:
    branch-url    : "https://main.d45qk1ol9dm3a.amplifyapp.com"
    default-domain: "d45qk1ol9dm3a.amplifyapp.com"

Resources:
    + 3 created

Duration: 22s
When you run Pulumi in a CI environment, you can use following flags to skip the preview and confirmation:
- You can skip the preview by using the flag
--skip-previewor-f - You can skip the confirmation dialog by using
--yesor-y
pulumi up -f -y
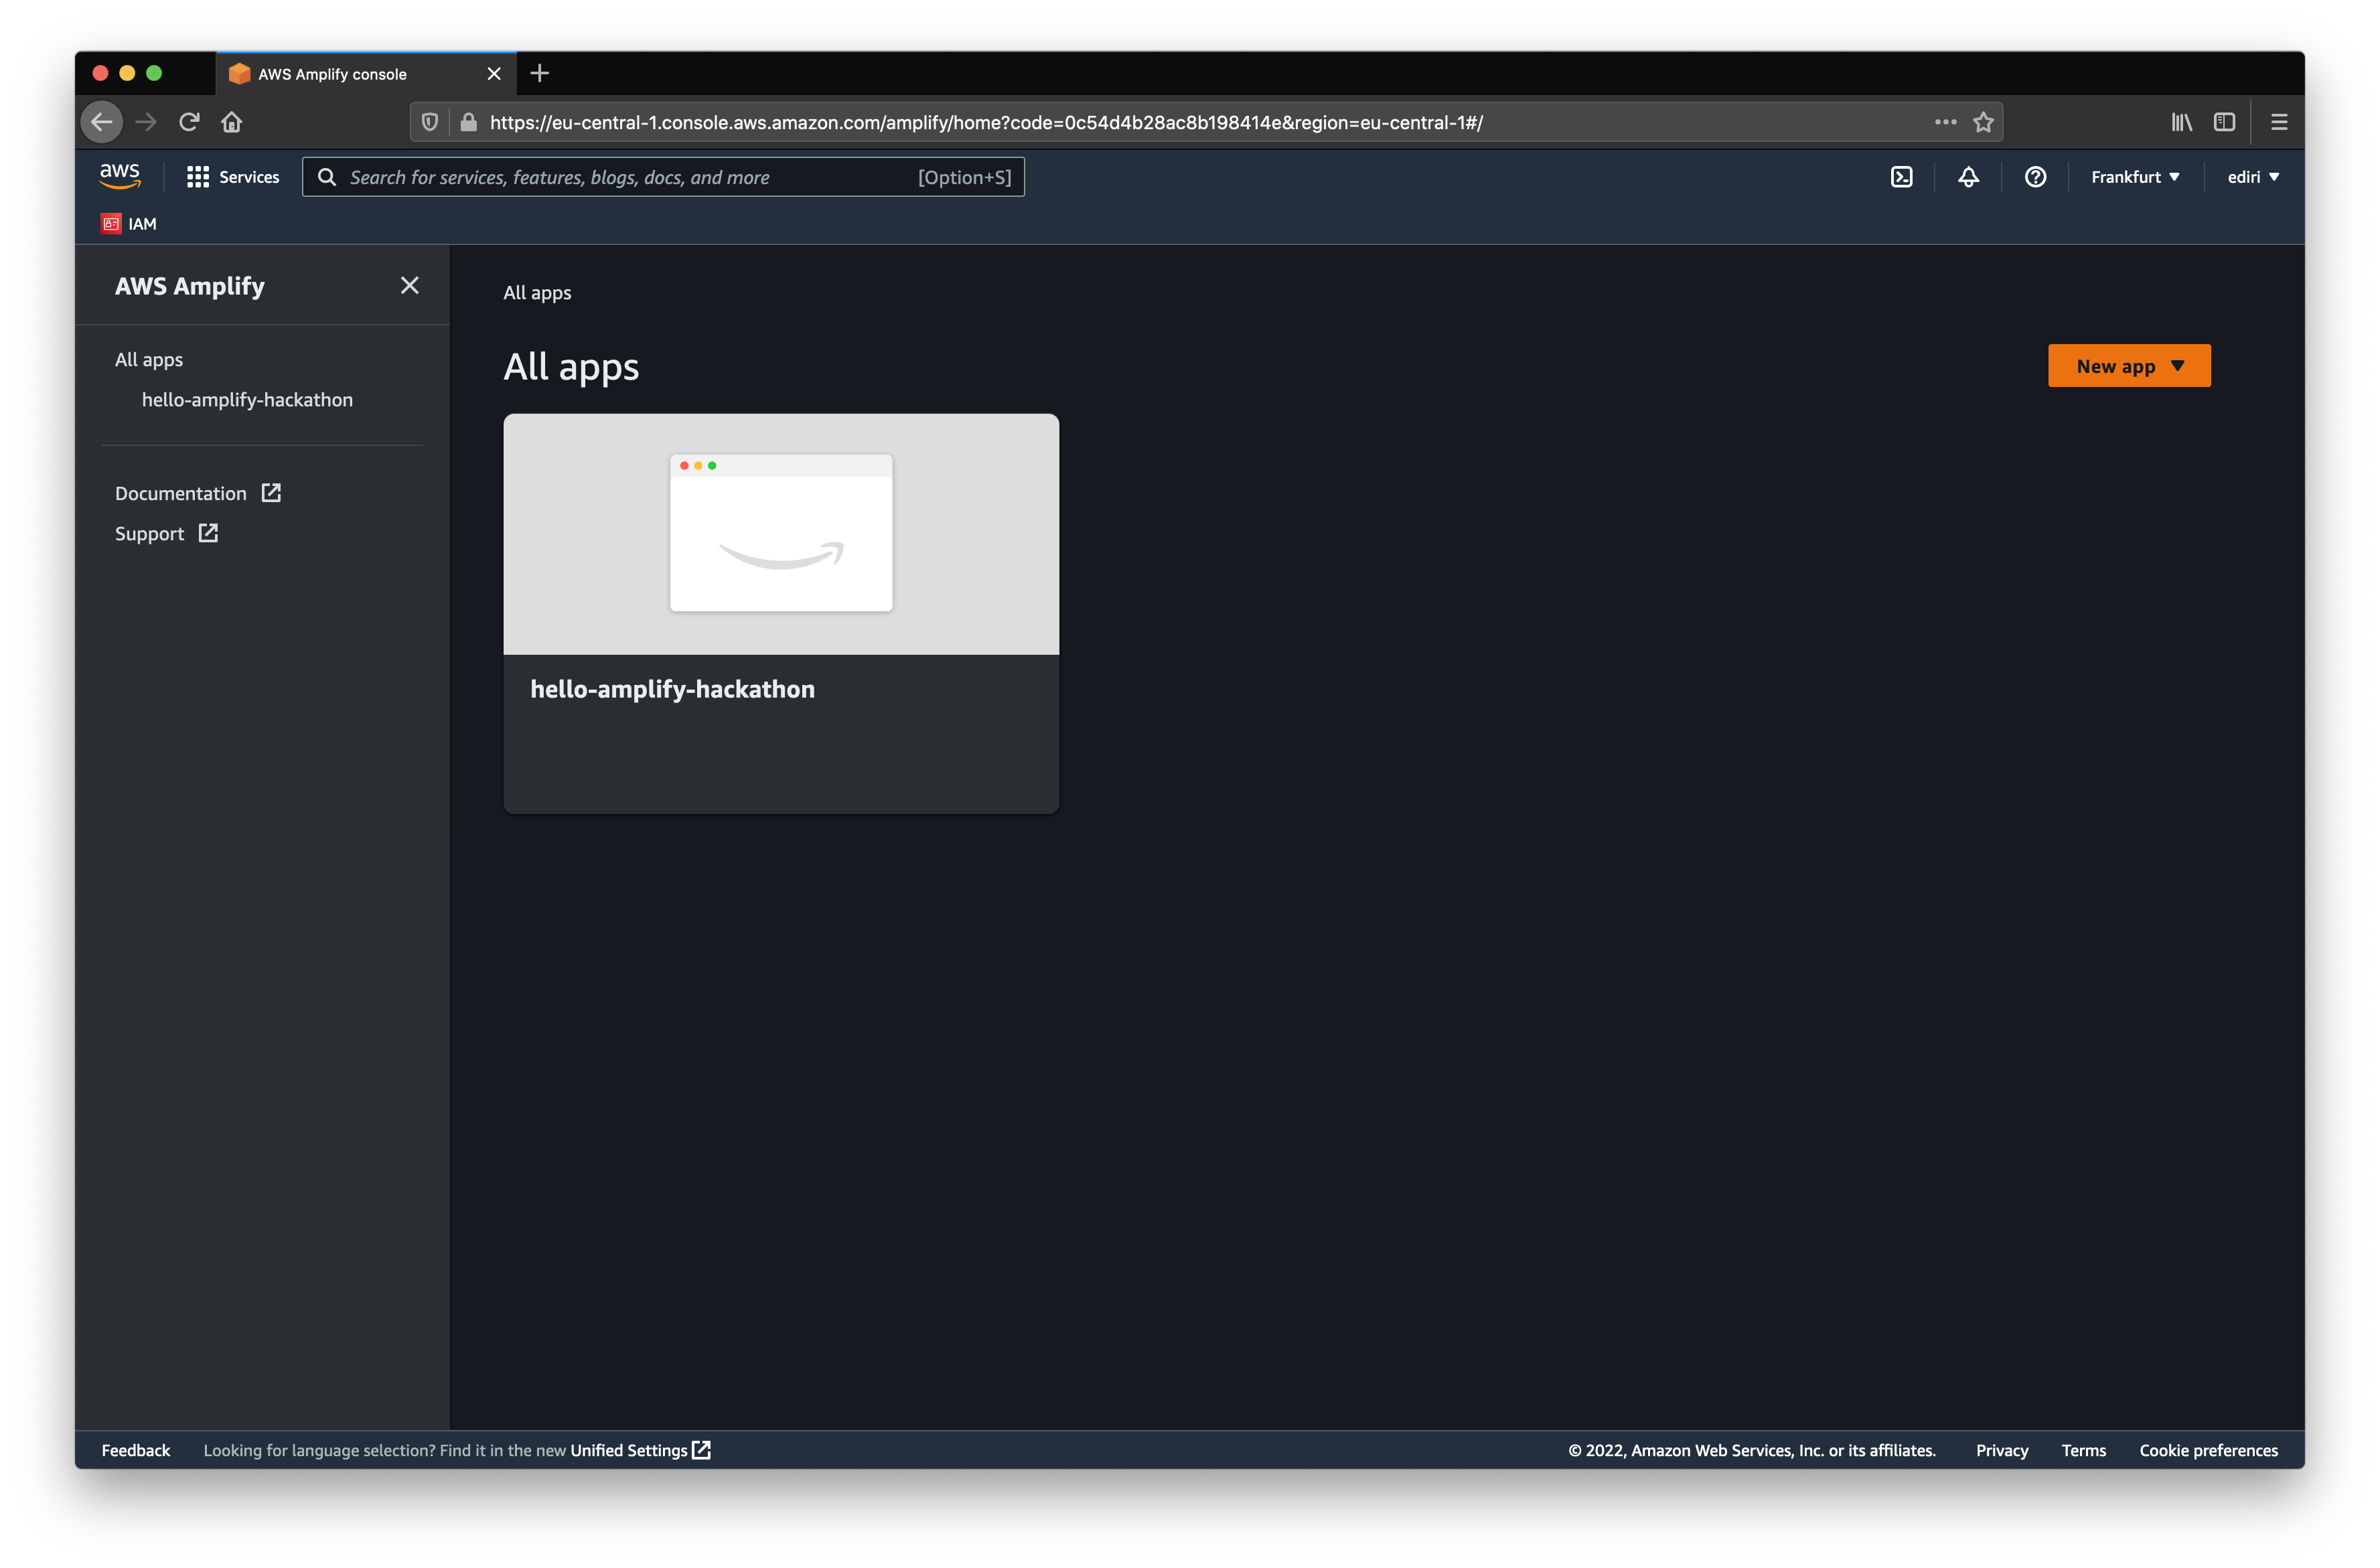
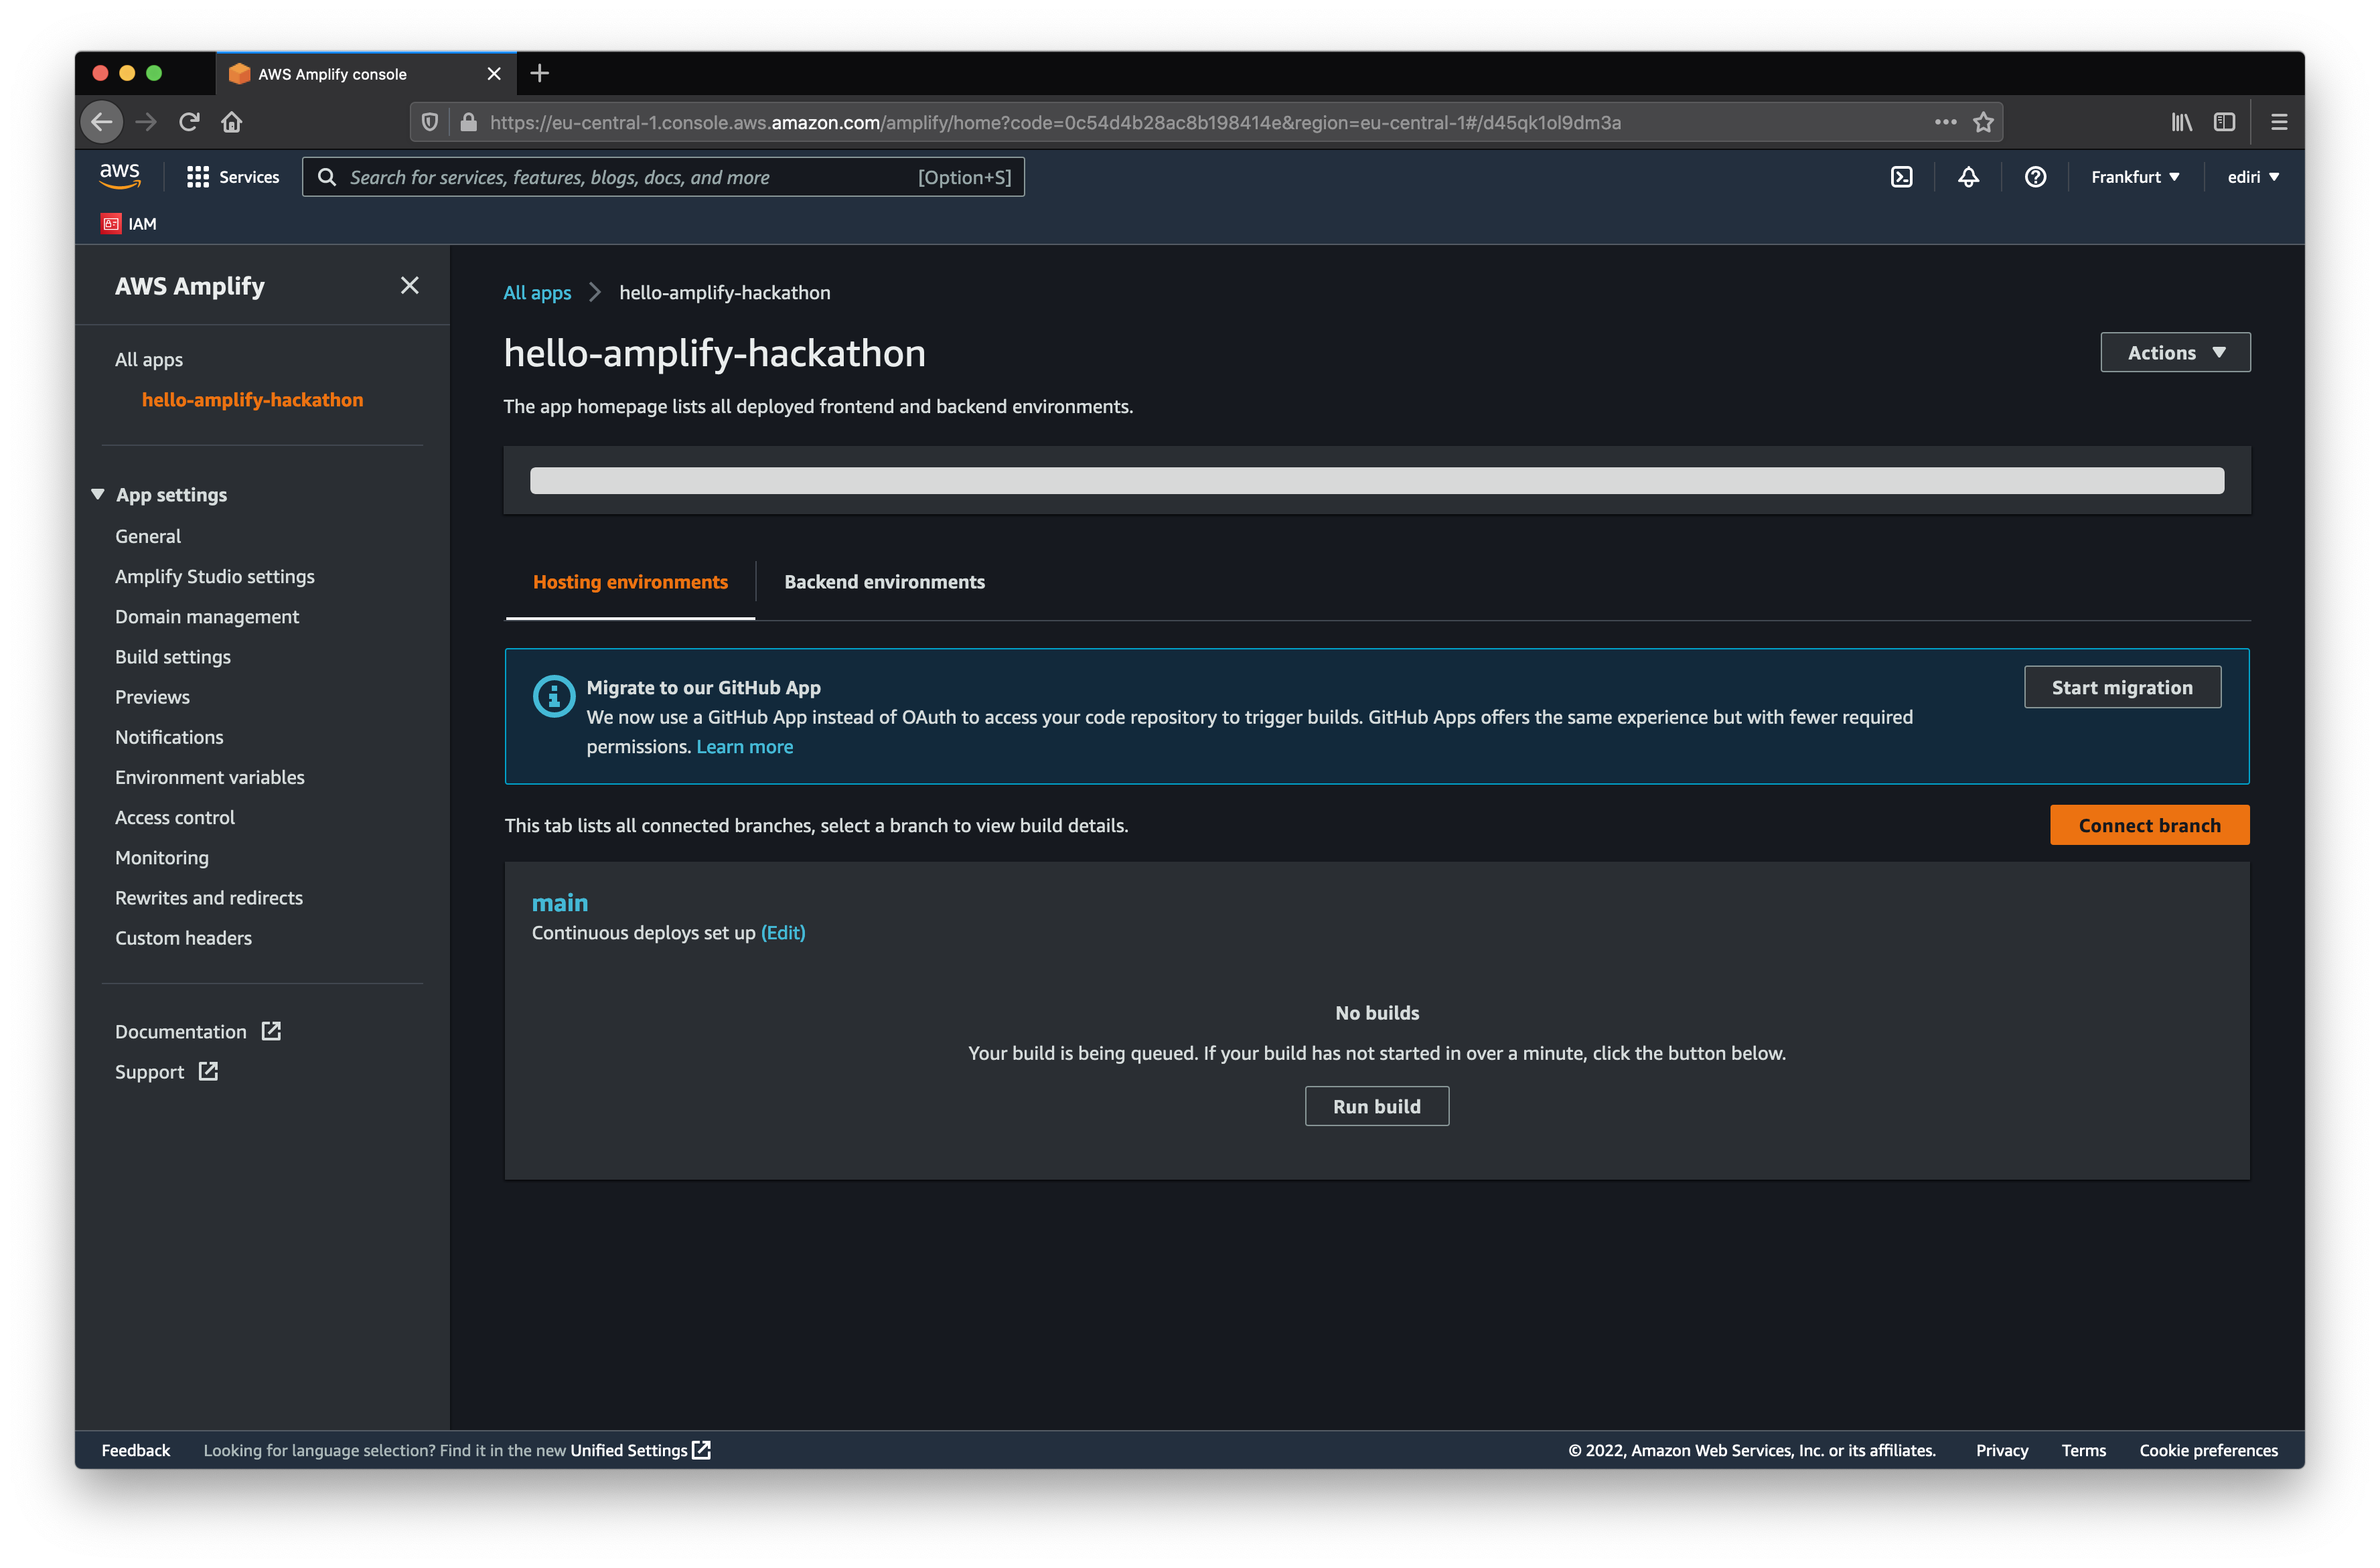
Verify that everything is deployed correctly by checking the Amplify App in the AWS Console.
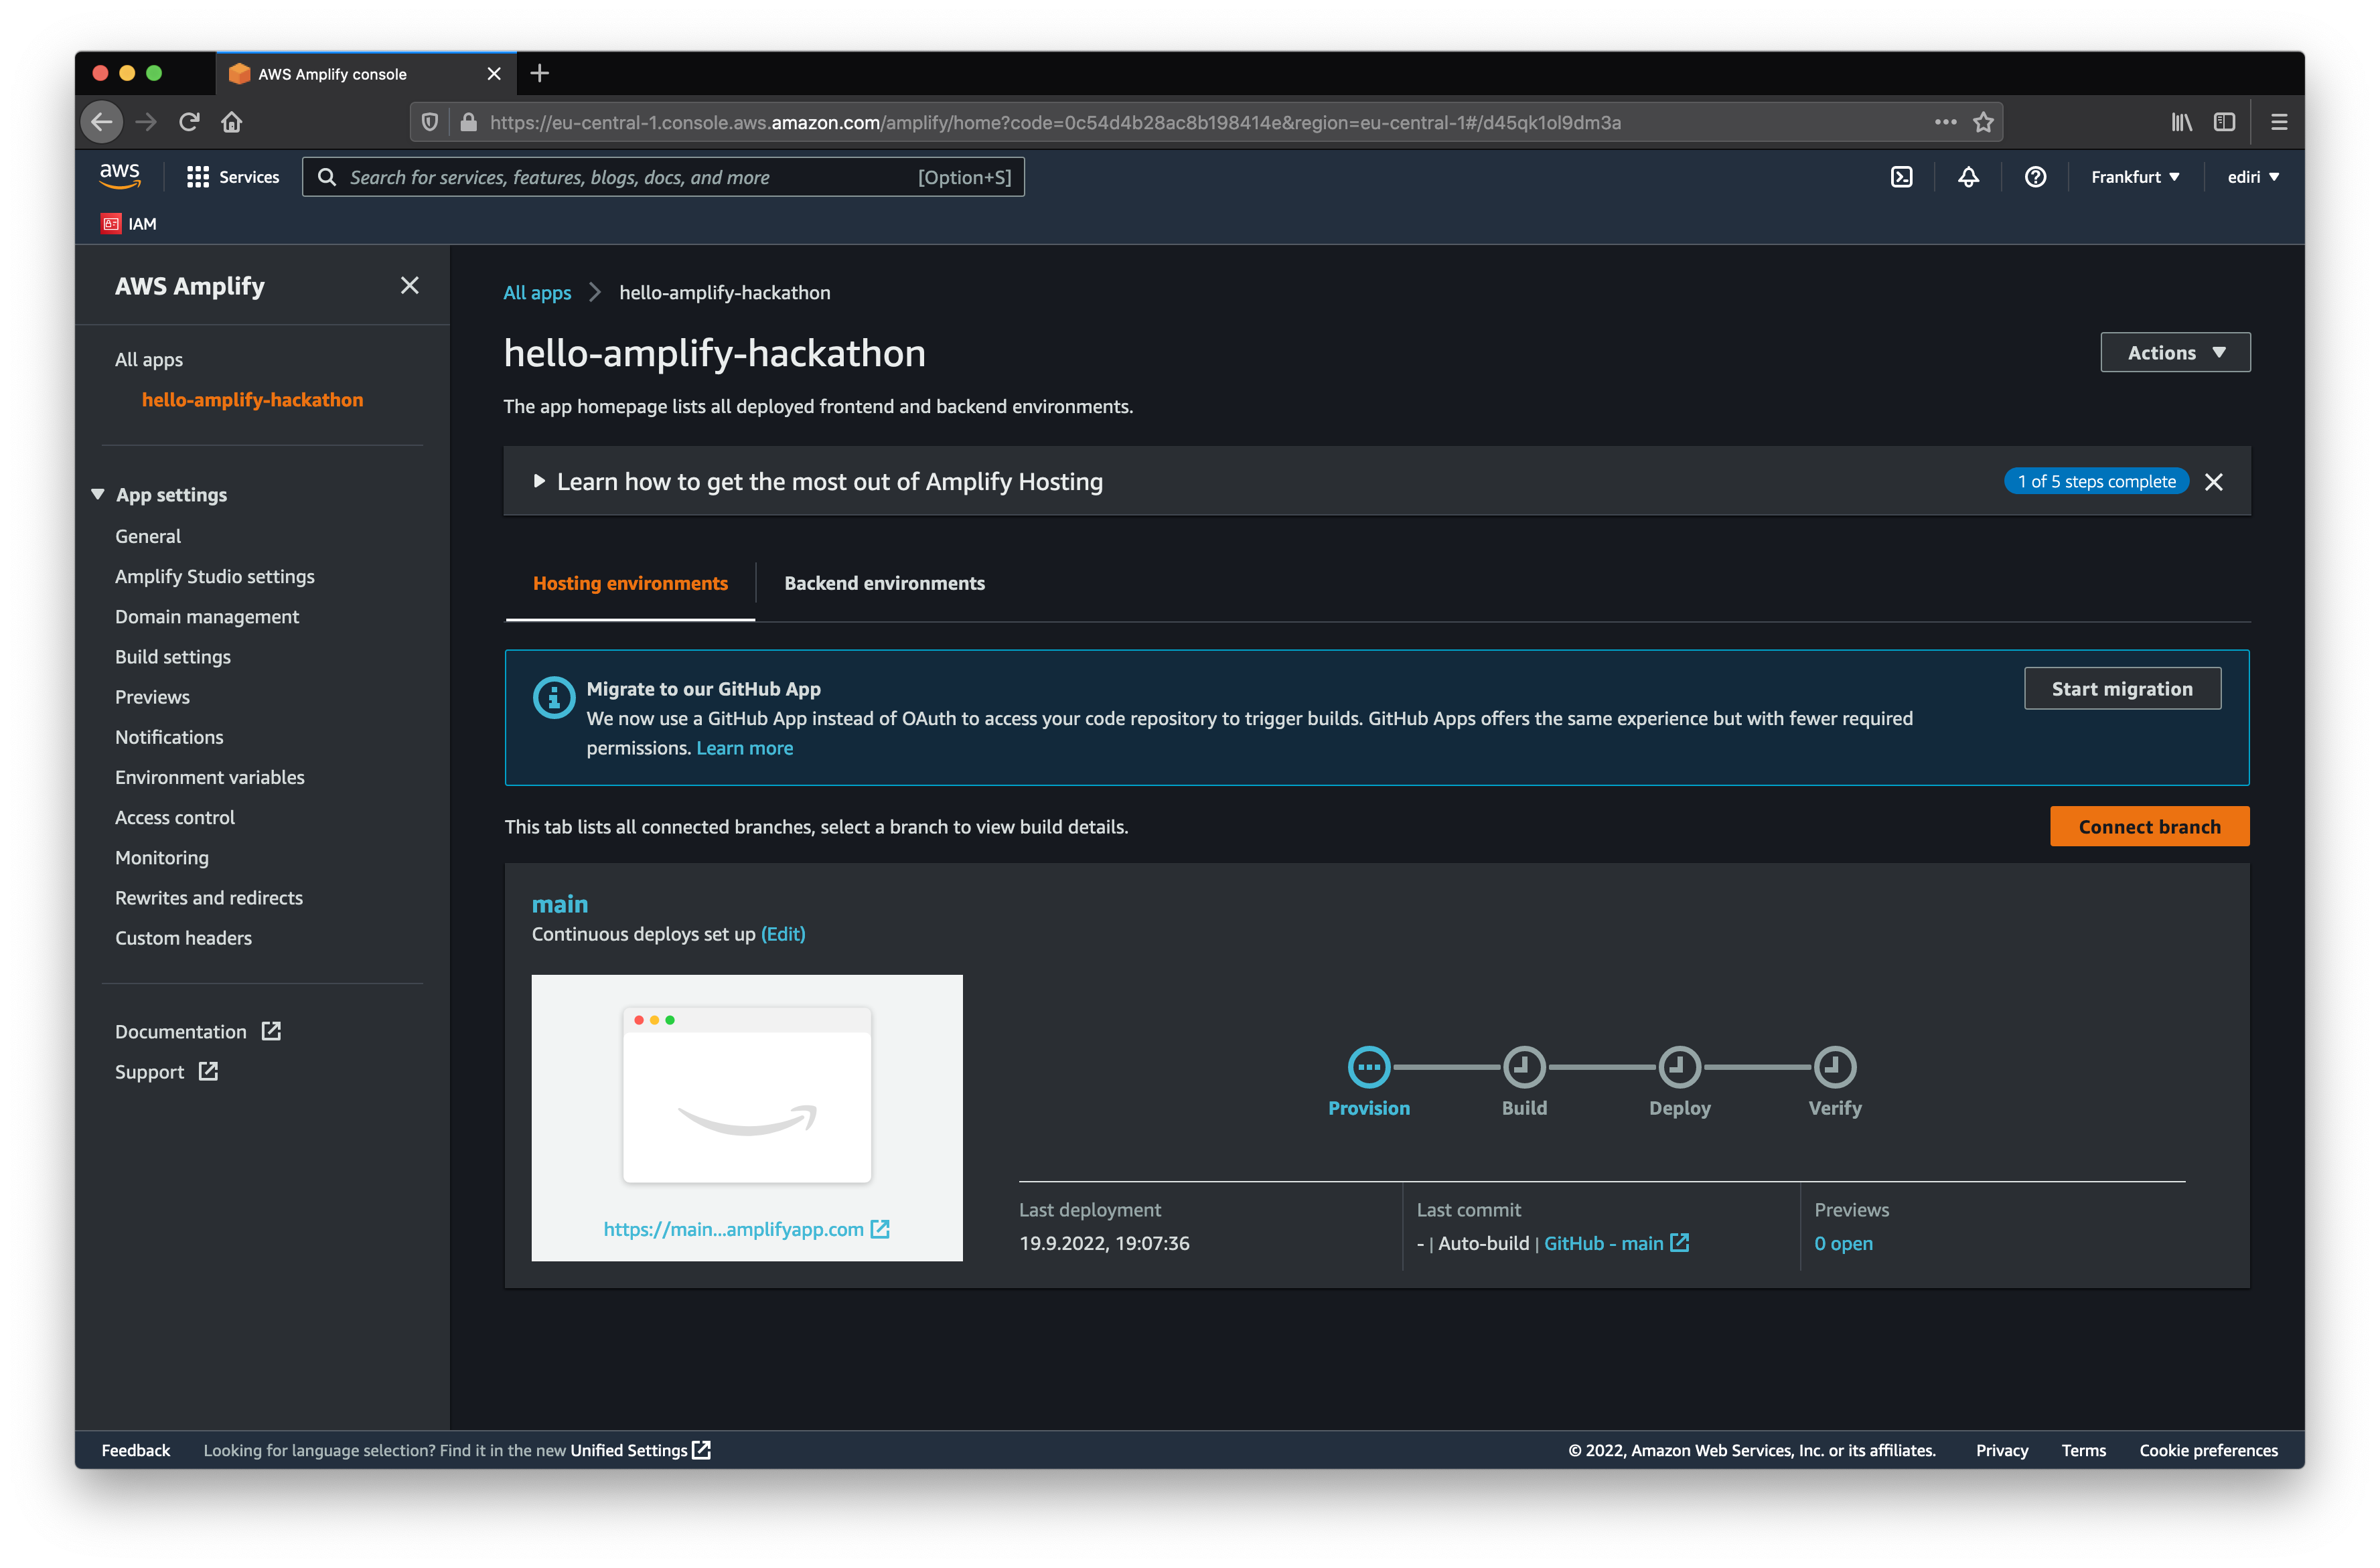
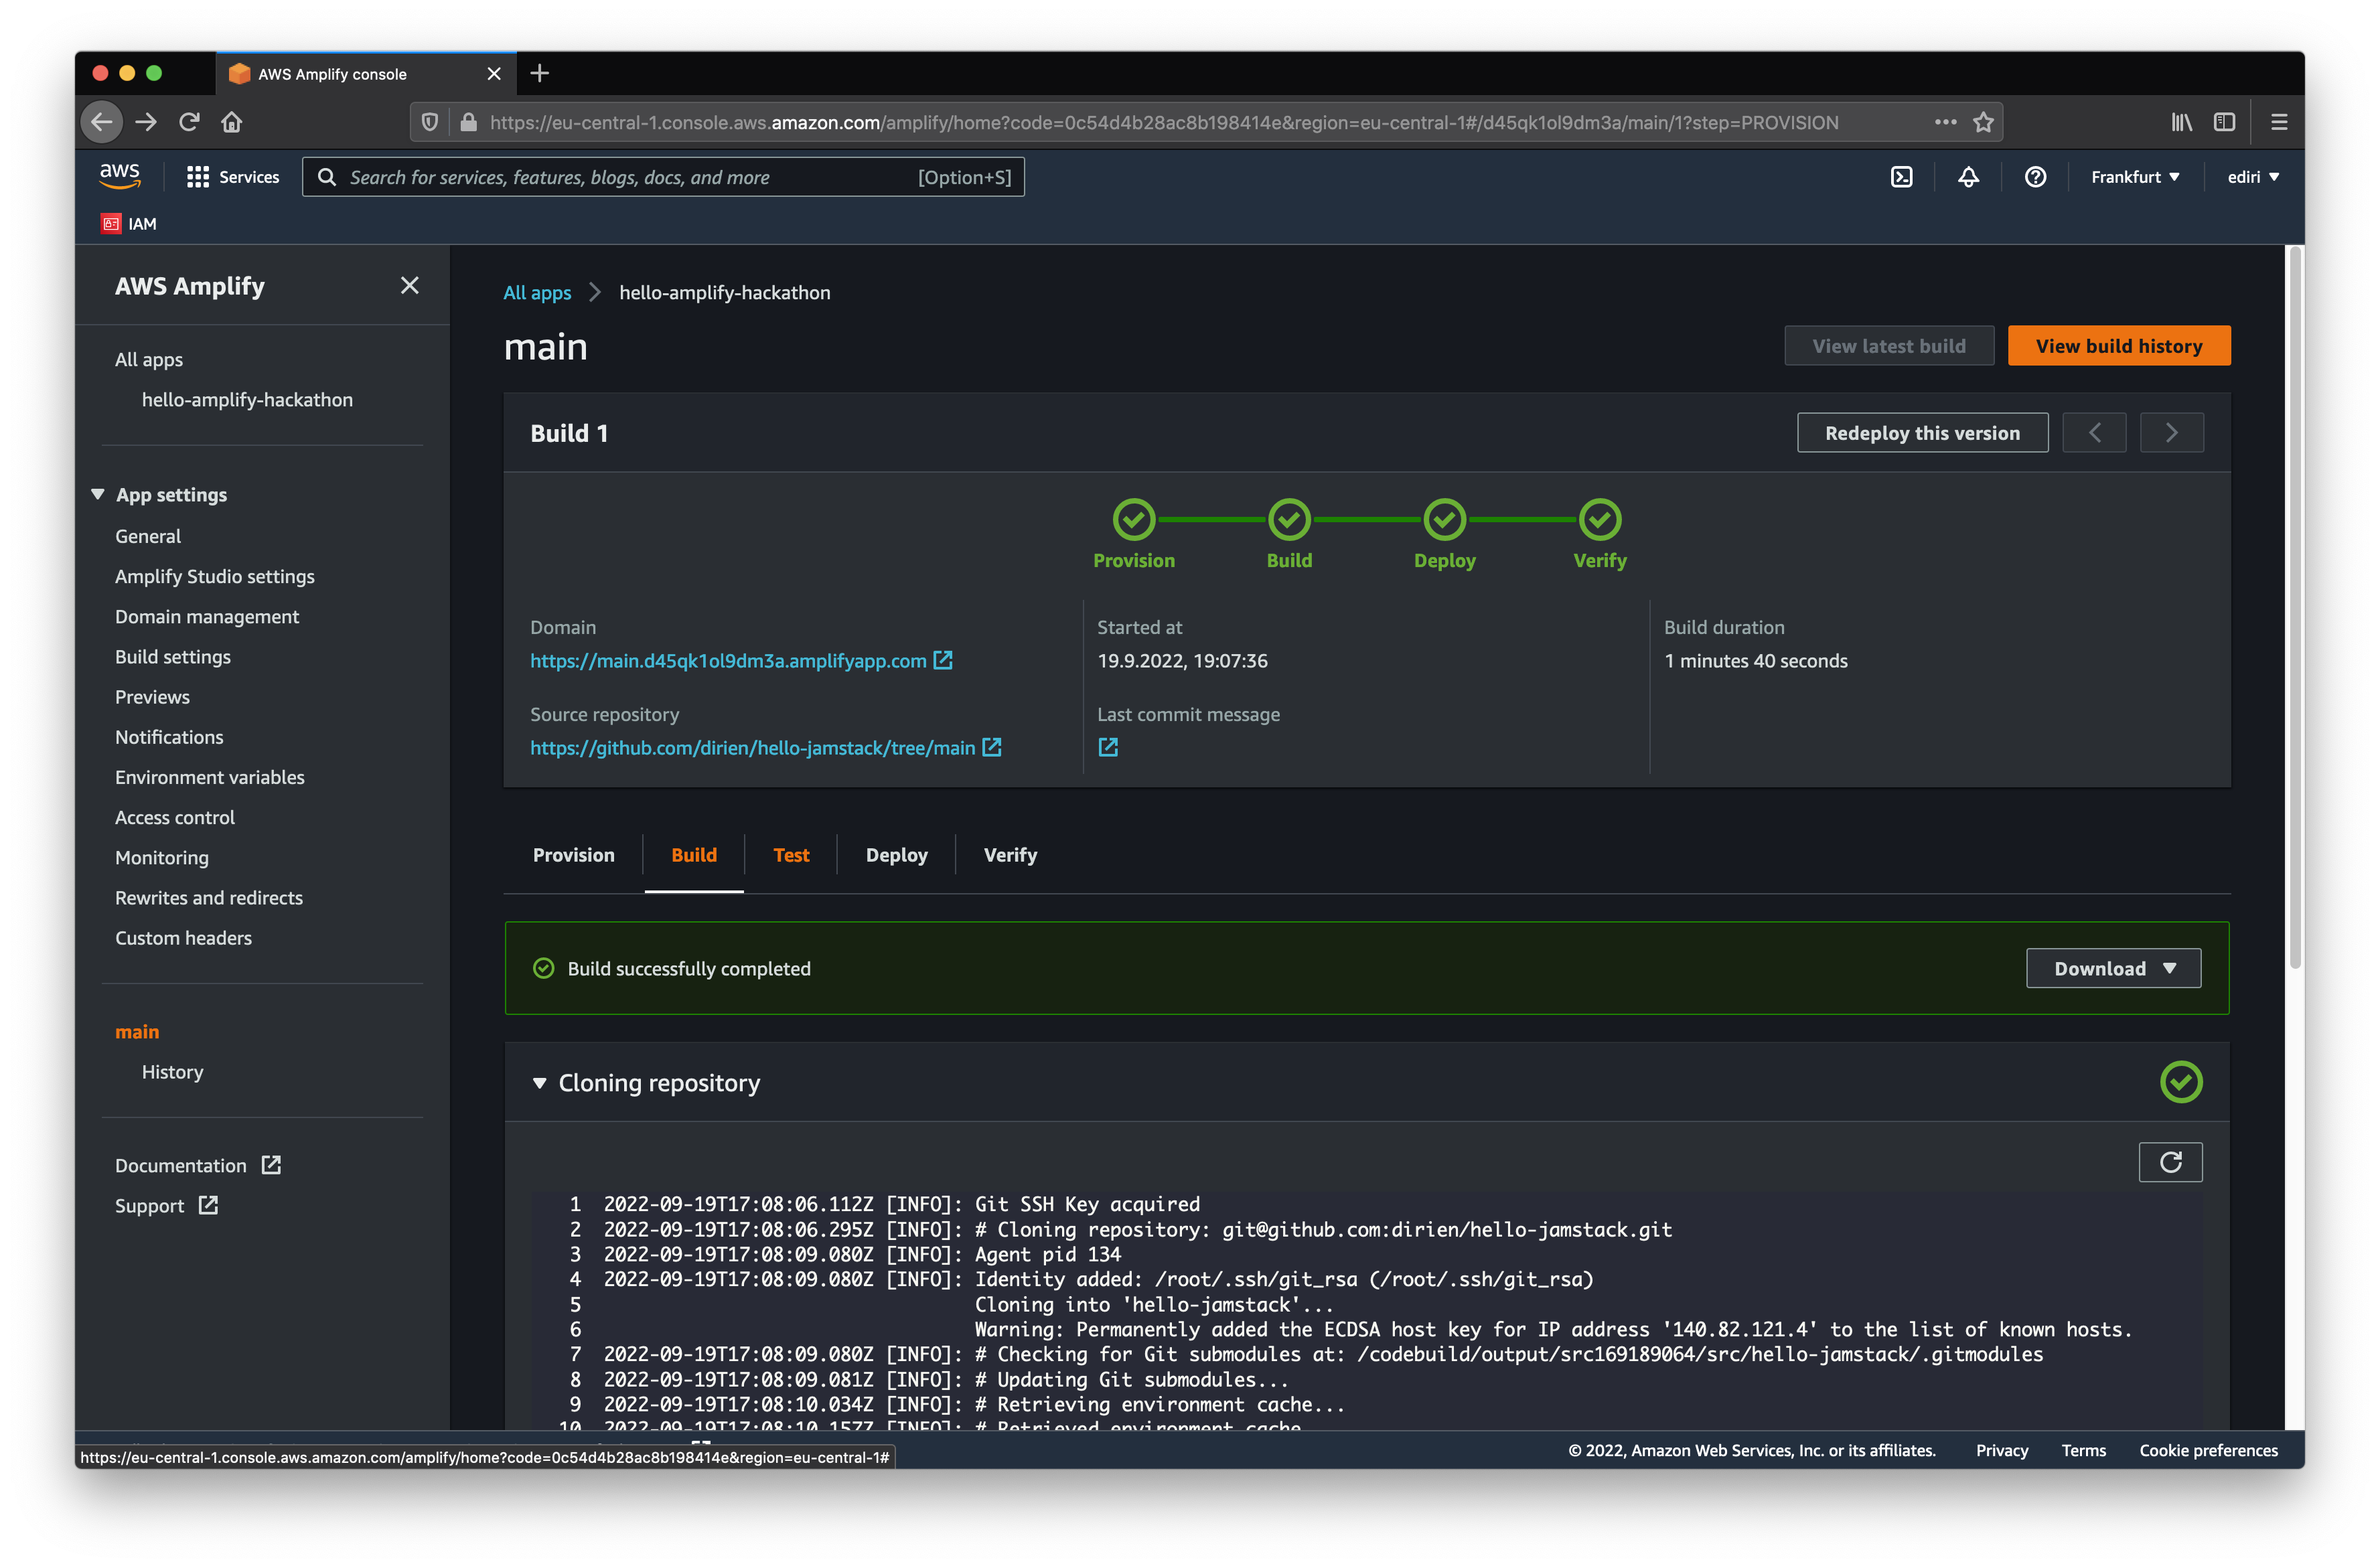
We're going to start also the first build of the Amplify App via the AWS Console.
Test with a PR the Preview of your page
Now we have a working Amplify App. We can test the preview feature of Amplify. To do this, we need to create a PR in theGitHub repository adding a new markdown file to the content folder.

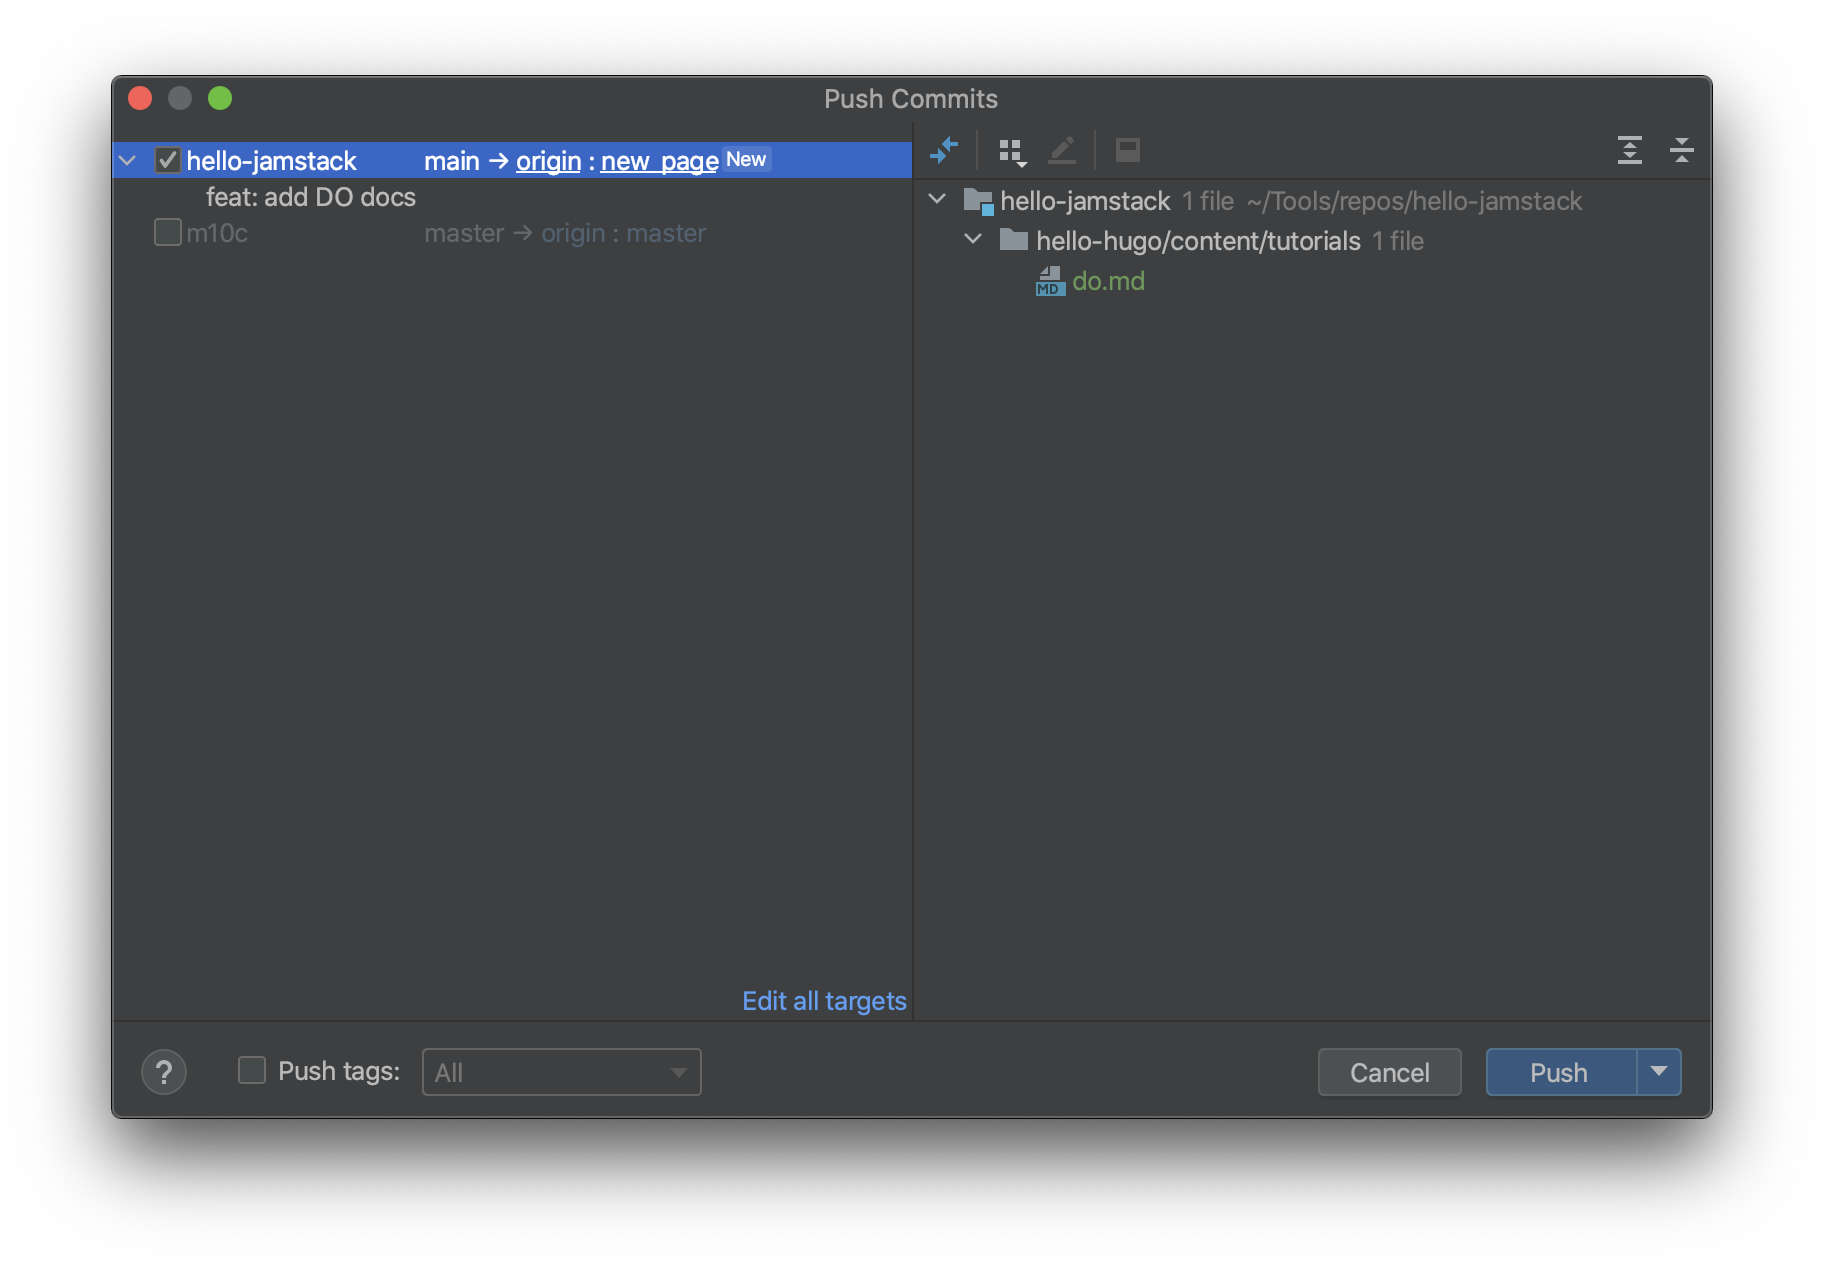
Now we can use the GitHub CLI to create a new branch and a new PR.
gh pr create --title "feat: add content for DO" --body "feat: add content for DO"  --head new_page

Creating pull request for new_page into main in dirien/hello-jamstack

https://github.com/dirien/hello-jamstack/pull/13
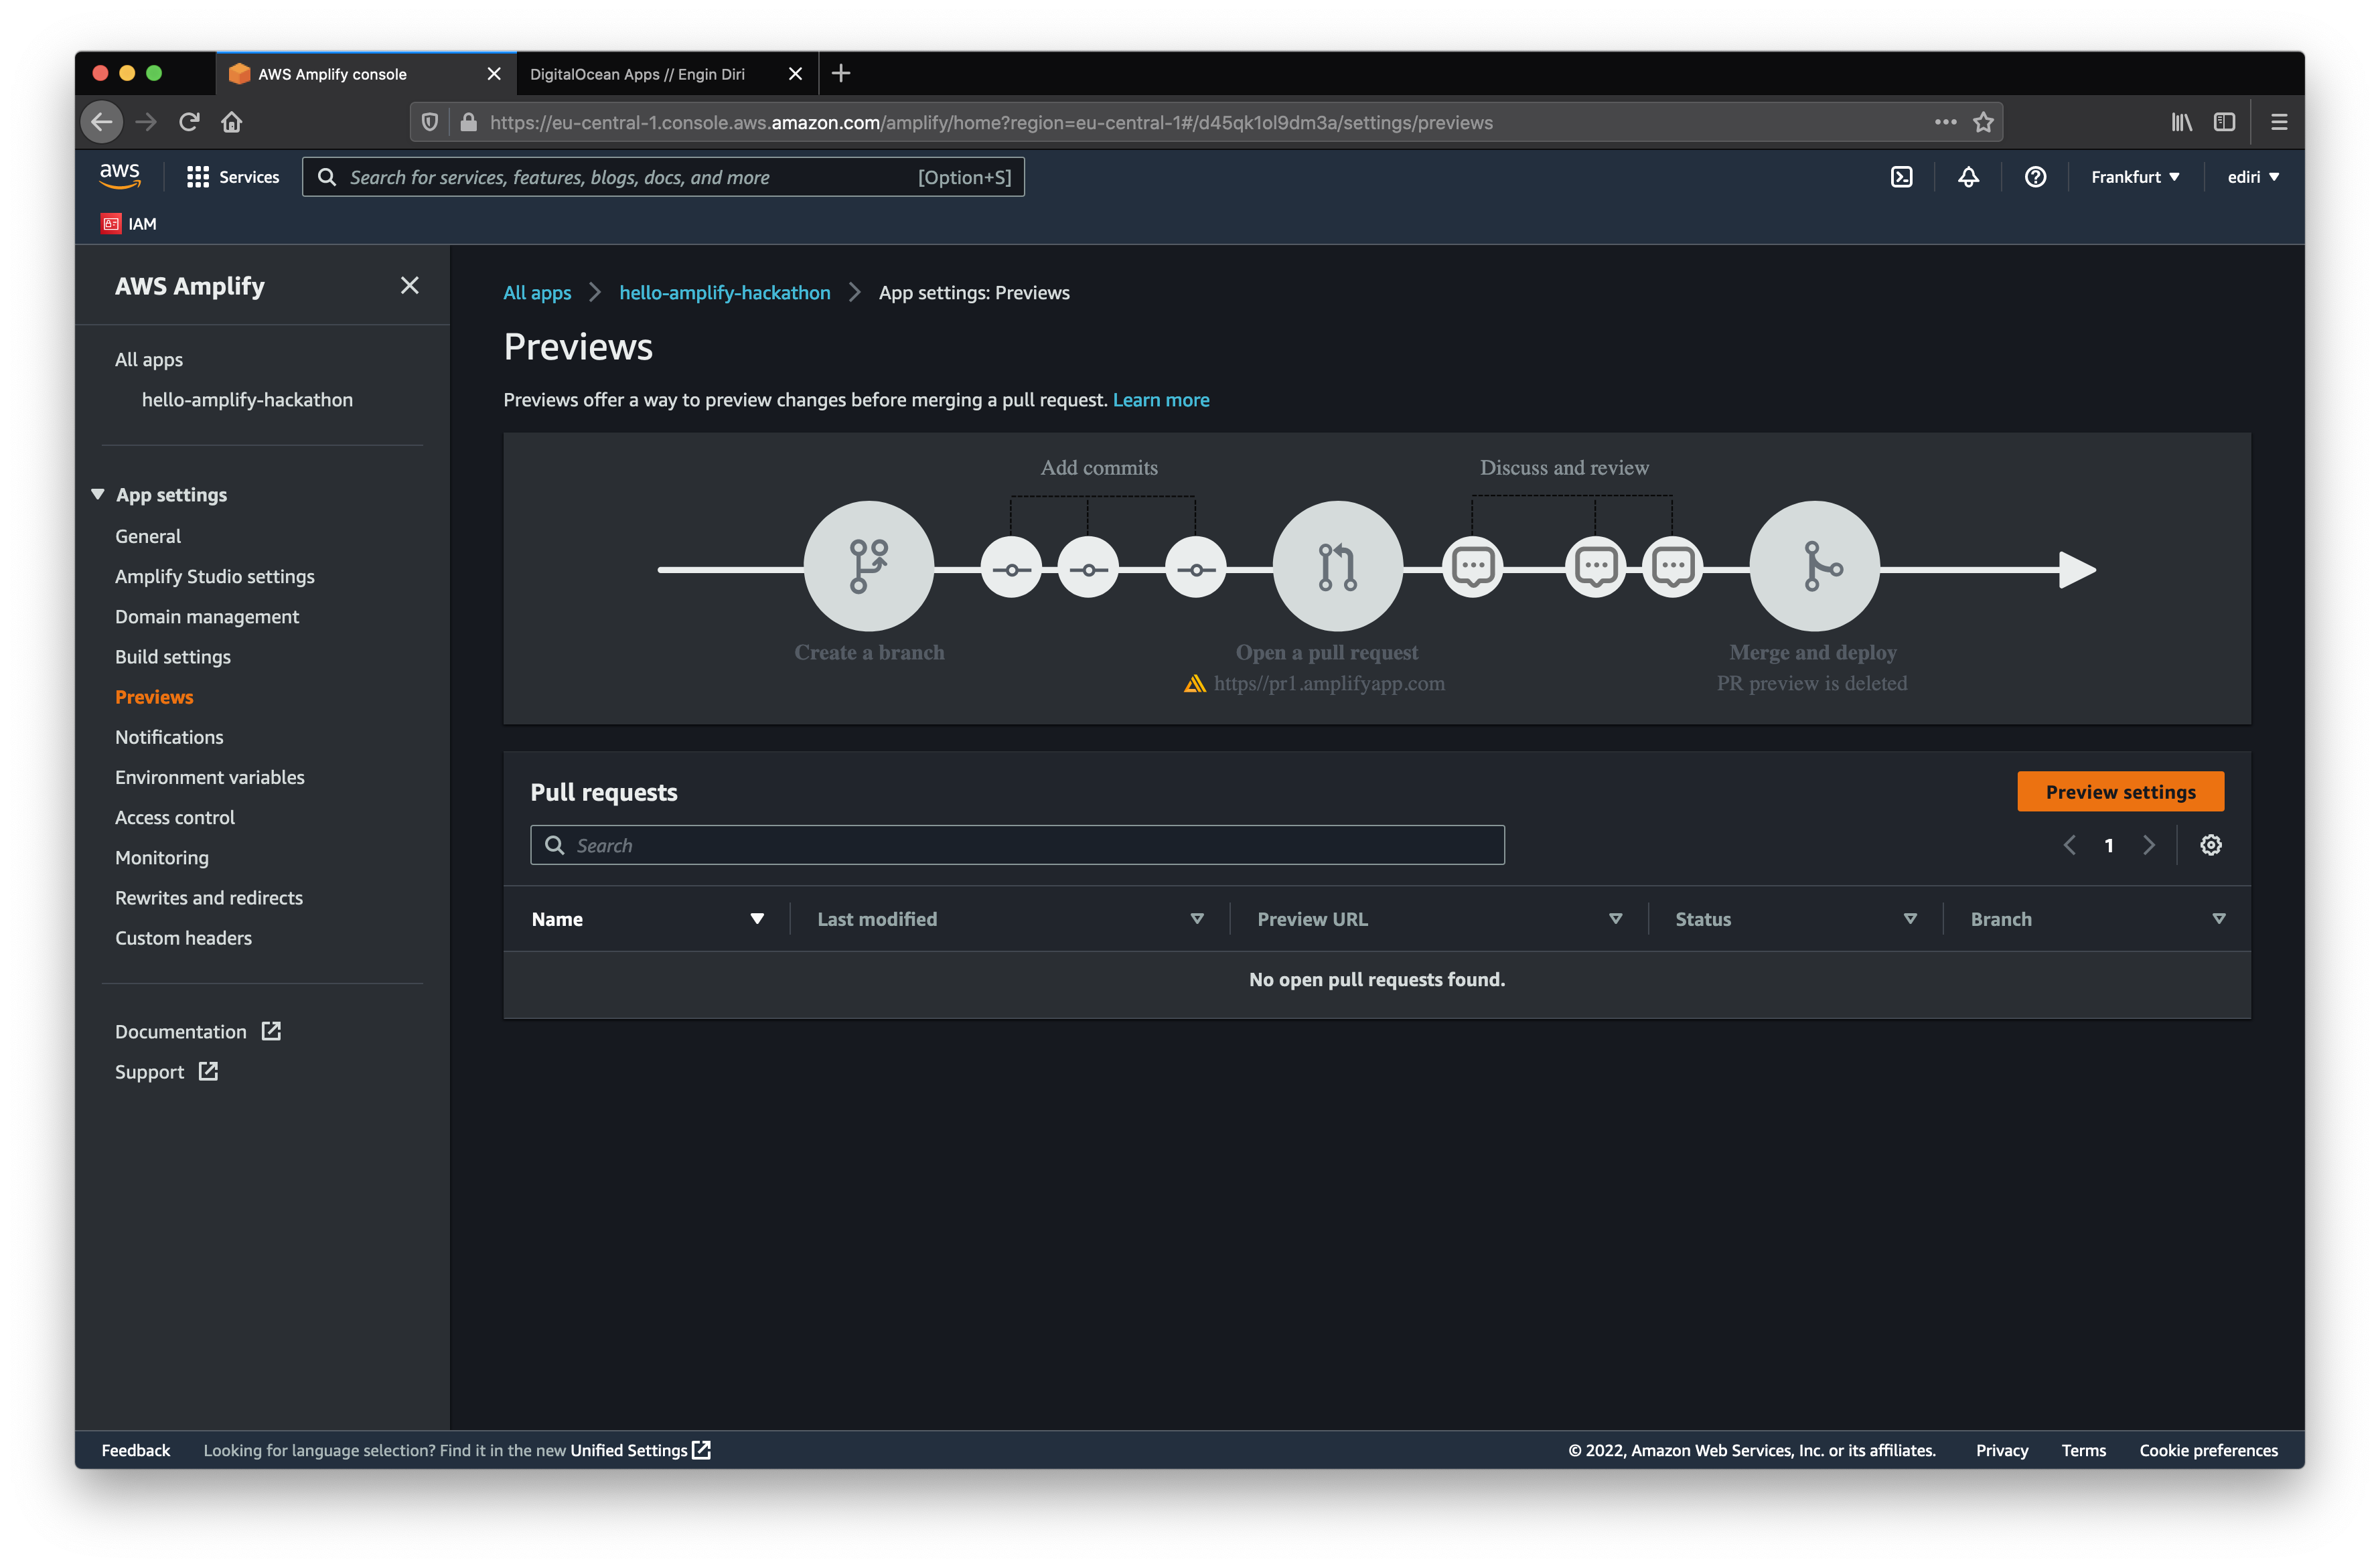
Verify that the preview instance is created in the AWS Amplify Console.
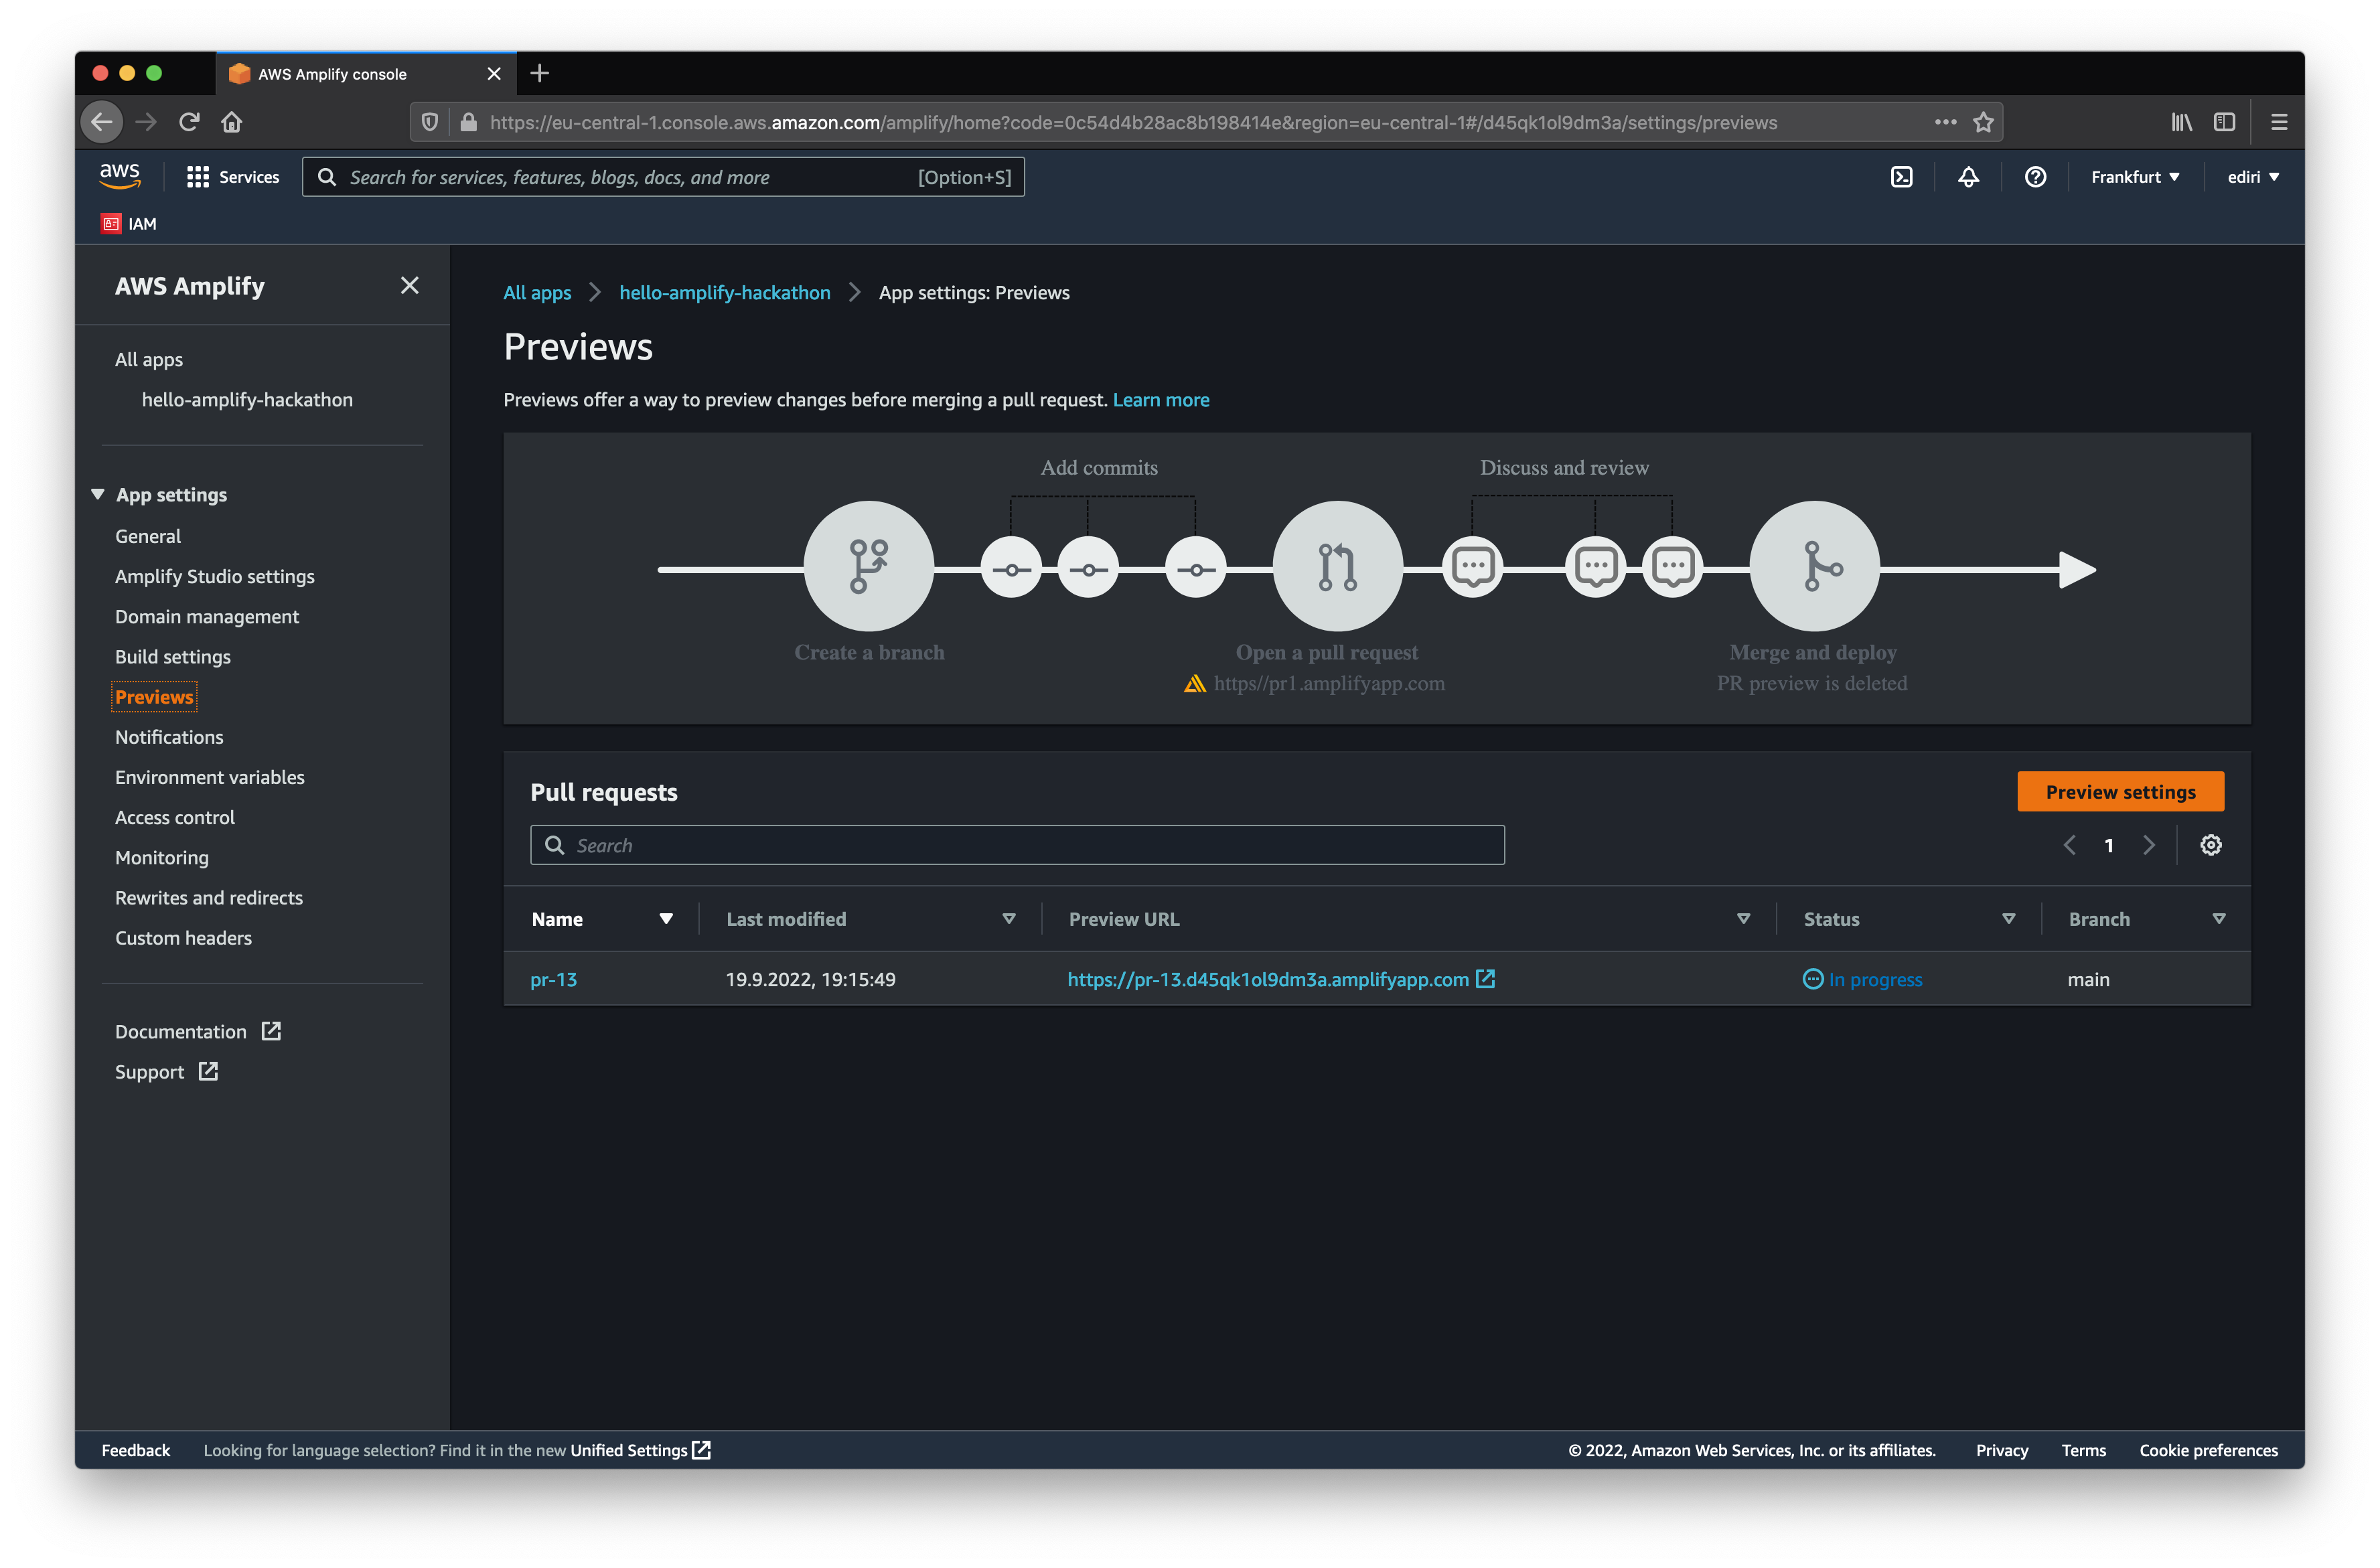
You can jump straight from the PR to the Amplify preview instance using the link in the PR:
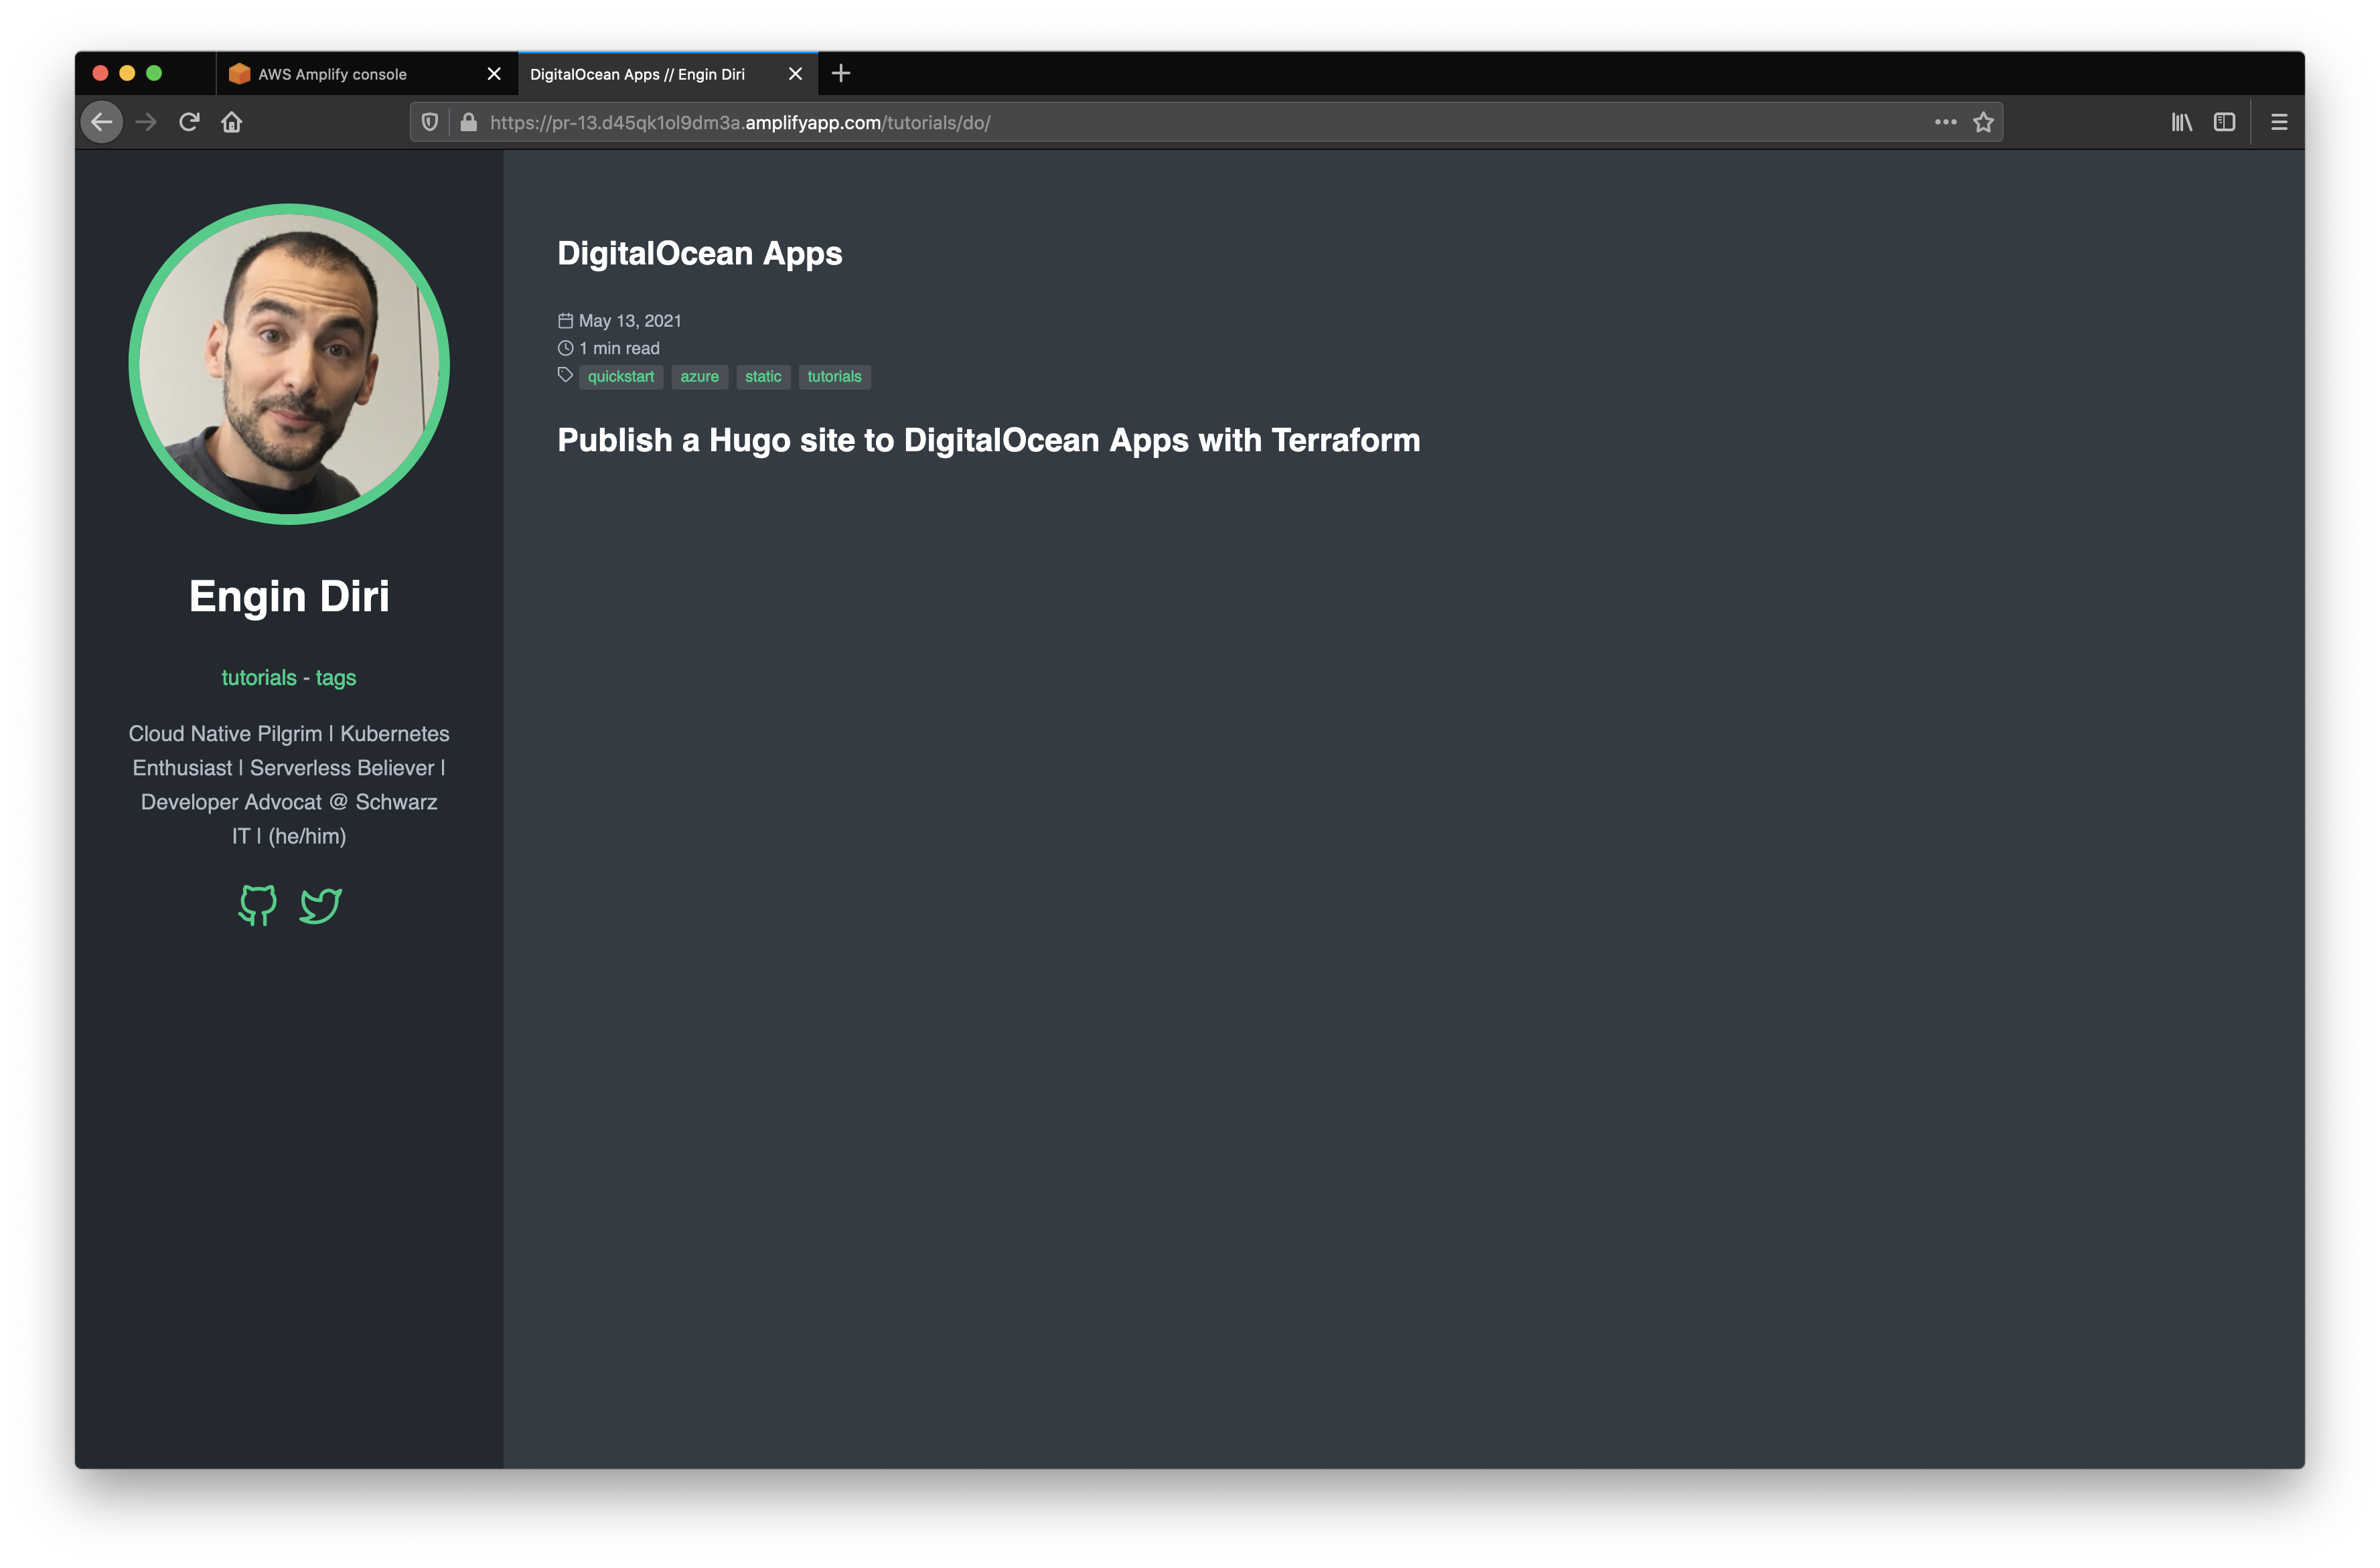
To tear down the preview, merge or close the PR
❯ gh pr close 13
✓ Closed pull request #13 (feat: add content for DO)
Housekeeping
To tear down the whole deployment (or only a certain stack), just call following command:
pulumi destroy
Wrap up
In this article, we have seen how to use Pulumi to deploy an Amplify App to AWS. We have also seen how to use the preview functionality of Amplify to deploy a preview instance of the website for each PR.
Of course, there are many more things you can do with Pulumi and Amplify. For example, we didn't deploy a backend or a custom domain. So many things to discover for yourself or the next hackathon.


