Pulumi OCI Provider: How to create a Minecraft ARM instance on Oracle Cloud Infrastructure
for free!
TL;DR: The code
As usual -> github.com/dirien/quick-bites/tree/main/pul..
Introduction
Today (04/22/2022) the new Pulumi provider for Oracle Cloud Infrastructure (OCI) is available. The sign for me, to give it an instant spin, and see how it works. Especially, as OCI is offering Ampere A1 powered instances.
Most of you should know by now, that I am a big fan of the whole ARM architecture. Even, if it's not the newest kid on the street it's still missing the huge breakthrough.
On devices like the Raspberry Pi, ARM is already the standard and now with the success of Apples silicon, ARM becomes more and more popular in the end-consumer market.
But the real power of ARM is for me in the cloud. It's low power consumption with nearly no performance loss is for me the path for an eco-friendly and sustainable future. See AWS (Gravition) and Azure as example of cloud service provider, who (started to) offer ARM based services.

I start to drift away, let me focus on my spin of the Pulumi OCI provider.
One more thing, before I forget to write it down: Yes, you are really getting an ARM instance as
always freetier in OCI! How cool is that? Checkout oracle.com/cloud/free for more details
The Demo: Minecraft Server
We're going to deploy the Minecraft: Java Edition in this demo. You can download the jar for free at minecraft.net/en-us/download/server
Prerequisites
You need to have an account at Oracle Cloud Infrastructure and generate an API signing key
The
PulumiCLI should be present on your machine. InstallingPulumiis easy, just head over to the get-stated documents and chose the appropriate version and prefered mean to download the cli. To store your state files, you can use the free SaaS offering of Pulumi.To play
Minecraft, you need to have an account at Microsoft.
Create The Pulumi Program
I use the go template, when I created the Pulumi program. You can of course use any other language. Pulumi offers, currently, support for the following languages: typescript, javascript, python, C# and of course go
pulumi new go
After this step, you just need to add the pulumi-oci go module to your program:
go get github.com/pulumi/pulumi-oci/sdk
You now can configure the provider credentials via the following pulumi cli commands:
pulumi config set oci:userOcid <userOcid > --secret
pulumi config set oci:fingerprint <fingerprint> --secret
pulumi config set oci:tenancyOcid <tenancyOcid> --secret
pulumi config set oci:privateKeyPath <privateKeyPath>
pulumi config set oci:region <region>
There are some alternative parameters for authorizing that you can set, check the documentation for more information. For this demo, this parameters will do.
I will explain some OCI specific resources in this demo to understand why we need to create them. Go check the official documentation for more in-depth details. OCI is huge beast!
We start our infrastructure with creating a compartment. Compartments in OCI divide the resources into logical groups that help you organize and control access to your resources.
compartment, err := identity.NewCompartment(ctx, "compartment", &identity.CompartmentArgs{
    Name:        pulumi.Sprintf("%s-minecraft-compartment", ctx.Stack()),
    Description: pulumi.String("Compartment for minecraft"),
})
if err != nil {
    return err
}
Then we had over to create our vcn and subnet resource. A VCN is a software-defined network that you set up in the OCI data centers in a particular region. A subnet is a subdivision of a VCN.
vcn, err := core.NewVcn(ctx, "minecraft-vcn", &core.VcnArgs{
    CidrBlock:     pulumi.String("10.0.0.0/16"),
    DisplayName:   pulumi.Sprintf("%s-minecraft-vcn", ctx.Stack()),
    DnsLabel:      pulumi.String("vcnminecraft"),
    CompartmentId: compartment.ID(),
})
if err != nil {
    return err
}
...
subnet, err := core.NewSubnet(ctx, "minecraft-subnet", &core.SubnetArgs{
    CompartmentId: compartment.ID(),
    VcnId:         vcn.ID(),
    CidrBlock:     pulumi.String("10.0.0.0/24"),
    SecurityListIds: pulumi.StringArray{
        vcn.DefaultSecurityListId,
        securityList.ID(),
    },
    ProhibitPublicIpOnVnic: pulumi.Bool(false),
    RouteTableId:           vcn.DefaultRouteTableId,
    DhcpOptionsId:          vcn.DefaultDhcpOptionsId,
    DisplayName:            pulumi.Sprintf("%s-minecraft-subnet", ctx.Stack()),
    DnsLabel:               pulumi.String("subnetminecraft"),
})
if err != nil {
    return err
}
Of course, we need to set up a securityList to allow access to our subnet. I created ingress rules for the port of the Minecraft server and the SSH port. The egress rule is in this demo, completely open.
securityList, err := core.NewSecurityList(ctx, "minecraft-security-list", &core.SecurityListArgs{
    VcnId:         vcn.ID(),
    CompartmentId: compartment.ID(),
    DisplayName:   pulumi.Sprintf("%s-minecraft-sl", ctx.Stack()),
    EgressSecurityRules: core.SecurityListEgressSecurityRuleArray{
        core.SecurityListEgressSecurityRuleArgs{
            Protocol:    pulumi.String("all"),
            Destination: pulumi.String("0.0.0.0/0"),
        },
    },
    IngressSecurityRules: core.SecurityListIngressSecurityRuleArray{
        core.SecurityListIngressSecurityRuleArgs{
            Protocol:    pulumi.String("6"),
            Source:      pulumi.String("0.0.0.0/0"),
            Description: pulumi.String("Non Standard SSH Port"),
            TcpOptions: core.SecurityListIngressSecurityRuleTcpOptionsArgs{
                Max: pulumi.Int(22),
                Min: pulumi.Int(22),
            },
        },
        core.SecurityListIngressSecurityRuleArgs{
            Protocol:    pulumi.String("6"),
            Source:      pulumi.String("0.0.0.0/0"),
            Description: pulumi.String("Minecraft Server Port"),
            TcpOptions: core.SecurityListIngressSecurityRuleTcpOptionsArgs{
                Max: pulumi.Int(25565),
                Min: pulumi.Int(25565),
            },
        },
    },
})
if err != nil {
    return err
}
Now we come to the server part. I am going to use cloud-init to provision the server, once it is up and running. cloud-init is a software package that automates the initialization of cloud instances during system boot. You can configure cloud-init to perform a variety of tasks. In our demo, it will download the Minecraft server jar, create a service and start the server.
Here the snippet of cloud-init.yaml, I truncated the configuration of the Minecraft server to make it easier to read.
#cloud-config
users:
  - default
package_update: true

packages:
  - apt-transport-https
  - ca-certificates
  - curl
  - openjdk-17-jre-headless
write_files:
  - path: /etc/sysctl.d/enabled_ipv4_forwarding.conf
    content: |
      net.ipv4.conf.all.forwarding=1
  - path: /tmp/server.properties
    content: |
    ...
  - path: /etc/systemd/system/minecraft.service
    content: |
      [Unit]
      Description=Minecraft Server
      Documentation=https://www.minecraft.net/en-us/download/server
      [Service]
      WorkingDirectory=/minecraft
      Type=simple
      ExecStart=/usr/bin/java -Xmx2G -Xms2G -jar server.jar nogui

      Restart=on-failure
      RestartSec=5
      [Install]
      WantedBy=multi-user.target

runcmd:
  - iptables -I INPUT -j ACCEPT
  - mkdir /minecraft
  - ufw allow ssh
  - ufw allow proto tcp to 0.0.0.0/0 port 25565
  - URL="https://papermc.io/api/v2/projects/paper/versions/1.18.2/builds/312/downloads/paper-1.18.2-312.jar"
  - curl -sLSf $URL > /minecraft/server.jar
  - echo "eula=true" > /minecraft/eula.txt
  - mv /tmp/server.properties /minecraft/server.properties
  - systemctl restart minecraft.service
  - systemctl enable minecraft.service
To get an instance up and running in OCI, we need to provide the image and availability domain. This one was a little tricky to get, but at the end it worked out fine:
imageId := compartment.CompartmentId.ApplyT(func(id string) string {
    images, _ := core.GetImages(ctx, &core.GetImagesArgs{
        CompartmentId:          id,
        OperatingSystem:        pulumi.StringRef("Canonical Ubuntu"),
        OperatingSystemVersion: pulumi.StringRef("20.04"),
        SortBy:                 pulumi.StringRef("TIMECREATED"),
        SortOrder:              pulumi.StringRef("DESC"),
        Shape:                  pulumi.StringRef("VM.Standard.A1.Flex"),
    })
    return images.Images[0].Id
}).(pulumi.StringOutput)

availabilityDomainName := compartment.CompartmentId.ApplyT(func(id string) string {
    availabilityDomains, _ := identity.GetAvailabilityDomains(ctx, &identity.GetAvailabilityDomainsArgs{
        CompartmentId: id,
    })
    return availabilityDomains.AvailabilityDomains[0].Name
}).(pulumi.StringOutput)
OCI is hosted in regions and availability domains. A region is a localized geographic area, and an availability domain is one or more data centers located within a region. In my example, I just use the fist availability domain in my region. You should maybe not do this in production.
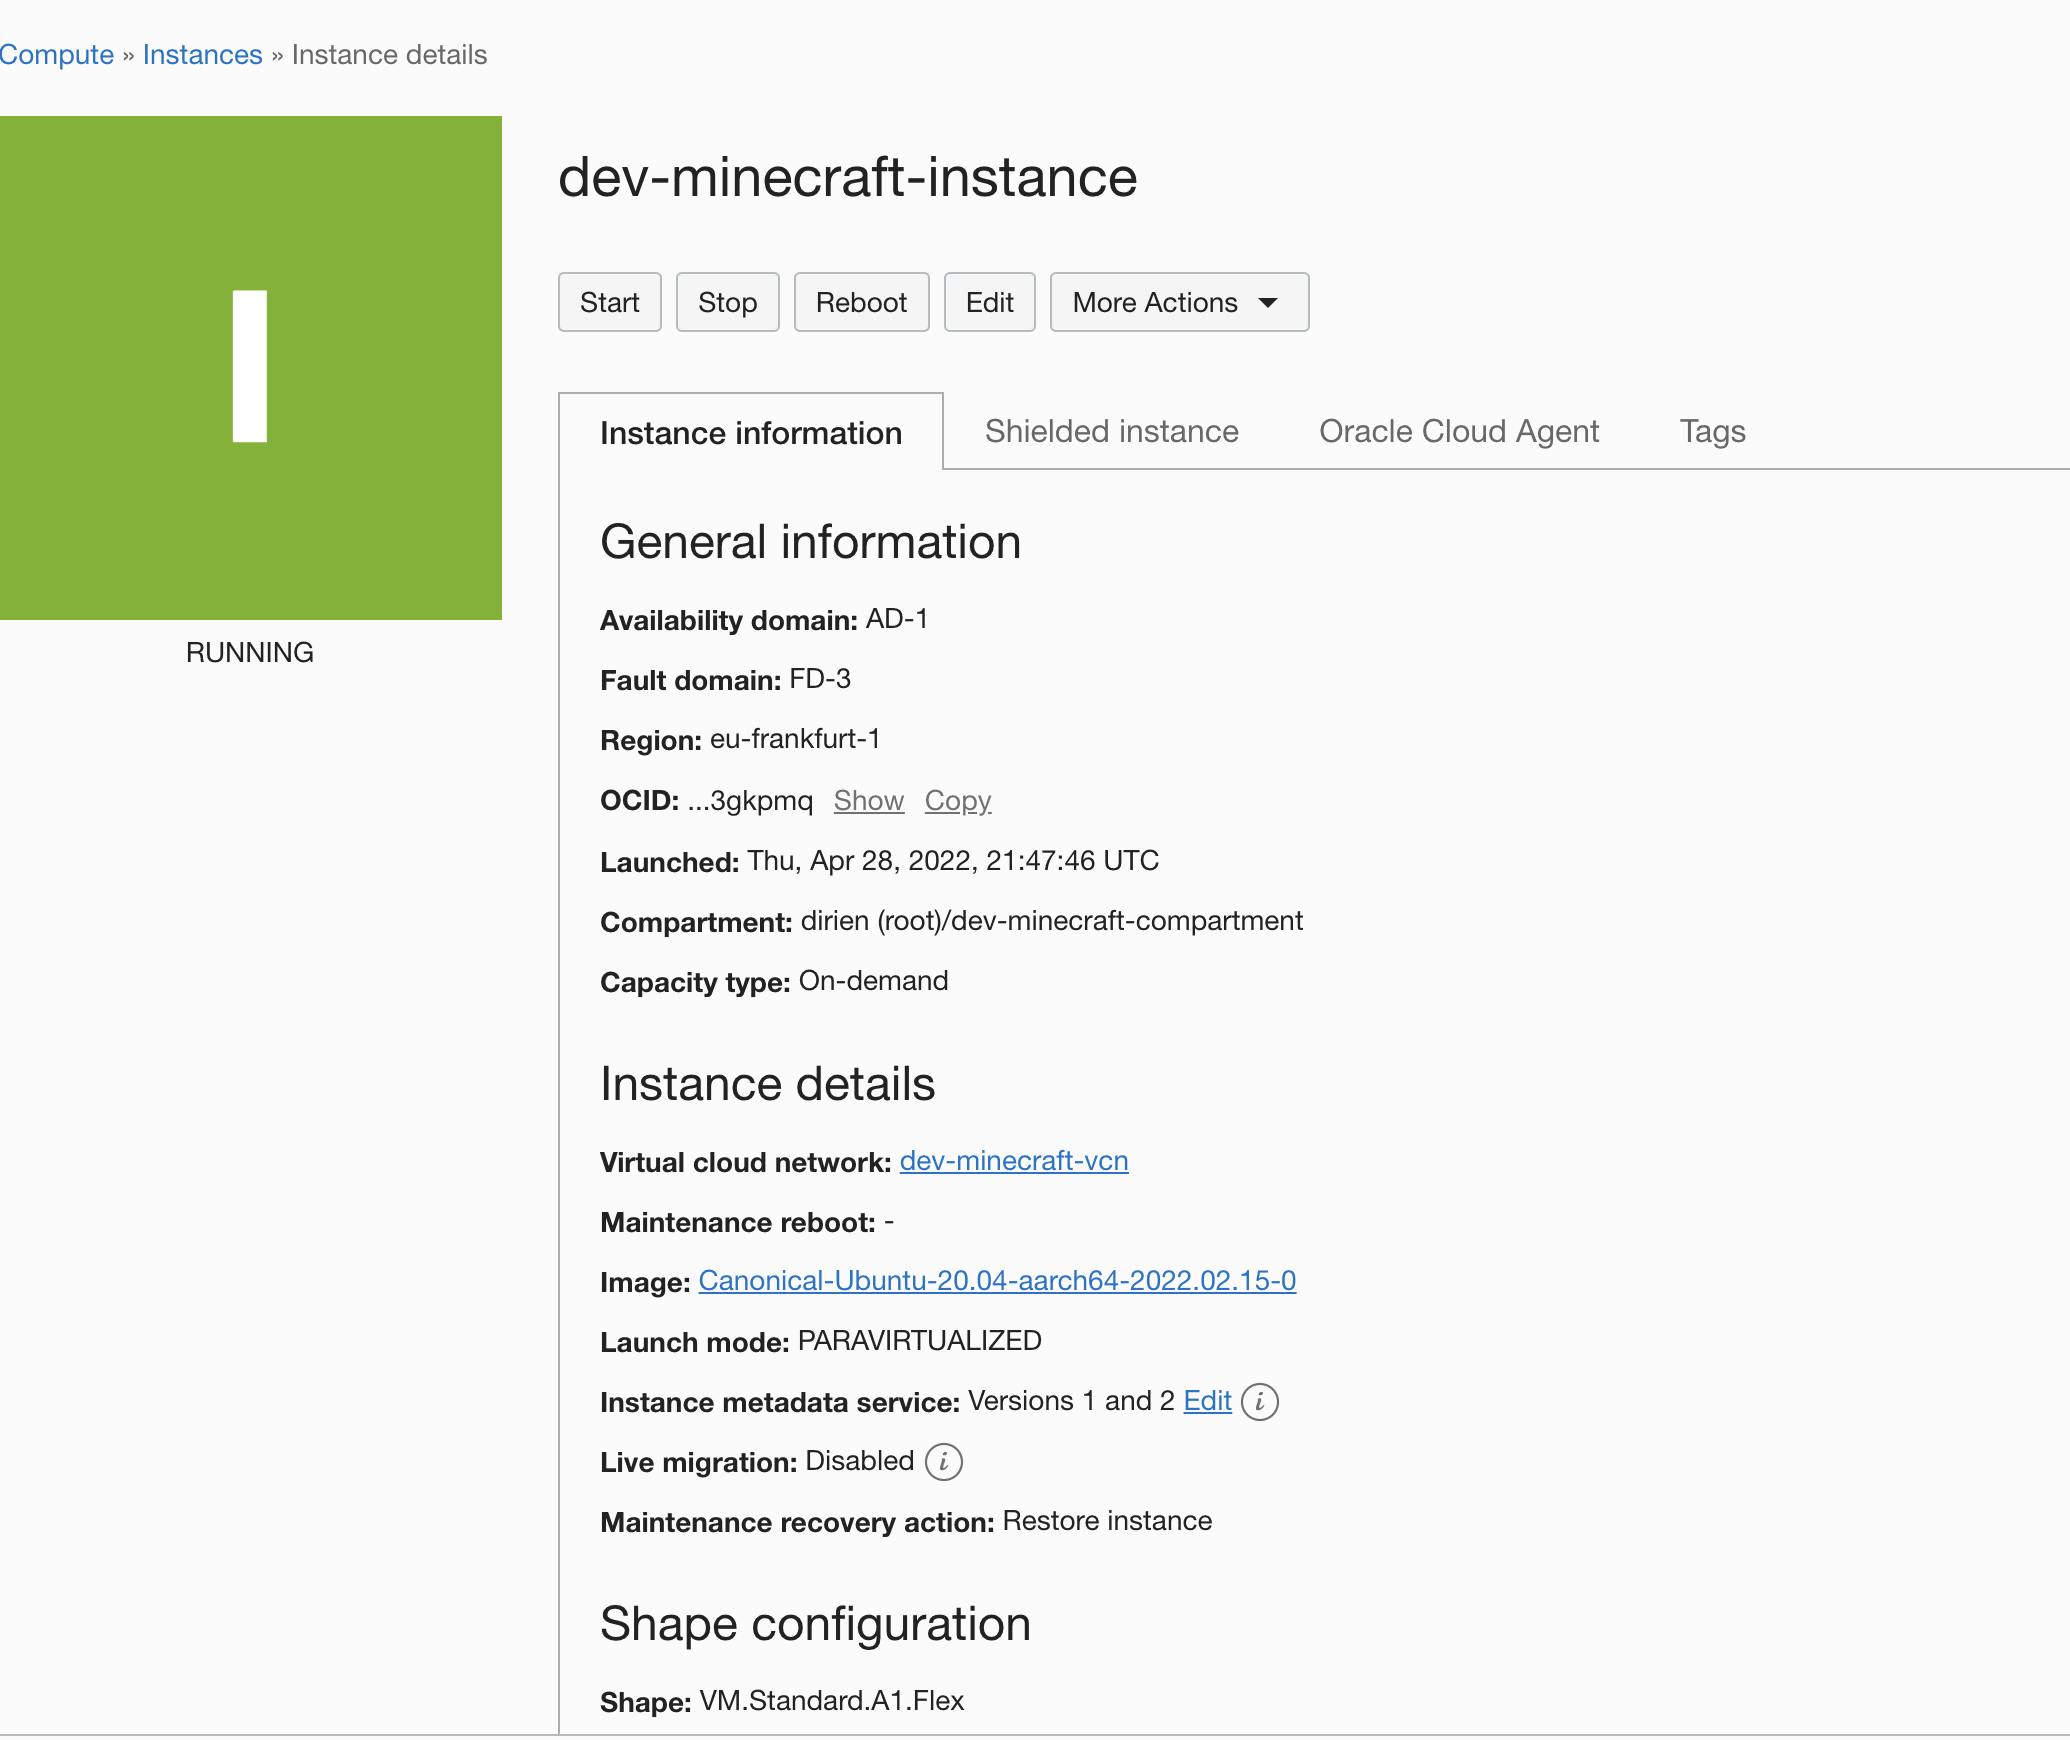
We are using Canonical Ubuntu 20.04 as the image, and VM.Standard.A1.Flex as the shape.
A shape is a template that determines the number of OCPUs , amount of memory, and other resources that are allocated to an instance. ARM instances on OCI are only available as flexible shape. A flexible shape is a shape that lets you customize the number of OCPUs and the amount of memory when launching or resizing your VM.
The full configuration of the instance is as follows:
minecraft, err := core.NewInstance(ctx, "minecraft-arm", &core.InstanceArgs{
    CompartmentId:      compartment.ID(),
    DisplayName:        pulumi.Sprintf("%s-minecraft-instance", ctx.Stack()),
    AvailabilityDomain: availabilityDomainName,
    Shape:              pulumi.String("VM.Standard.A1.Flex"),
    ShapeConfig: core.InstanceShapeConfigArgs{
        Ocpus:       pulumi.Float64(1),
        MemoryInGbs: pulumi.Float64(6),
    },
    SourceDetails: core.InstanceSourceDetailsArgs{
        SourceType: pulumi.String("image"),
        SourceId:   imageId,
    },
    CreateVnicDetails: core.InstanceCreateVnicDetailsArgs{
        AssignPublicIp: pulumi.String("true"),
        SubnetId:       subnet.ID(),
        DisplayName:    pulumi.Sprintf("%s-minecraft", ctx.Stack()),
    },
    Metadata: pulumi.Map{
        "user_data":           pulumi.String(base64.StdEncoding.EncodeToString(userData)),
        "ssh_authorized_keys": pulumi.String(pubKeyFile),
    },
})
if err != nil {
    return err
}
Use the pulumi.Export function to export the IP address of the instance.
ctx.Export("minecraft-ip", minecraft.PublicIp)
Now we can create the instance with the iconic Pulumi command:
...
pulumi up

     Type                           Name                        Status
 +   pulumi:pulumi:Stack            pulumi-oci-dev              created
 +   ├─ oci:Identity:Compartment    compartment                 created
 +   ├─ oci:Core:Vcn                minecraft-vcn               created
 +   ├─ oci:Core:InternetGateway    minecraft-internet-gateway  created
 +   ├─ oci:Core:SecurityList       minecraft-security-list     created
 +   ├─ oci:Core:Subnet             minecraft-subnet            created
 +   ├─ oci:Core:DefaultRouteTable  minecraft-route-table       created
 +   └─ oci:Core:Instance           minecraft-arm               created

Outputs:
    minecraft-ip: "ip"

Resources:
    + 8 created

Duration: 4m52s

Play Minecraft
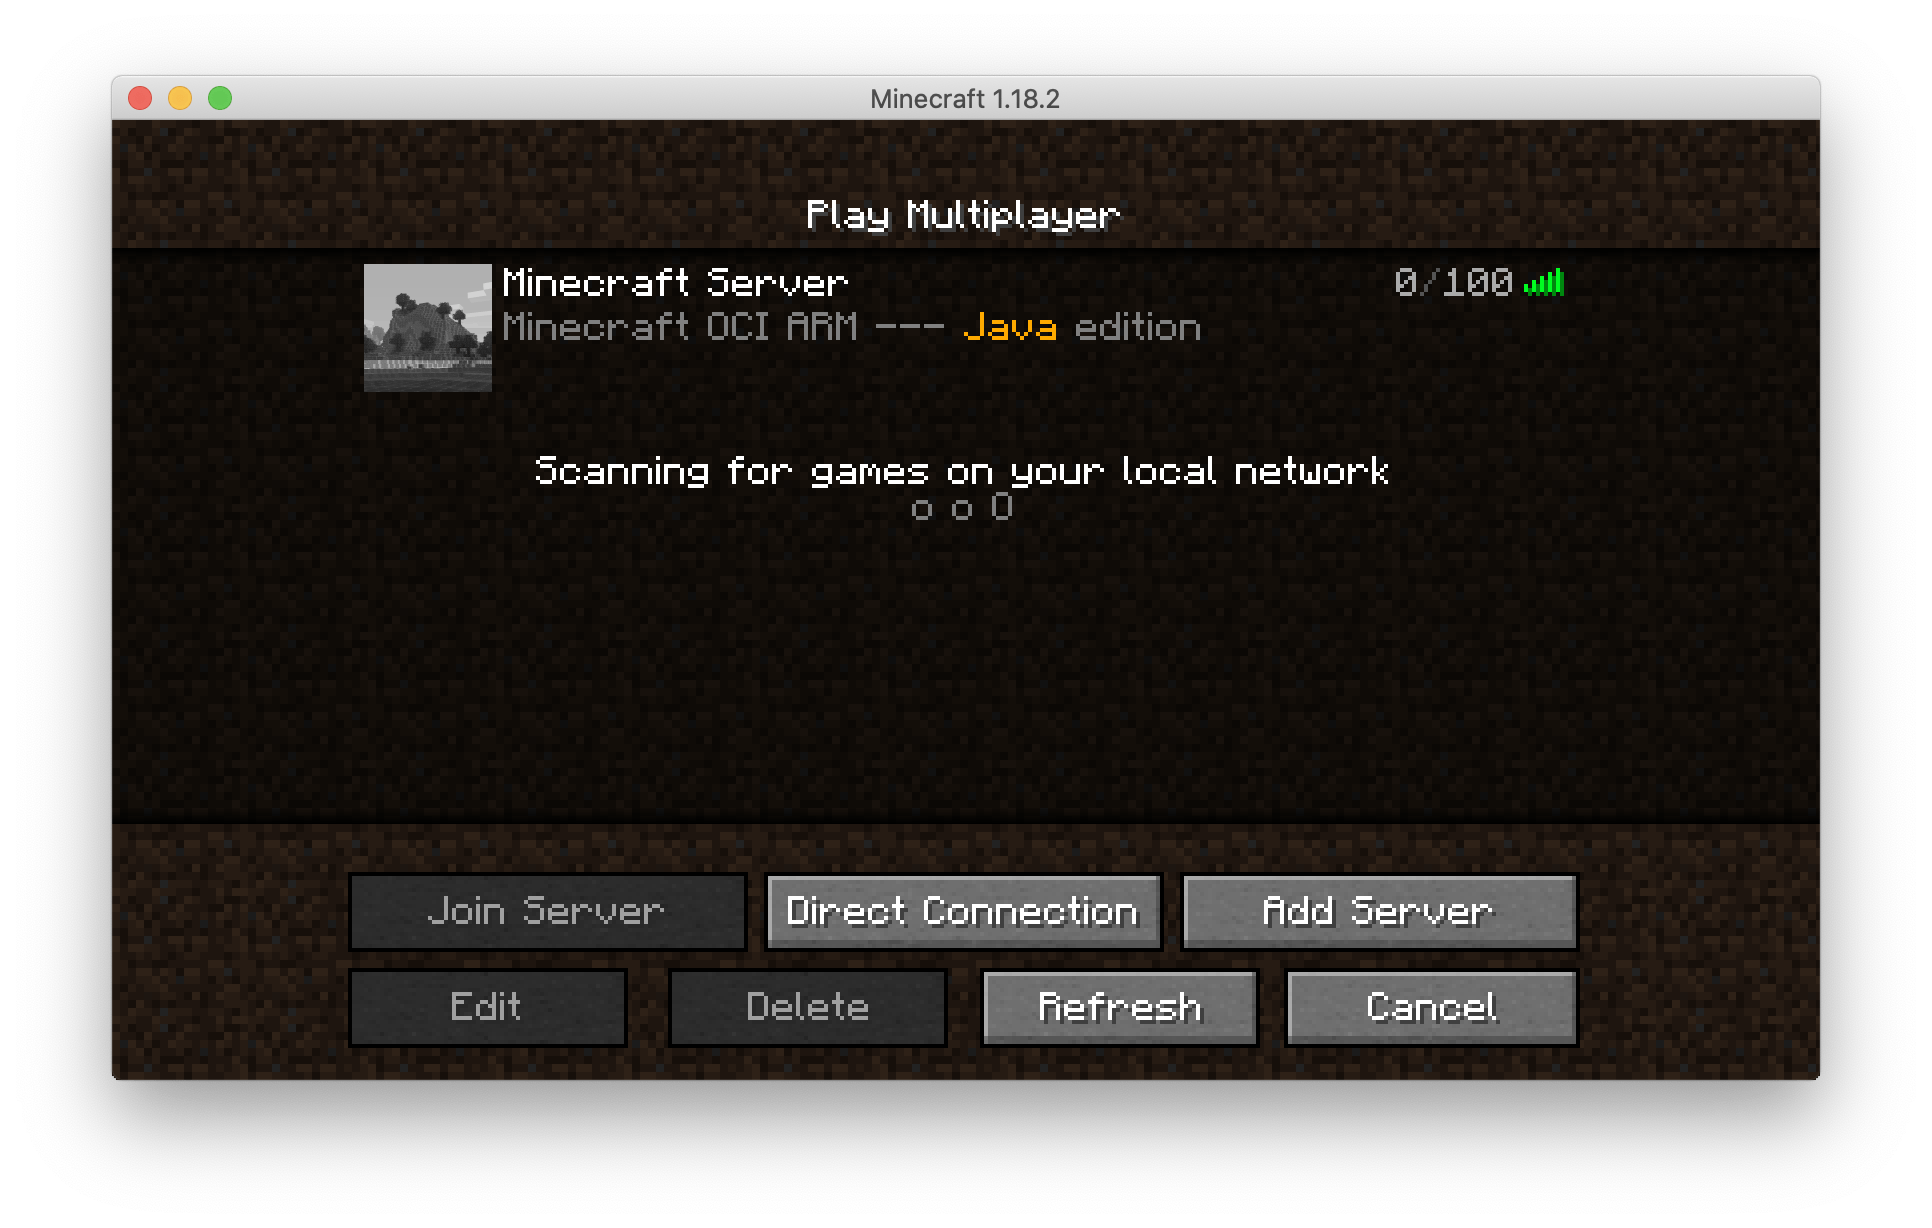
We can start our Minecraft client and connect to the instance with setting the ip address in the multiplayer settings:


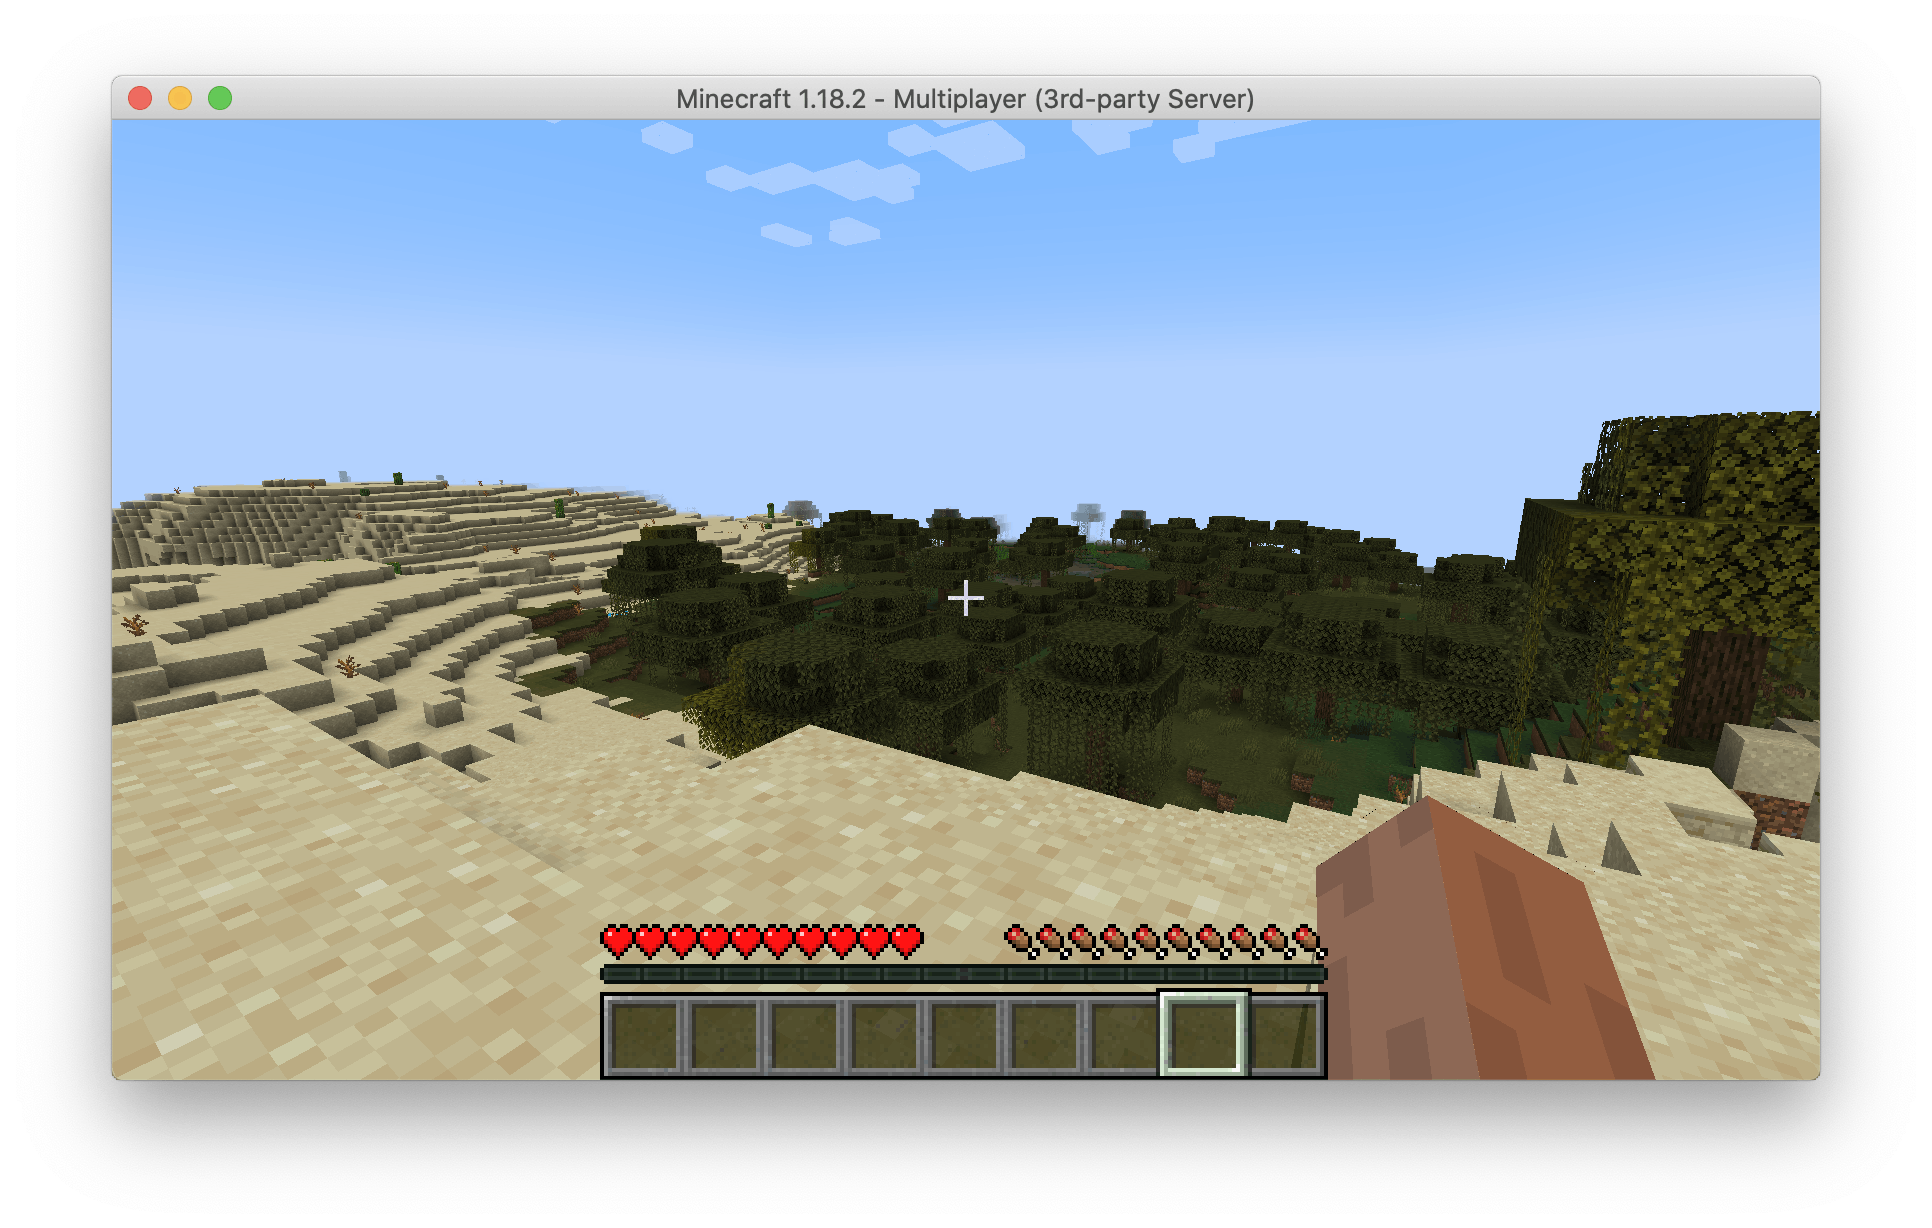
And now, have fun playing the most famous block baserd game on an ARM instance on OCI!
Housekeeping
Yes of course, we're going to delete our instance, if we don't need it anymore.
Always clean up your unused cloud resources: Avoid cloud waste and save money!
pulumi destroy
...

     Type                           Name                        Status
 -   pulumi:pulumi:Stack            pulumi-oci-dev              deleted
 -   ├─ oci:Core:Instance           minecraft-arm               deleted
 -   ├─ oci:Core:DefaultRouteTable  minecraft-route-table       deleted
 -   ├─ oci:Core:Subnet             minecraft-subnet            deleted
 -   ├─ oci:Core:InternetGateway    minecraft-internet-gateway  deleted
 -   ├─ oci:Core:SecurityList       minecraft-security-list     deleted
 -   ├─ oci:Core:Vcn                minecraft-vcn               deleted
 -   └─ oci:Identity:Compartment    compartment                 deleted

Outputs:
  - minecraft-ip: "ip"

Resources:
    - 8 deleted

Duration: 1m14s
Wrap Up
That's it! You saw how to create a simple instance in the OCI cloud with the help of the new pulumi-oci provider.


