My "Hello Teleport-World!" PoC
Access any computing resource anywhere

Cloud Native Pilgrim | Kubernetes Enthusiast | Serverless Believer | Customer Experience Architect @ Pulumi | (he/him) | CK{A,AD} |
The trigger for this PoC was this tweet, if VMware is so happy I need to find out of its good.
So in this blog article, I would like to build a little PoC environment to try out
teleport.

Teleport is an open source solution from Gravitational that can be configured
as a proxy for administering a Kubernetes cluster, SSH servers, Databases, and Web Apps. The open source version
includes support for GitHub authentication, i.e. you can use GitHub as an identity provider for authenticating users. On
top of it you can share and record interactive sessions across all environments.
The features are fascinating, especially if you are working in an enterprise environment. Here you find the situation of
changing team members, different teams with different responsibilities or even external contractors. So teleport
allows unifying the access on these resources.
The PoC we will cover only the access to Kubernetes cluster. But you can easily extend it to the other resources
teleport too, like SSH servers, Databases, and Web Apps.
Setup
Teleport
The PoC is very simple. We have two folders with different Terraform scripts inside. The teleport folder contains the
TF scripts needed to build the teleport main server.
The teleport server is hosted on AWS EC2 as a t2.micro, you can of course use your preferred cloud or on-prem
provider.
I use DigitalOcean to handle my domain registration. You can of course use any other service. In this case you need to
remove the do.tf file. Just take care that you have the following domains pointing to your teleport server IP:
- teleport.<domin>
- *.teleport.<domain>
Cluster
The folder cluster contains the test kubernetes cluster we want to be managed by teleport. In this PoC I
use Scaleway Kapsule.
Deploy
To start, the different deployments I use Task. Task is a task runner / build tool that aims to be simpler and easier to use than, for example, GNU Make.
With the task the default task will be deployed.
When everything is up and running, you need to log into your teleport main server ssh -i <ssh> ubuntu@<ip> and
execute following commands:
sudo tctl users add teleport-admin --roles=editor,access --logins=root,ubuntu

TOKEN=$(sudo tctl nodes add --roles=kube --ttl=10000h --format=json | jq -r '.[0]')
echo $TOKEN
The first command will create a user.
ubuntu@ip-172-16-10-56:~$ sudo tctl users add teleport-admin --roles=editor,access --logins=root,ubuntu
User "teleport-admin" has been created but requires a password. Share this URL with the user to complete user setup, link is valid for 1h:
https://teleport.ediri.online:443/web/invite/a90789faa0e64813695e51817ffb72d6

NOTE: Make sure teleport.ediri.online:443 points at a Teleport proxy which users can access.

Follow the link, to finish the registration of the user. You will need also an app like Google Authenticator
The second command will register you kubernetes cluster as node to teleport, and the display the token we're going to
use in the deployment of the teleport agent.
Tweak the Taskfile for your domain and the cluster
name: --set kubeClusterName="civo-cluster" --set proxyAddr="teleport.ediri.online:443"
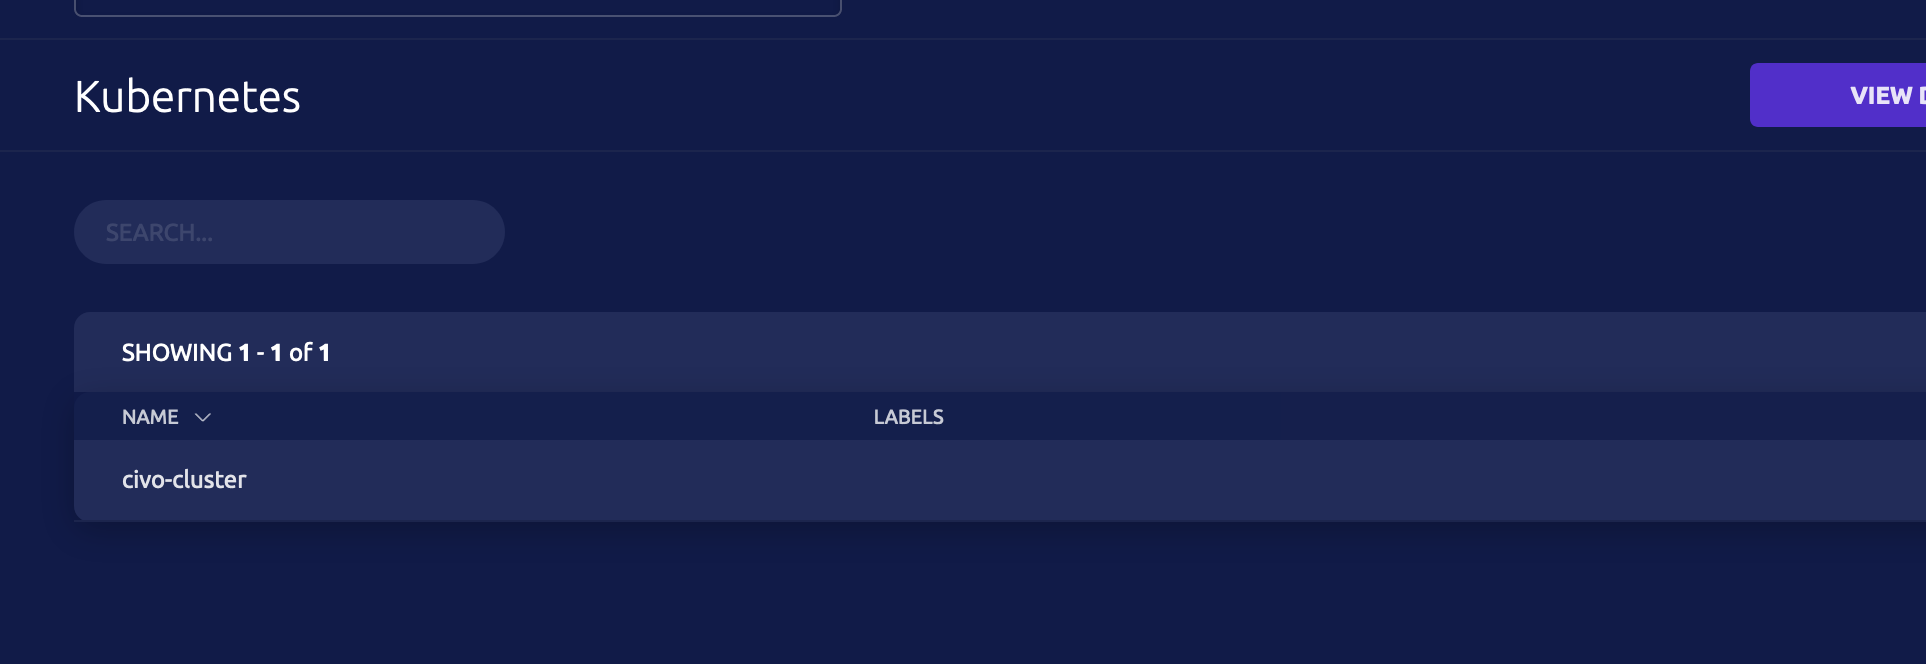
Then to deploy the teleport-agent helm chart just call task cluster-teleport-agent -- <TOKEN>. If everything runs
smooth, you should see in the UI the kubernetes cluster.
Before we start to log into our kubernetes cluster via teleport I just created teleport role via the UI, where I map
the role basic-user to the kubernetes group system:masters. Of course, you can create your own kubernetes group and
map to this.

kind: role
metadata:
  id: 1633277652350568711
  name: basic-user
spec:
  allow:
    app_labels:
      '*': '*'
    db_labels:
      '*': '*'
    kubernetes_groups:
      - system:authenticated
    kubernetes_labels:
      '*': '*'
    logins:
      - root
    node_labels:
      '*': '*'
    rules:
      - resources:
          - '*'
        verbs:
          - '*'
  deny:
    logins:
      - guest
  options:
    cert_format: standard
    enhanced_recording:
      - command
      - network
    forward_agent: false
    max_session_ttl: 8h0m0s
    port_forwarding: true
version: v3
Add this new teleport role to the user, we created via the cli on the teleport server.
Now we are ready to test the access to the cluster via teleport. Before you need to install the teleport client
locally.
I use a mac, so I use brew to do this. But there
are binaries, for all the other systems too
brew install teleport
And then use the tsh login command.
tsh login --proxy=teleport.ediri.online:443 --auth=local --user=teleport-admin
Enter password for Teleport user teleport-admin:
Enter your OTP token:
xxx
> Profile URL:        https://teleport.ediri.online:443
  Logged in as:       teleport-admin
  Cluster:            teleport.ediri.online
  Roles:              access, basic-user, editor
  Logins:             root, ubuntu
  Kubernetes:         enabled
  Kubernetes cluster: "civo-cluster"
  Kubernetes groups:  system:authenticated
  Valid until:        2021-10-04 03:09:47 +0200 CEST [valid for 8h0m0s]
  Extensions:         permit-agent-forwarding, permit-port-forwarding, permit-pty
With tsh kube ls you should see all your available kubernetes cluster
tsh kube ls
Kube Cluster Name Selected
----------------- --------
civo-cluster
And to login into a cluster just type
tsh kube login civo-cluster
This will issue now a kubeconfig.
Audit Log and Session recording

In the UI you have the possibility to see every interaction with the managed resources:
So when I perform following action via the kubectl cli:
kubectl get ns
NAME              STATUS   AGE
default           Active   99m
kube-node-lease   Active   99m
kube-public       Active   99m
kube-system       Active   99m
teleport-agent    Active   78m
The Audit log item has now following entry.

{
  "addr.local": "10.32.0.1:443",
  "addr.remote": "18.159.225.59:3024",
  "cluster_name": "teleport.ediri.online",
  "code": "T3009I",
  "ei": 0,
  "event": "kube.request",
  "kubernetes_cluster": "civo-cluster",
  "kubernetes_groups": [
    "system:authenticated"
  ],
  "kubernetes_users": [
    "teleport-admin"
  ],
  "login": "teleport-admin",
  "namespace": "default",
  "proto": "kube",
  "request_path": "/api/v1/namespaces",
  "resource_api_group": "core/v1",
  "resource_kind": "namespaces",
  "response_code": 200,
  "server_id": "ab450031-a6ba-4aab-aa95-5078be0d4648",
  "time": "2021-10-03T17:13:51.336Z",
  "uid": "d5d86959-e258-4f73-8c56-b1247aa2a3af",
  "user": "teleport-admin",
  "verb": "GET"
}


If I use the kubectl exec command the interactive commands are recorded as regular sessions that can be stored and
replayed in the future. This, together with Falco is really help to boost your security.
Purge

Just type task purge to purge the whole PoC again.
TL;DR
Le code -> https://github.com/dirien/teleport-poc
In my opinion, based of course from these little limited PoC, teleport is definitely worth to consider. It is
definitely better in terms of additional functionality to classic Bastion Hosts. The session recording and audit logs
are definitely the sweet spot of teleport.
My next actions will be an internal pitch of teleport at my employee.


