Table of contents
TL;DR code
As usual, the link to the code repo on GitHub:
Introduction
This article is an update for my ongoing quest to answer the question:
Are there any alternatives to YAML for Kubernetes deployments?
You missed the first part? Here is the link:
I talked there, about the following three tools as alternatives to YAML:
But what is the issues with yaml?
Most of the existing and well known templating tools (like Helm or Kustomize) assume values are always statically known and use different approaches to fetch dynamic ones, for example secrets from Hashicorp Vault via mutating admission webhook. This is very suboptimal as it is:
- Hard to test, since side effects escape through CLIs.
- Highly dependent on the execution environment.
- Wrong indents and typos are not detected until applied, or need an additional tools to prevent during creation or pre-apply time.
- YAML manifests prescribe the eventual state but not how existing workloads will be affected. Blindly applying the manifest might cause outages.
- Difficult to build YAML with complex control logic, such as loops and branches.
We don't have this challenges, if we going to use an programming language to build our Kubernetes deployments.
Isopod
- Isopod - 400 Github-⭐
In this article, I am going to discover Isopod, a very interesting no-yaml approach based on Starlark.
Starlark is a dialect of Python intended for use as a configuration language. Like Python, it is an untyped dynamic language with high-level data types, first-class functions with lexical scope, and garbage collection.
Isopod treats Kubernetes configuration differently by handling Kubernetes objects as first-class citizens. Without the need of intermediate YAML artifacts, Isopod renders Kubernetes objects as Protocol Buffers (Protobufs), so they are strongly typed and consumed directly by the Kubernetes API.
This sounds very promising to me, let's give it a try!
To keep the example the same I will use the podtato-head demo again.

Installation
Isopod is currently only available for macOS and Linux systems, and only as direct download via the GitHub page.
Here, I am using the macOS client, but you can easily change it with the linux version. As it is written in Go, you could even compile it for Windows clients.
wget https://github.com/cruise-automation/isopod/releases/download/v1.8.6/isopod-darwin
chmod +x isopod-darwin
mv isopod-darwin /usr/local/bin/isopod
After this, we just need to create our files with the suffix `ipd``
The main.ipd has to methodes, one for defining the cluster and the other one for installing the addons.
def clusters(ctx):
    return [
        onprem(env="dev", cluster="docker-desktop"),
    ]


def addons(ctx):
    return [
        addon("podtato-head", "podtato-head.ipd", ctx),
    ]
Currently, Isopod supports the only gke and onprem as clusters.
For the onprem cluster, I need to pass the kubeconfig via a flag to the ispod command. With this way, I am able to use every Kubernetes installation.
Next thing are addons. An addon is represented using the addon() Starlark built-in, which takes three arguments, for example addon("name", "entry_file.ipd", ctx). The first argument is the addon name. The third is optional and represents the ctx input to addons(ctx) to make the cluster attributes available to the addon.
You can load remote Isopod modules with
git_repository(
    name="isopod_tools",
    commit="dbe211be57bc27b947ab3e64568ecc94c23a9439",
    remote="https://github.com/cruise-automation/isopod.git",
)
To import remote modules, use load("@target_name//path/to/file", "foo", "bar"), for example,
load("@isopod_tools//examples/helpers.ipd",
     "health_probe", "env_from_field", "container_port")
Built-ins
Built-ins are pre-declared packages available in the Isopod runtime.
Currently, these are the supported build-ins:
- Kube: Built-in for managing Kubernetes objects.
- Vault: Allows reading/writing values from Enterprise Vault.
- Helm: Renders Helm charts and applies the resource manifest changes.
- Misc: Various other utilities are available as Starlark built-ins for convenience
I am going to use in this demo only the kubebuild-in and load our "data" via load("podtato-data.star", "podtato") in the addon. The data is just a simple dictonary.
So our demo looks likes this:
appsv1 = proto.package("k8s.io.api.apps.v1")
corev1 = proto.package("k8s.io.api.core.v1")
metav1 = proto.package("k8s.io.apimachinery.pkg.apis.meta.v1")
intstr = proto.package("k8s.io.apimachinery.pkg.util.intstr")

namespace = "podtato"

load("podtato-data.star", "podtato")

def install(ctx):
    appLabel = {"app": "podtato-head"}

    metadata = metav1.ObjectMeta(
        namespace=namespace,
        labels=appLabel,
    )

    kube.put(
        name=namespace,
        data=[corev1.Namespace(
            metadata=metav1.ObjectMeta(
                name=namespace))
              ],
    )

    for key in podtato.get("parts"):
        name="podtato-head-{0}".format(key["name"])
        componentLabel = {"component": key["name"]}
        d = appsv1.Deployment(
            metadata=metav1.ObjectMeta(
                name=name,
                namespace=namespace,
                labels=componentLabel
            ),
            spec=appsv1.DeploymentSpec(
                replicas=1,
                selector=metav1.LabelSelector(matchLabels=componentLabel),
                template=corev1.PodTemplateSpec(
                    metadata=metav1.ObjectMeta(
                        labels=componentLabel
                    ),
                    spec=corev1.PodSpec(
                        containers=[
                            corev1.Container(
                                name=key["name"],
                                image="ghcr.io/podtato-head/{0}:{1}".format(
                                    key["name"], key["image"]),
                                imagePullPolicy="Always",
                                ports=[
                                    corev1.ContainerPort(
                                        containerPort=9000
                                    )
                                ],
                                env=[
                                    corev1.EnvVar(
                                        name="PODTATO_PORT",
                                        value="9000"
                                    )
                                ]
                            )
                        ]
                    )
                )
            )
        )
        kube.put(
            name=d.metadata.name,
            namespace=namespace,
            data=[d],
        )

        s = corev1.Service(
            metadata=metav1.ObjectMeta(
                name=name,
                namespace=namespace,
                labels=appLabel
            ),
            spec=corev1.ServiceSpec(
                selector=componentLabel,
                ports=[
                    corev1.ServicePort(
                        port=int(key["service"].get("port")),
                        targetPort=intstr.IntOrString(
                            intVal=9000
                        ),
                        protocol="TCP",
                        name="http"
                    )
                ],
                type=key["service"].get("type")
            )
        )
        kube.put(
            name=s.metadata.name,
            namespace=namespace,
            data=[s],
        )


def remove(ctx):
    kube.delete(namespace=namespace)
As you can see, I use two methodes called install and remove. First will install our demo application, the scond will just delete the application again.
The code, will create a namespace and iterate through the dictonary to create the kubernetes deployment and service objects for each part of the podtato head figure.
I can then install our addon via:
isopod -kubeconfig $HOME/.kube/config install main.ipd

Current cluster: ("docker-desktop")
Beginning rollout [rollout-c9o32va3k1k88amnflag] installation...
 Installing podtato-head... done
Rollout [rollout-c9o32va3k1k88amnflag] is live!
`
As I am using docker-desktop i needed to pass the kubeconfig file via the -kubeconfig flag.
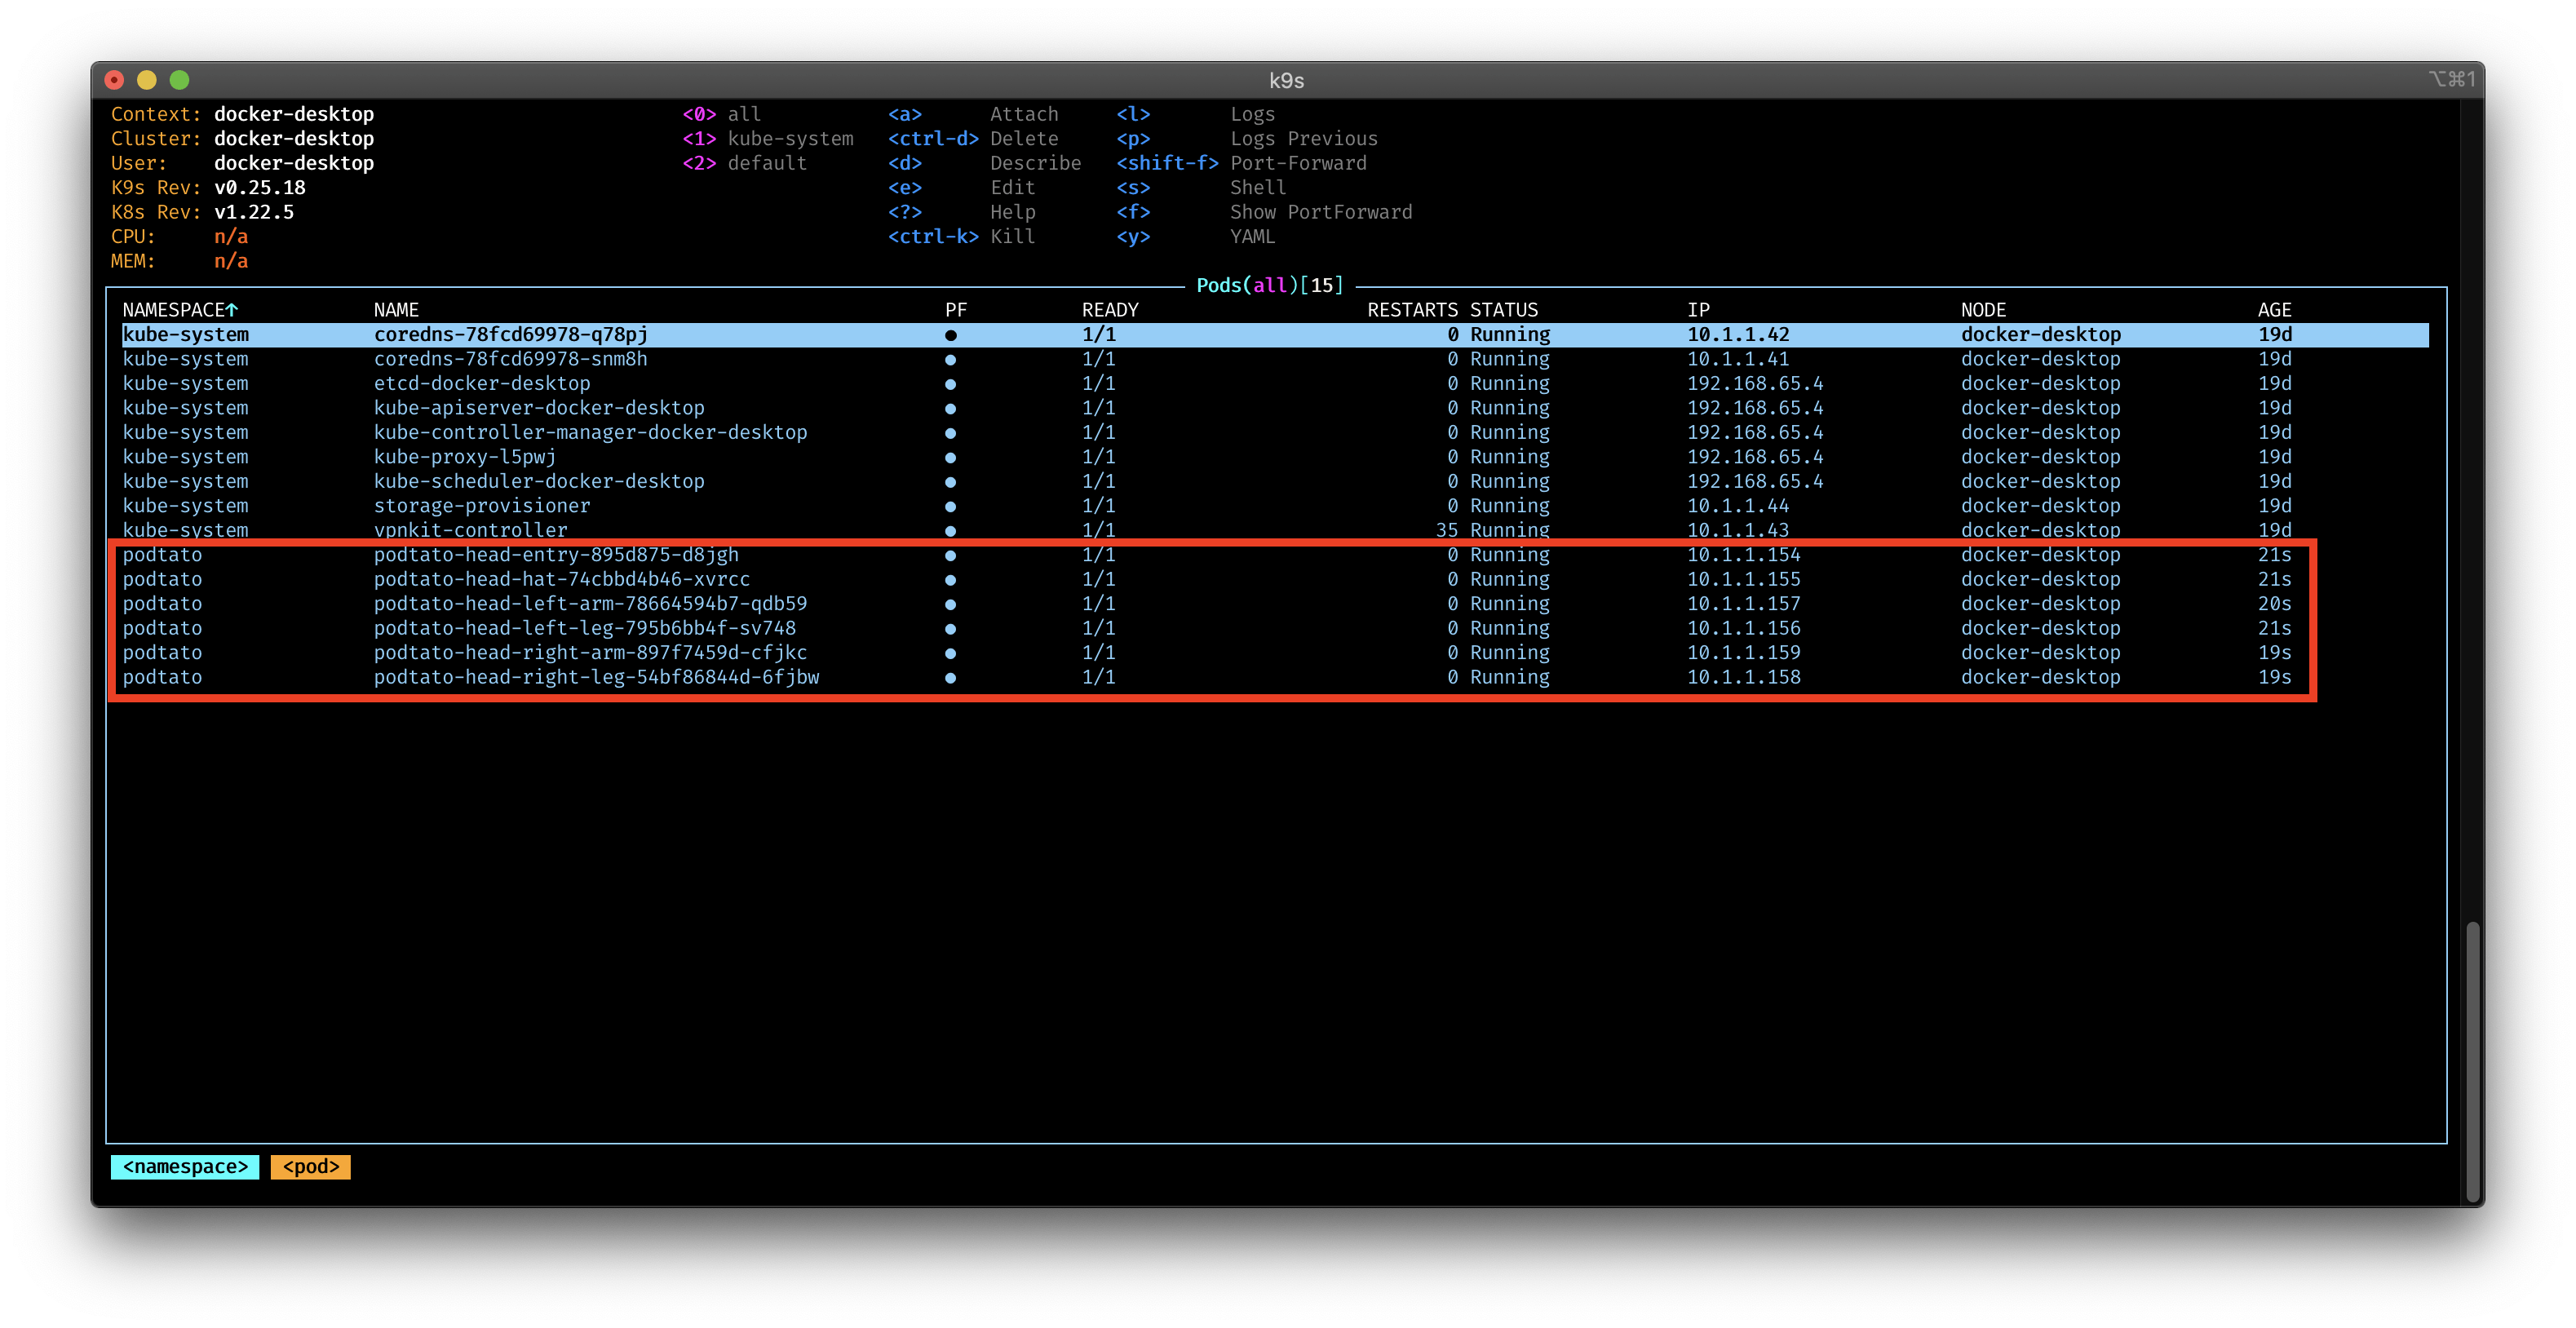
If everything goes well, you should see following deployment (here i use k9s)

and delete it with:
isopod -kubeconfig $HOME/.kube/config remove main.ipd

Current cluster: ("docker-desktop")
Wrap Up
I don't think you will ever see Isopod every in a production use case. But I like the idea very much, and it is interesting to see how many ways there are to deploy to a Kubernetes cluster without the need of yaml.
If you know any other tools, let me know in the comments or on Twitter. Happy to test them out!

