How to use Pulumi and Scala to deploy a Minecraft Server on a DigitalOcean Droplet
Cloud Native Pilgrim | Kubernetes Enthusiast | Serverless Believer | Customer Experience Architect @ Pulumi | (he/him) | CK{A,AD} |
TL;DR Le code
Introduction
Since I am a big fan of Minecraft and Pulumi I wanted to combine both and see If I am able to use Scala as programming language. As we all know, Pulumi is a multi-language framework and supports many languages. And since now a while, also Java. Scala is a JVM language and compiles to Java bytecode. So I thought, why not give it a try.
Prerequisites
To follow this tutorial you need to have the following installed:
- The Pulumi CLI and a backend to host your state. I am using the Pulumi Service. It is free for open source projects.
- Scala
- DigitalOcean Account and API Token. You can create here an account and get $200 credit for 60 days.
- IDE of your choice. I am using IntelliJ IDEA. Add the Scala plugin to your IDE, for a more pleasant experience.
What is Scala?
I shamelessly copied this from the Scala website:
Scala combines object-oriented and functional programming in one concise, high-level language. Scala's static types help avoid bugs in complex applications, and its JVM and JavaScript runtimes let you build high-performance systems with easy access to huge ecosystems of libraries.
There you go, I could not better explain this myself.
Install Scala
I am using homebrew to install Scala on my Mac. So the installation is as easy as:
brew install coursier/formulas/coursier && cs setup
Create a new Pulumi project
After the installation of Scala I create a new Scala project with the following command:
sbt new scala/scala3.g8
And use as project name pulumi-scala-minecraft. This will create a new directory with the
name pulumi-scala-minecraft and some files in it. We will change this files, no worries.
To add Pulumi, I just added a Pulumi.yaml file with the following content:
name: pulumi-scala-minecraft
description: A minimal Java Pulumi program with Maven builds
runtime:
  name: java
Now we can add the Pulumi dependencies to our project. We need the Pulumi core library and the Pulumi DigitalOcean provider.
Open the build.sbt file and add the following dependencies after the exiting libraryDependencies line:
val scala3Version = "3.2.1"

lazy val root = project.in(file(".")).settings(
  name := "pulumi-scala-minecraft",
  version := "0.1.0-SNAPSHOT",

  scalaVersion := scala3Version,

  libraryDependencies += "org.scalameta" %% "munit" % "0.7.29" % Test,
  libraryDependencies += "com.pulumi" % "pulumi" % "0.6.0",
  libraryDependencies += "com.pulumi" % "digitalocean" % "4.16.0",
  libraryDependencies += "com.pulumi" % "command" % "4.5.0",
)
Some remarks: I am using Scala 3.2.1 for this tutorial.
Now I create a package io.dirien.minecraft in the src/main/scala directory and add a file App$.scala to it. This
will be our main class. Add the following content to the file:
package io.dirien.minecraft


import com.pulumi.{Context, Pulumi}
import io.dirien.minecraft.MinecraftServer

object App {

  final val region = "fra1"
  final val size = "c2-4vcpu-8gb"
  final val image = "ubuntu-22-04-x64"


  def main(args: Array[String]): Unit = {
    Pulumi.run { (ctx: Context) =>

      val minecraftServer = new MinecraftServer(image, region, size)
      val ip = minecraftServer.infrastructure()

      ctx.`export`("public ip", ip)
    }
  }
}
As you can see, we created a new Object App with a main method. In this method we create a new instance of
our MinecraftServer class and call the infrastructure method. This method will create the infrastructure for our Minecraft Server. The infrastructure method returns the public IP address of the Droplet. We export this IP address with the export method of the Context class. This will make the IP address available as output of our Pulumi program.
Create the MinecraftServer class
The MinecraftServer class is the heart of our Pulumi program. It will create the infrastructure for our Minecraft
Server. We will use the DigitalOcean provider to create a Droplet and a Floating IP. The Droplet will use cloud-init to
download, install and configure the Minecraft Server.
Create a new file MinecraftServer.scala in the src/main/scala/io/dirien/minecraft directory and add the following
content:
package io.dirien.minecraft

import com.pulumi.core.Output
import com.pulumi.digitalocean.{Droplet, DropletArgs, SshKey, SshKeyArgs}
import com.pulumi.{Context, Pulumi}
import com.pulumi.command.remote.{Command, CommandArgs}
import com.pulumi.command.remote.inputs.ConnectionArgs

import scala.io.Source

class MinecraftServer(image: String, region: String, size: String) {

  def readFile(path: String): String = {
    val file = Source.fromFile(path)
    val fileContent = try file.mkString finally file.close()
    fileContent
  }

  def infrastructure(): Output[String] = {
    val cloudInit = readFile("src/main/resources/cloud-init.yaml")
    val sshPublicKeyString = readFile("src/main/resources/minecraft.pub")

    val sshKey = new SshKey("minecraft-scala", SshKeyArgs.builder
      .publicKey(sshPublicKeyString)
      .build())

    val fingerprints: Output[java.util.List[String]] = sshKey.fingerprint().apply(fingerprint => {
      Output.listBuilder().add(fingerprint).build()
    })

    val minecraftServer = new Droplet("minecraft", DropletArgs.builder
      .image(this.image)
      .region(this.region)
      .size(this.size)
      .userData(cloudInit)
      .sshKeys(
        fingerprints
      )
      .build())

    val privateKey = readFile("src/main/resources/minecraft")

    new Command("install-minecraft", CommandArgs.builder()
      .connection(ConnectionArgs.builder()
        .host(minecraftServer.ipv4Address())
        .privateKey(privateKey)
        .user("root")
        .build())
      .create("cloud-init status --wait")
      .build())

    minecraftServer.ipv4Address()
  }
}
You can see that we have a constructor with three parameters: image, region and size. These parameters are used to create the Droplet.
As you may have spotted, we have a method readFile which reads a file from any given path and takes care of closing the Source.
There is one convenience Pulumi resource called Command. This resource allows us to execute a command on a remote host. In this case, we use it to wait for the cloud-init script to finish.
Before I forget, you need to create an ssh key pair. You can do this with the following command:
ssh-keygen -f $PWD/minecraft
and copy both files minecraft and minecraft.pub to the src/main/resources directory. Of course, you can use any
other name and path, but you need to adjust the calls to readFile in the MinecraftServer class.
That's it from the code side. Now we can run our Pulumi program.
Run the Pulumi program
Set the DIGITALOCEAN_TOKEN environment variable to your DigitalOcean API token.
export DIGITALOCEAN_TOKEN=your-token
Now you can run the Pulumi program with the following command:
sbt update
pulumi up -f -y
The first command will download all dependencies. The second command will run the Pulumi program.
After a few minutes, you should see the following output:
❯ pulumi up -f -y
Please choose a stack, or create a new one: dev
Updating (dev)

View Live: https://app.pulumi.com/dirien/pulumi-scala-minecraft/dev/updates/22

     Type                           Name                        Status
 +   pulumi:pulumi:Stack            pulumi-scala-minecraft-dev  created (44s)
 +   ├─ digitalocean:index:SshKey   minecraft-scala             created (1s)
 +   ├─ digitalocean:index:Droplet  minecraft                   created (41s)
 +   └─ command:remote:Command      install-minecraft           created (122s)


Outputs:
    public ip: "xx.yy.zz.aa"

Resources:
    + 4 created

Duration: 2m53s
You can see that we created a new stack called dev. The stack contains the resources we created. You can see the IP address of the Droplet in the output section.
Connect to the Minecraft Server
Copy the IP address from the output section and connect to the server in your Minecraft client.
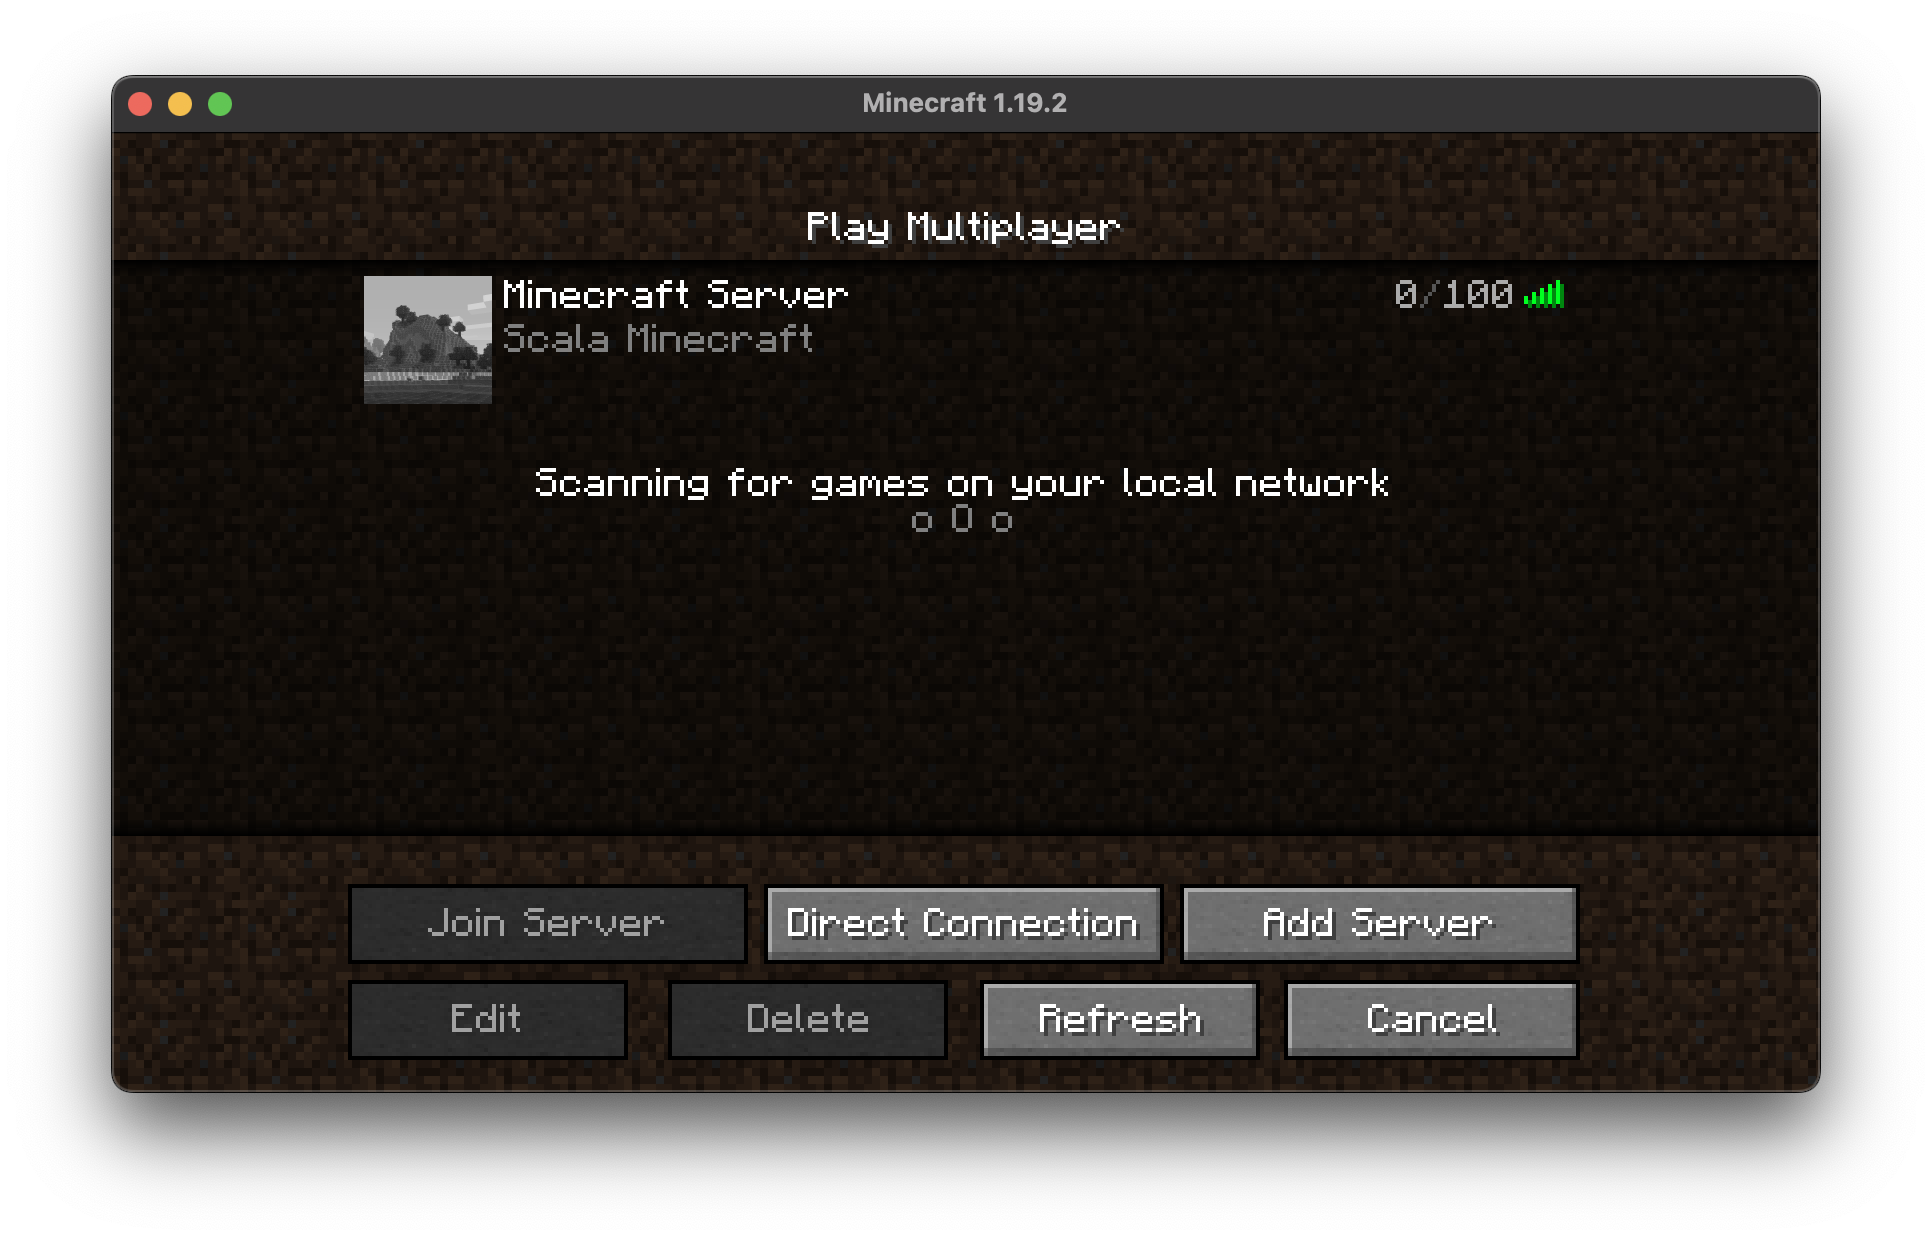
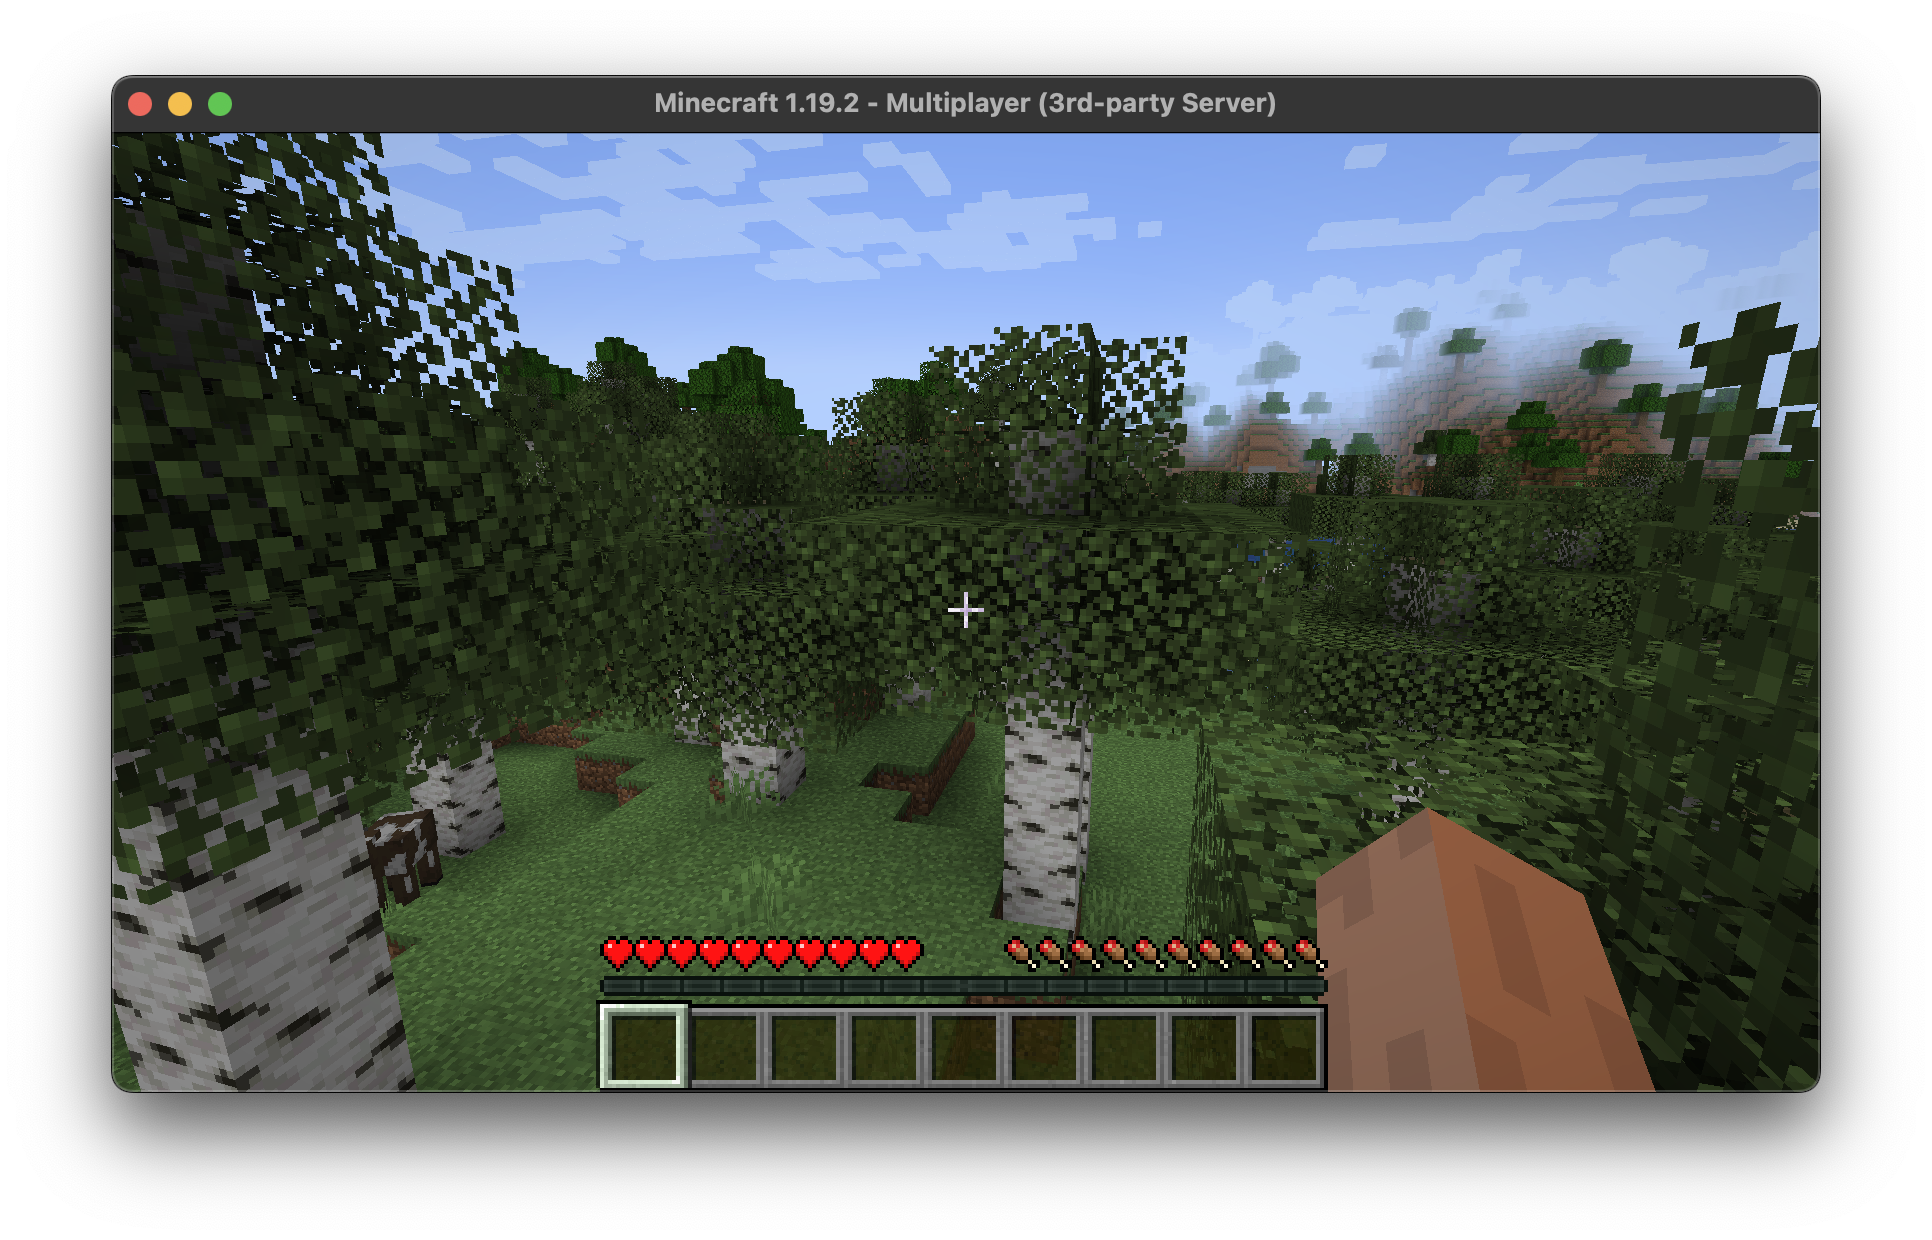
Enjoy your Minecraft Server!
Clean up
To clean up the resources, run the following command:
pulumi destroy -f -y
Conclusion
It was very interesting to create a Pulumi program with Scala. I can see why so many developers love Scala. And it works really well with Pulumi. I hope you enjoyed this article. If you have any questions or comments, please let me know in the comments section.


