In this tutorial, I want to show you how to use inlets tunnel with Checkly.
The idea behind this, is to show how to we can use inlets to create tunnel from our on-premise to use a pure SaaS solution like Checkly to monitor the on-prem application
Checkly
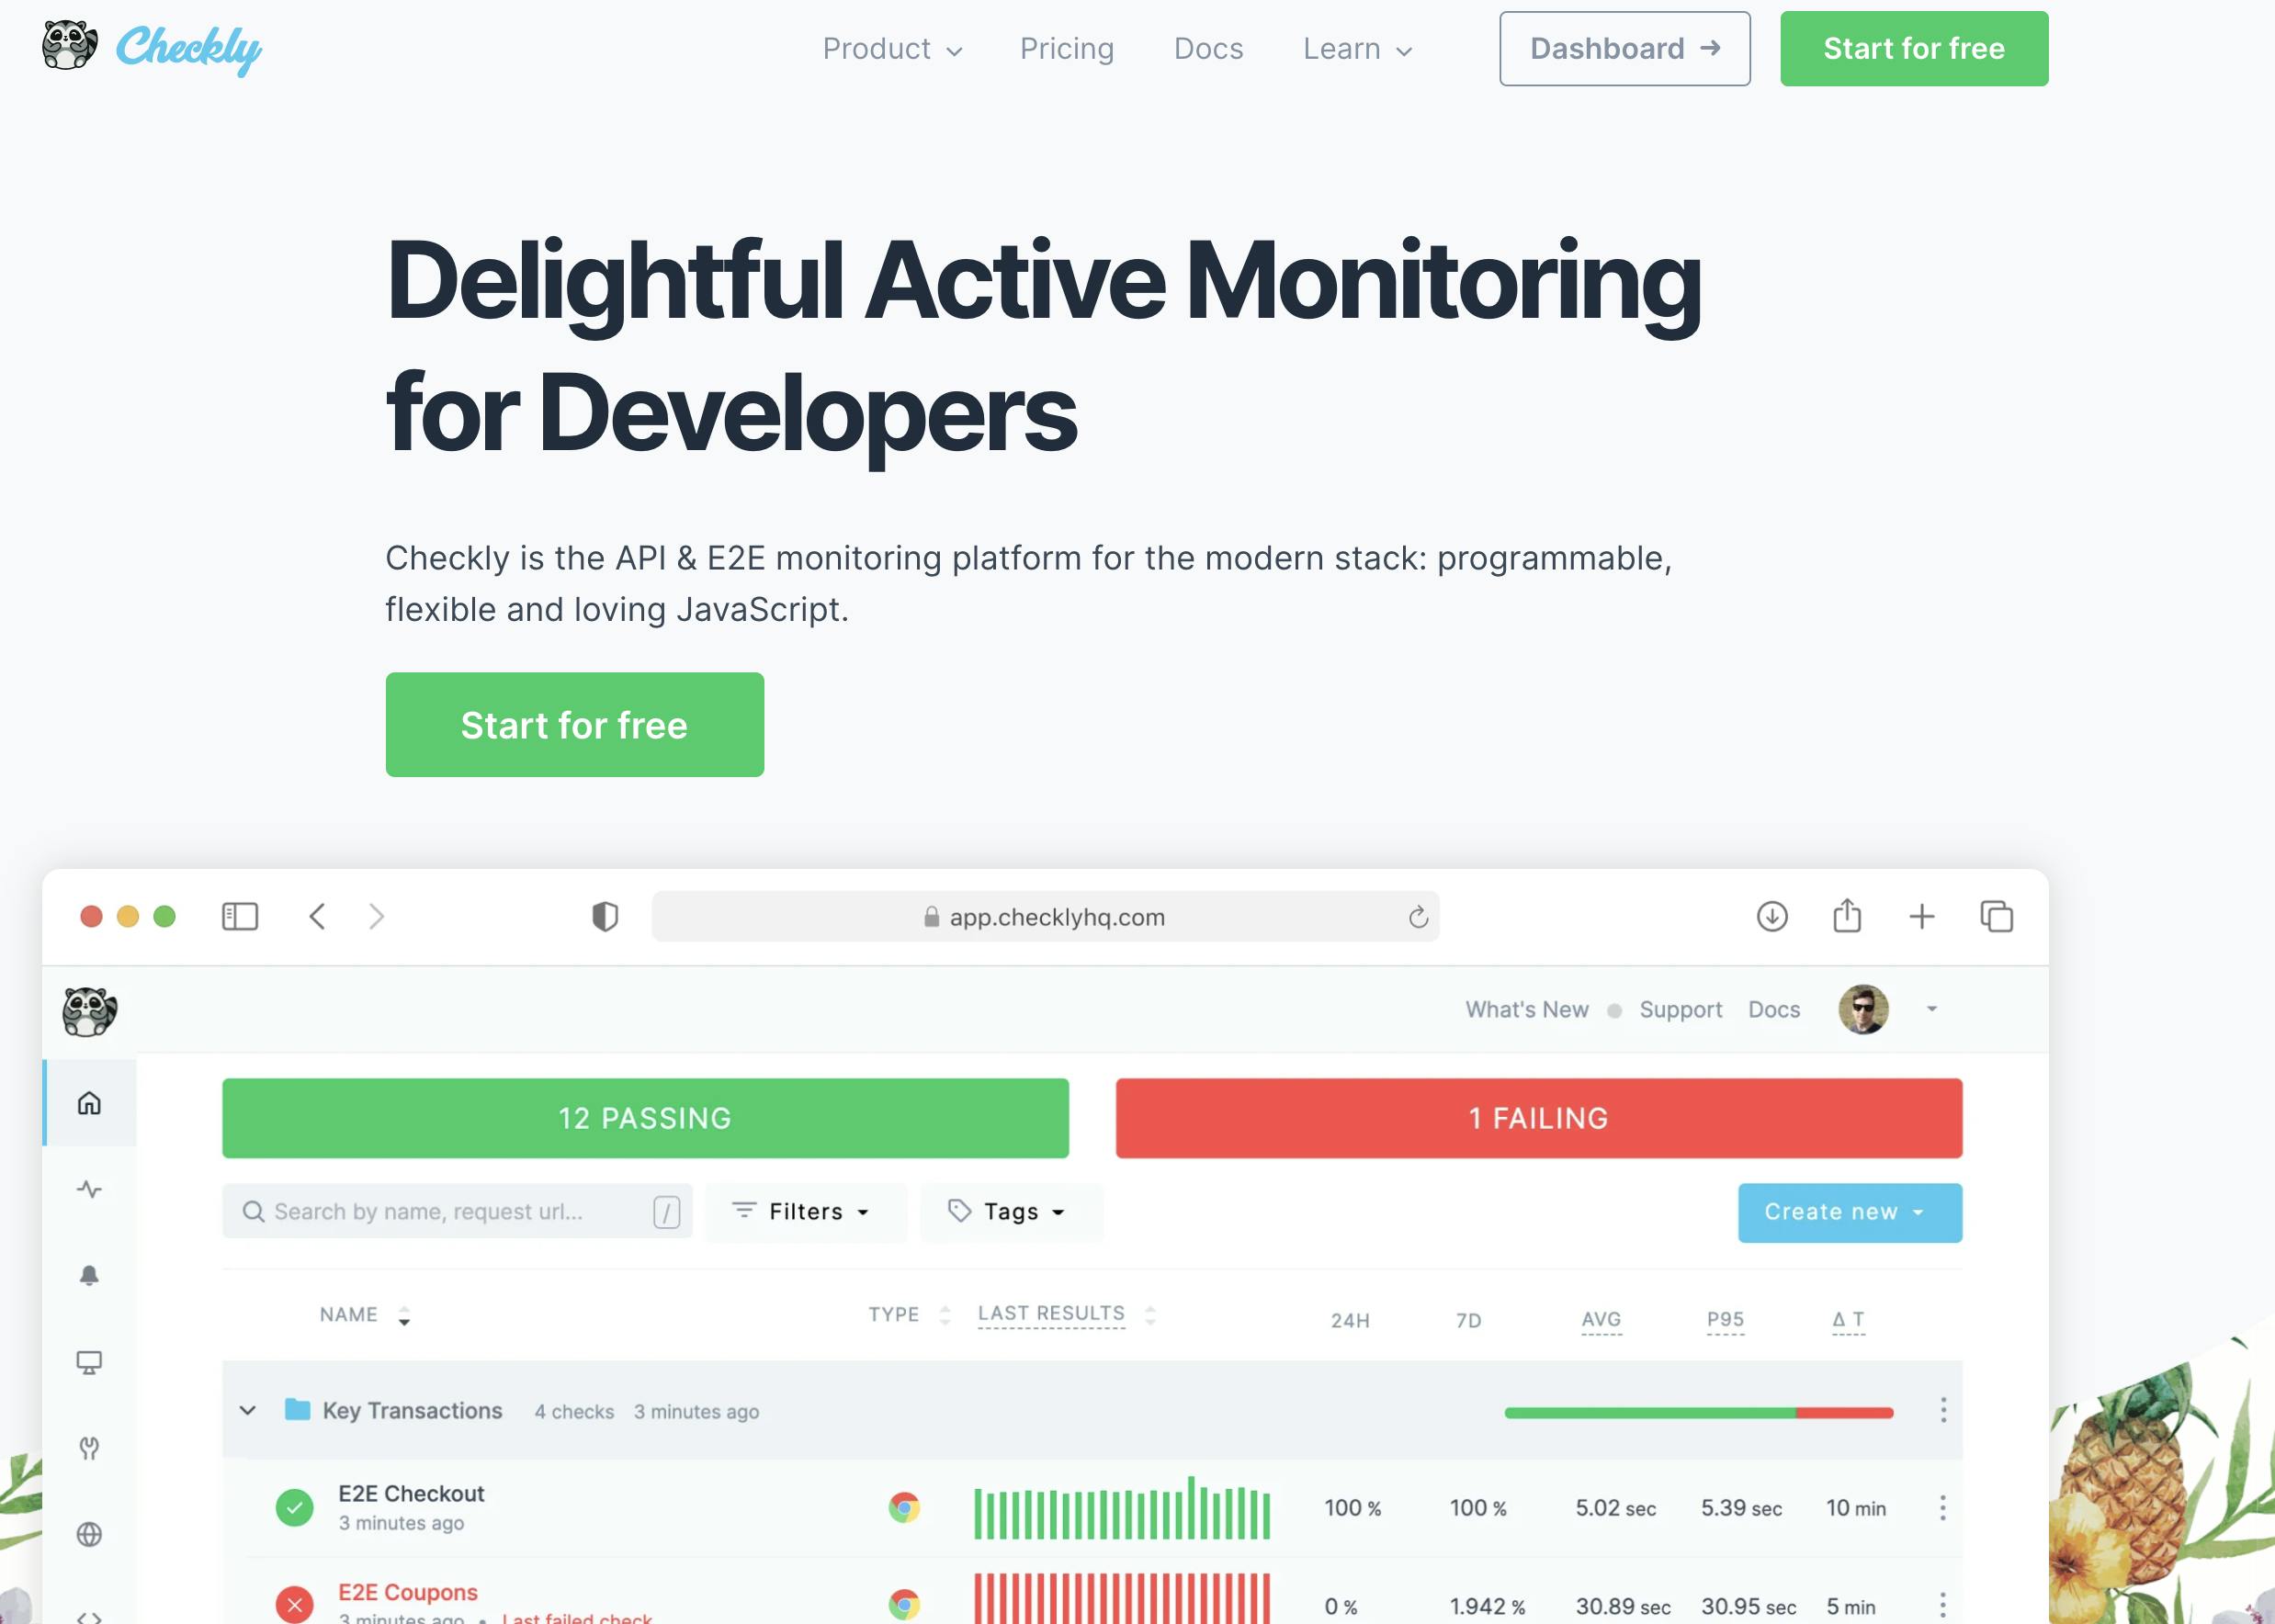
Checkly is the API & E2E monitoring platform for the modern stack: programmable, flexible and loving JavaScript.
You can create a free account and start creating cool API and Browser Checks. You can run your checks from over 20 locations worldwide. It has great CI / CD integrations and much more under the hood.
You should go and check it out.
Inlets
For anyone not familiar with inlets. It's a project from Alex Ellis, a CNCF Ambassador and the Founder of OpenFaaS.
Cloud Native Tunnel You can use inlets to connect HTTP and TCP services between networks securely. Through an encrypted websocket, inlets can penetrate firewalls, NAT, captive portals, and other restrictive networks lowering the barrier to entry.
VPNs traditionally require up-front configuration like subnet assignment and ports to be opened in firewalls. A tunnel with inlets can provide an easy-to-use, low-maintenance alternative to VPNs and other site-to-site networking solutions.
Let's roll
We're going to use Task here to quickly spin up the necessary tools. Task is a task runner / build tool that aims to be simpler and easier to use than, for example, GNU Make.
Since it’s written in Go, Task is just a single binary and has no other dependencies, which means you don’t need to mess with any complicated install setups just to use a build tool.
Install Taskfile
Check the installation for more installation options. Here I use brew.
brew install go-task/tap/go-task
Mock the on-prem service.
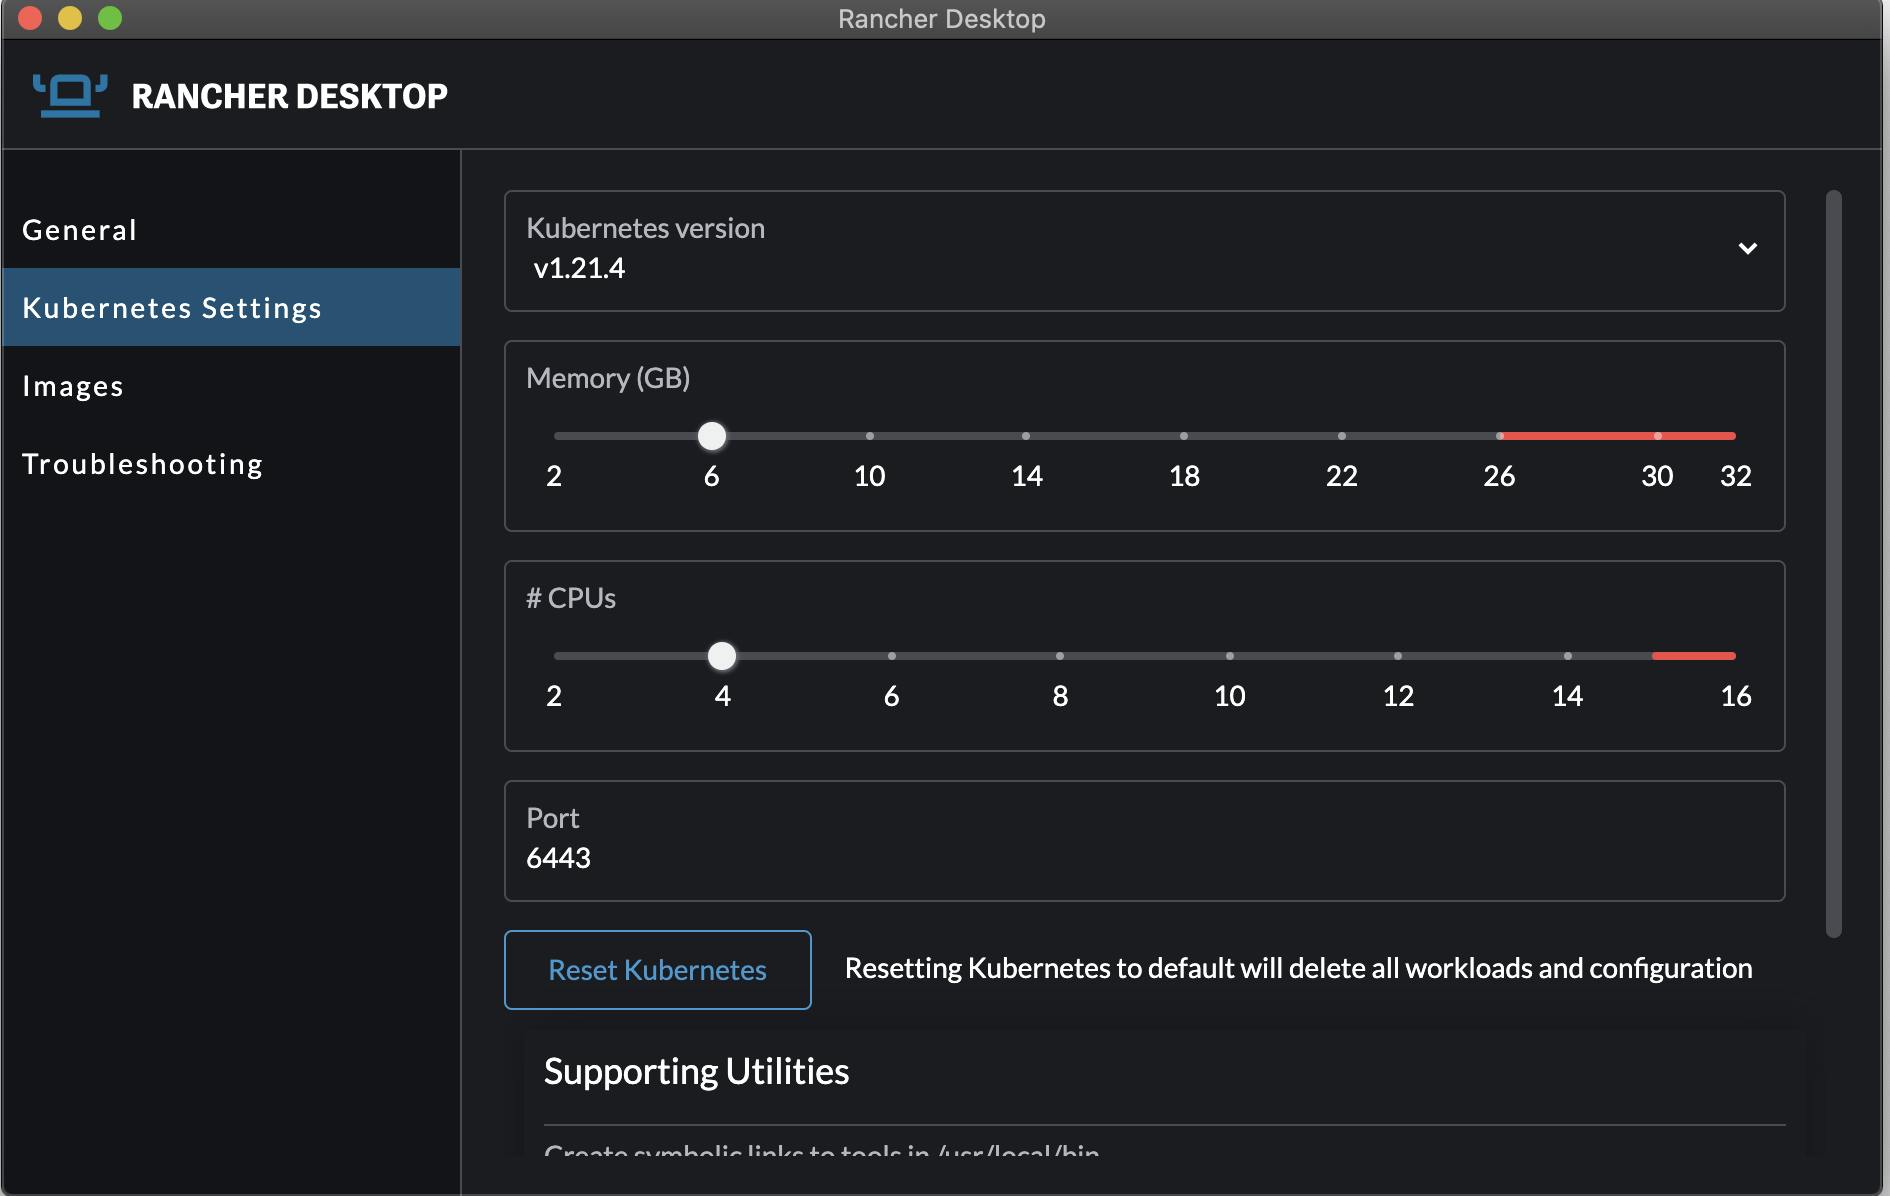
The task k8s-init-sock-shop installs the Weaveworks Sock Shop to mock an application running on-prem. I install it on a k3s via Rancher Desktop
  k8s-init-sock-shop:
    desc: install the sock shop
    cmds:
      - kubectl get nodes
      - kubectl apply -f https://raw.githubusercontent.com/microservices-demo/microservices-demo/master/deploy/kubernetes/complete-demo.yaml
      - kubectl apply -f socks-ingress.yaml
Rancher Desktop, as it is k3s, has traefik ingress controller inbouild. So we just need to deploy the ingress resource.
Deploy everything
Just type:
task
To deploy the default task, which is a composition of:
  default:
    cmds:
      - task: init-checkly
      - task: k8s-init-sock-shop
      - task: inlets-operator
      - task: checkly-terraform
We deploy inlets via the inlets-operator on our kubernetes cluster. As an exit-node provider, we are going to use scaleway for this.

Genereate the API key, as we going to pass them to the inlets-operator via parameter.
inlets-operator:
    desc: install the inlets operator
    cmds:
      - kubectl apply -f https://raw.githubusercontent.com/inlets/inlets-operator/master/artifacts/crds/inlets.inlets.dev_tunnels.yaml
      - helm repo add inlets https://inlets.github.io/inlets-operator/
      - helm repo update
      - kubectl create secret generic inlets-access-key --from-literal inlets-access-key=$ACCESS_KEY
      - kubectl create secret generic inlets-secret-key --from-literal inlets-secret-key=$SECRET_KEY
      - helm upgrade inlets-operator --install inlets/inlets-operator --set provider=scaleway,region=nl-ams-1 --set secretKeyFile=/var/secrets/inlets/secret/inlets-secret-key --set organizationID=$ORGANISATION_ID --set inletsProLicense=$LICENSE
Checkly Terraform
To define our Checkly checks, we are using the checkly
terraform provider. So change the terraform.tfvars.changme to terraform.tfvars in the checkly-tf folder and put
the checkly API key into it.
Or use the task:
task tfvars
If everything goes well, you should see following checks on the Checkly Dashboard:
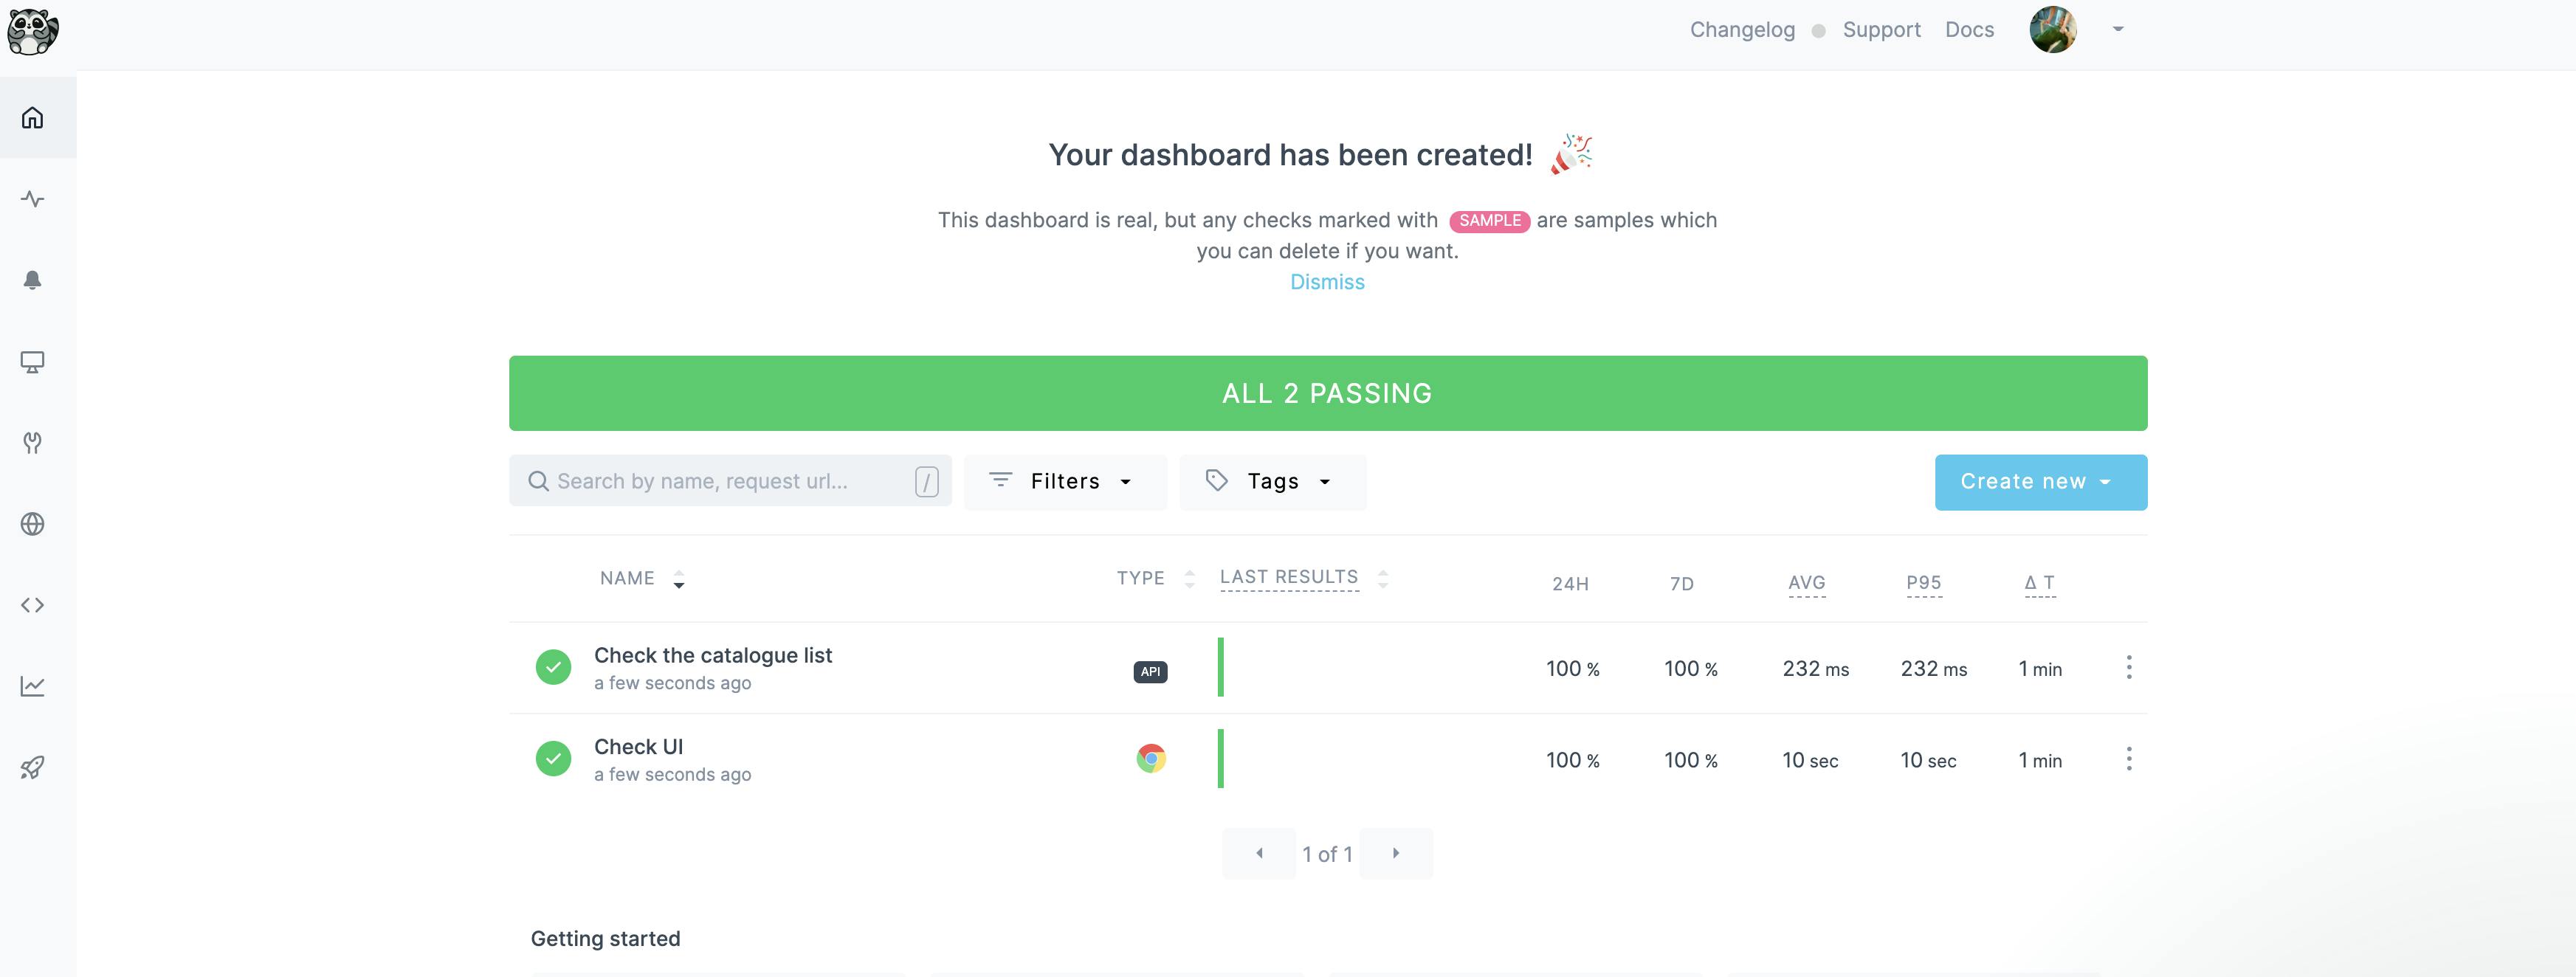
In this example i created a API check and a browser check.
Check the great docs for more details on Checkly.
Clean up
Just call
task destroy
to remove all checks and delete the exit node and the operator.
Le code -> github.com/dirien/checkly-inlets

