This short article, is on how to get set up Github, so all of your commits are marked with the little "verified" badge.
Why should I do this?
Thats a really good question. When you commit a change with Git, it accepts as author whatever value you want. This means you could claim to be whoever you want when you create a commit.
To make GitHub believe that for eg. Eddie Jaoude contributed to my project I just had to run git config user.name and git config user.email with values that match Eddie's.

This leads to the problem, that we have no guarantee that:
- The author of the code is really the person whose name is on the commit
- The code change you see is really what the author wrote and its not somehow tampered.
To avoid this sign your Git commits, so you prove that you were the author of this code change. On top it also gives you the ability to ensure that no one can modify your commit.
Difference between signed-off and signed
Signed-off

Just add the Signed-off-by line to commit messages.
This is my commit message

Signed-off-by:  Super Cool Dev <superdev@fabrikam.com>
You can use the git command line option -s to append this automatically to your commit message:
git commit -s -m 'This is my commit message'
or
git commit --amend -s
if you already committed your changes.

Git Signed-off-by simply adds a line to your commit message with your name and email address. The idea is to show that you have the permission to submit it, and you adhere to the project licensing. A project will state that the Signed-off-by says you agree to the Developer Certificate of Origin (DCO). See the DCO github action
GPG signed

Git provides the possibility to verify that commits came from trusted source using the GNU Privacy Guard (GPG).
Set up GPG
If you don't have GPG, you need to install it. Check that the installation was successfully with
gpg --version
gpg (GnuPG) 2.3.3
libgcrypt 1.9.4
...
`
If you don't have already GPG key, you can generate a new GPG key. The steps are fairly easy and very good described in the GitHub docs
Now we create the public and private key files via following commands:
gpg --export -a "key-id" > public.key
gpg --export-secret-key -a "key-id" > private.key
The key-id you can get easy, with the command:
 gpg --list-secret-keys --keyid-format=long
...
sec   ed25519/<KEYID> 2021-11-13 [SC]
...
now import them via:
gpg --import public.key
gpg --import private.key
Set up Git
Now we can configure Git to use our signing key ID. It’s an alphanumeric string that can be found with gpg --list-signatures (check the line starting with sig).
git config --global user.signingkey <signing key ID>
And configure Git to sign commits per default, so we don’t always have to add the -s flag in the command line:
git config --global commit.gpgsign true
and, very important, set the path to the gpg program:
git config --global gpg.program /usr/local/bin/gpg
Set up GitHub
If you not already did this, you need to configure your account on GitHub.com to use your new (or existing) GPG key.
We use following command
gpg --armor --export <KEYID>
or
cat (or other tool) public.key
and copy the content to your clipboard.
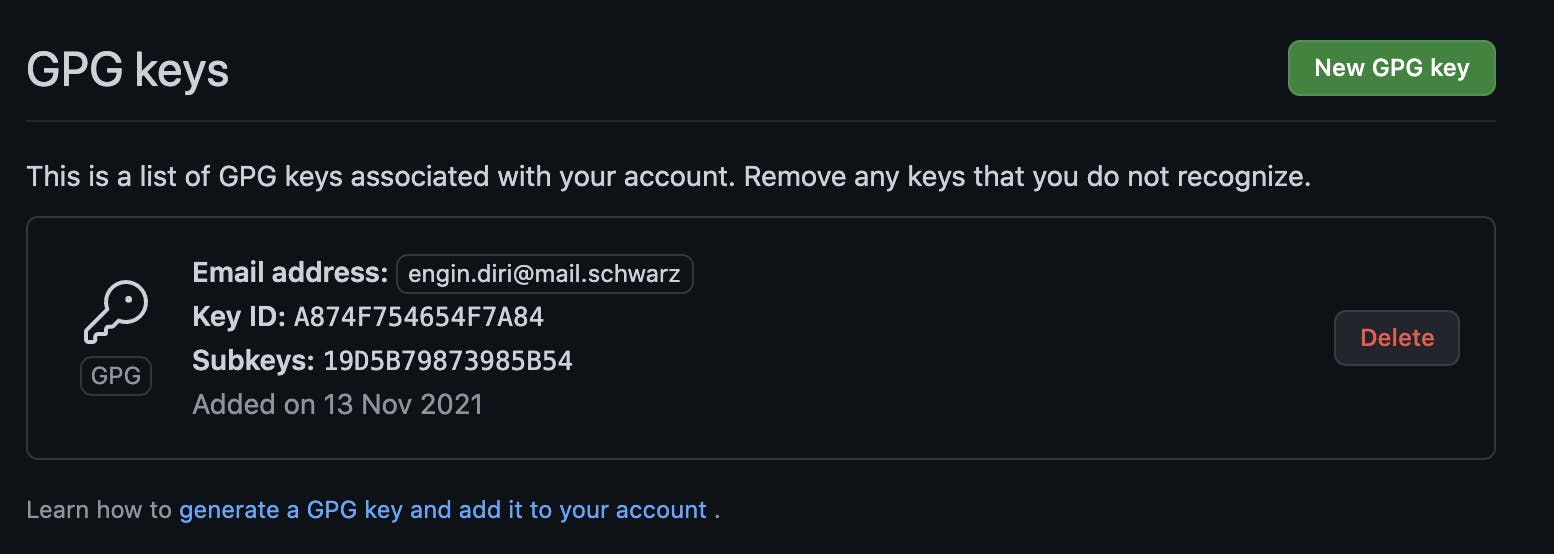
Check the official docs for the steps in the UI to upload but in the end you should see this:

Bonus: Set up VSCode
Open the settings, search for “gpg” and check the box “Enables commit signing with GPG”.
Bonus: Set up IntelliJ
Start IntelliJ IDEA (or restart it to make sure it loads the changes you've made to your environment).
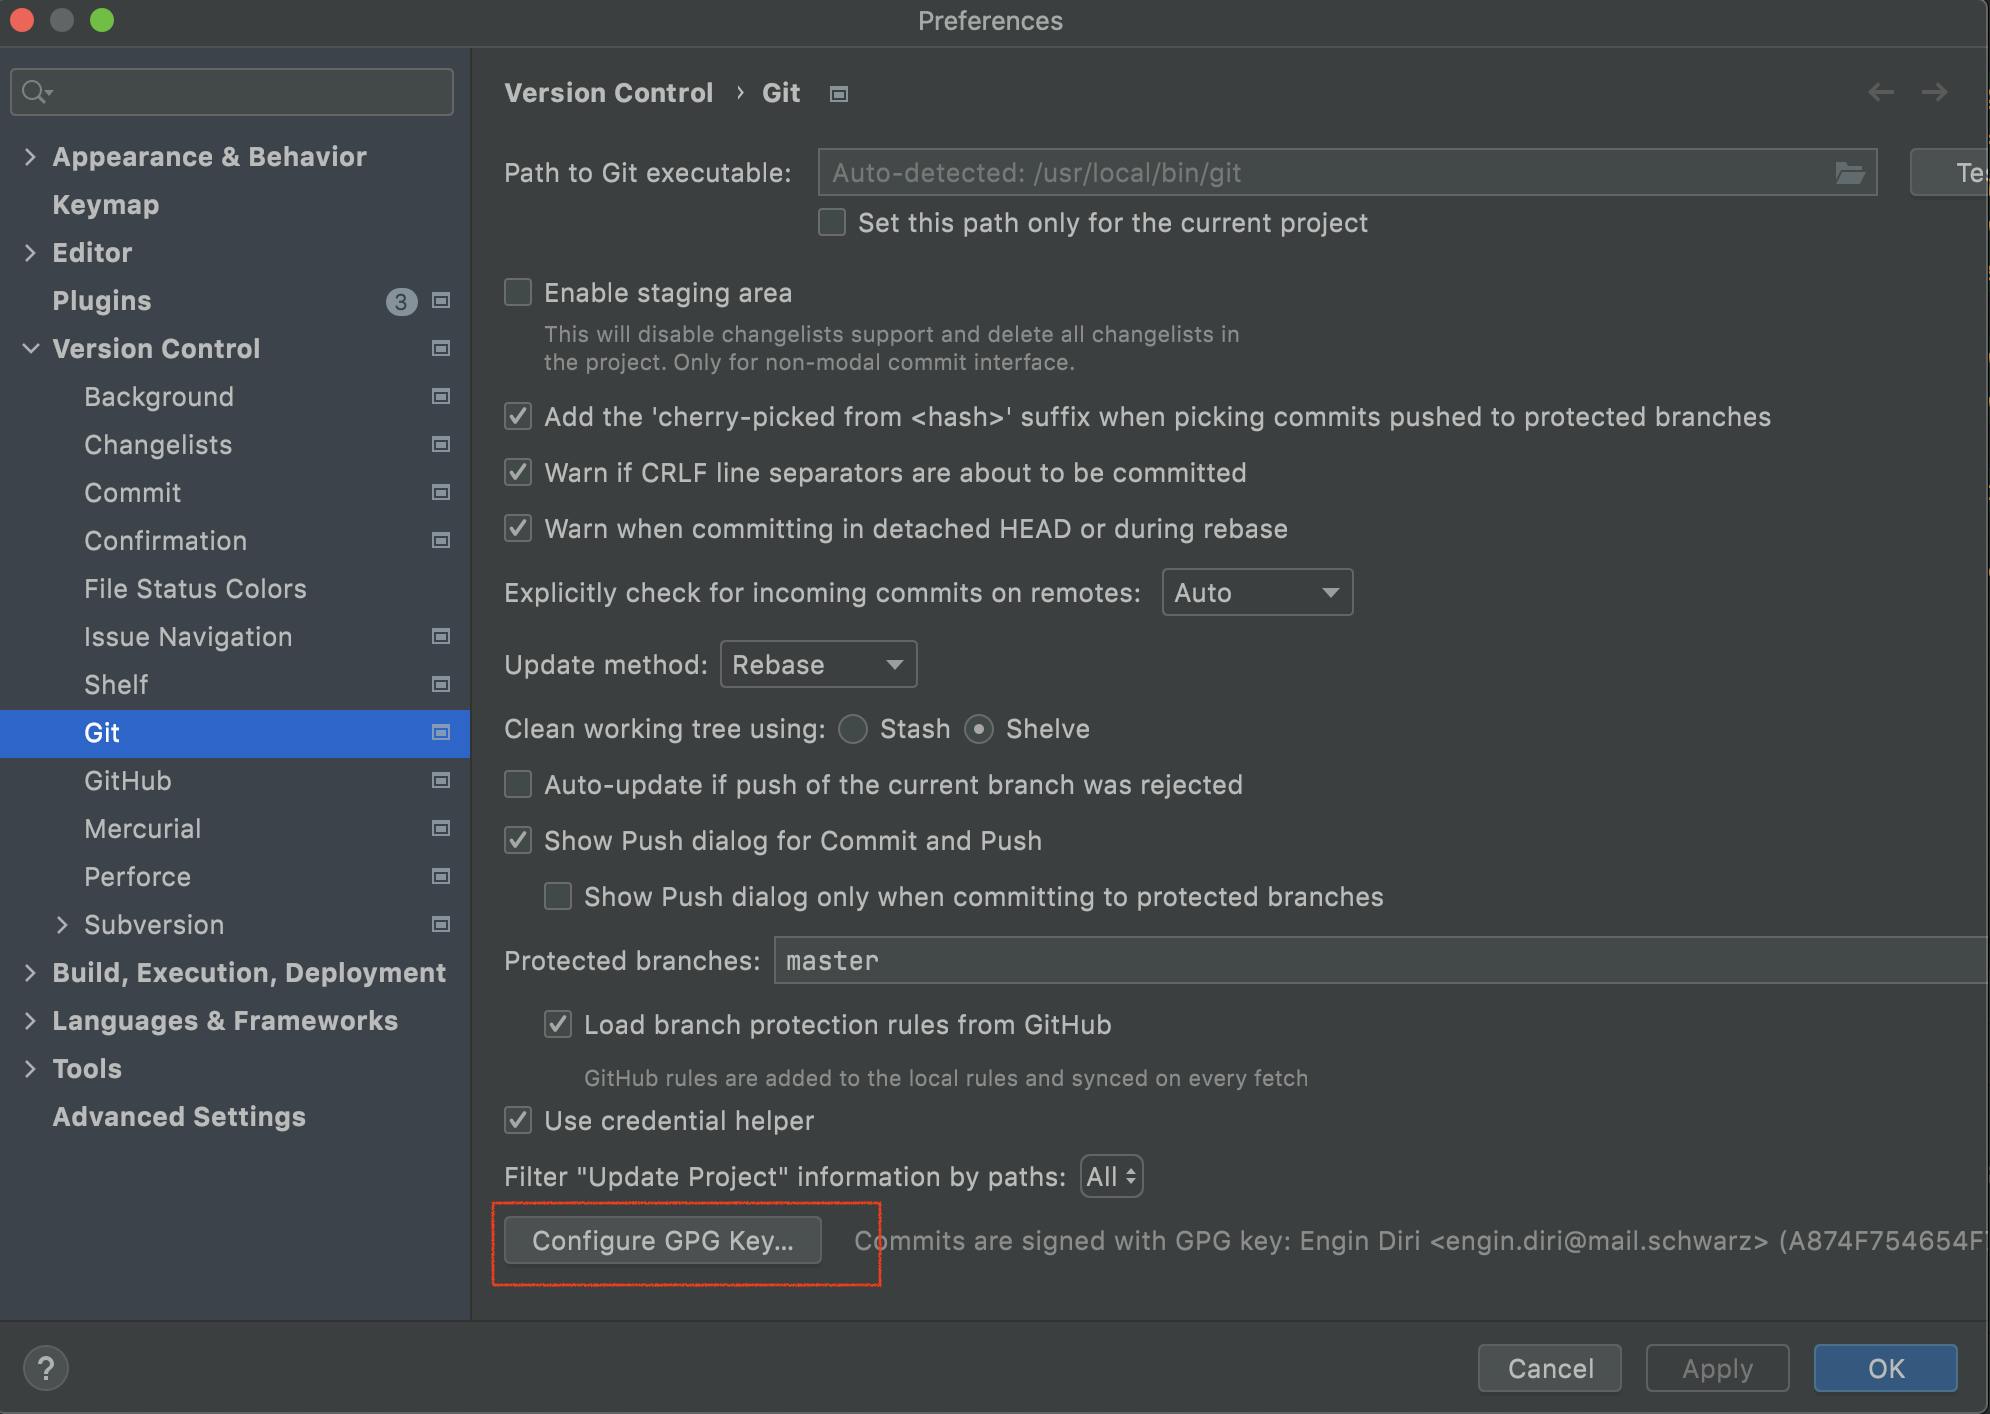
In the Settings/Preferences dialog ⌘ ,, go to Version Control | Git, and click the Configure GPG Key button.
In the dialog that opens, click Sign commits with GPG key and select the key you want to use from the list.
Now your every commit will be signed with the selected key.

The result:

Click amend for sign-off

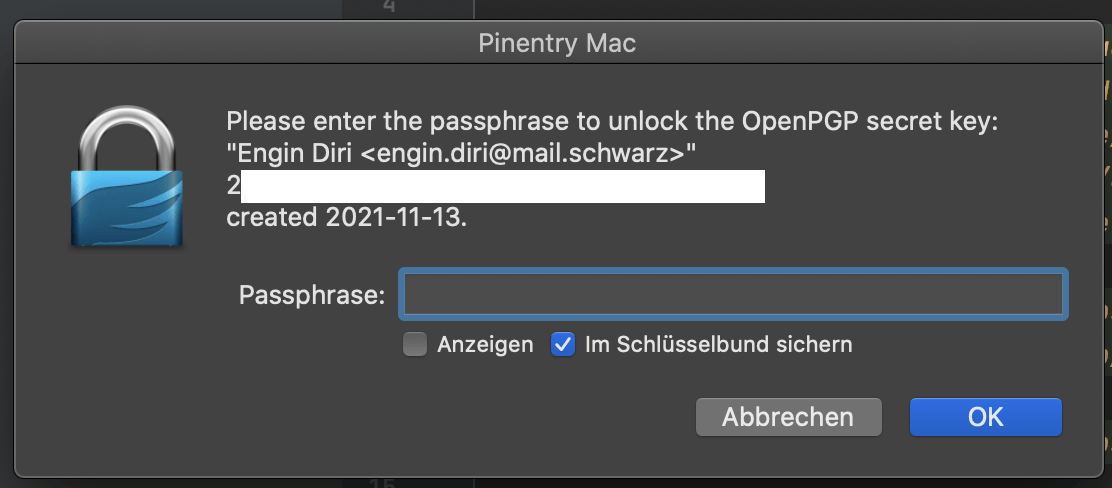
MacOS issues
If you see on a MacOS system:
error: gpg failed to sign the data
fatal: failed to write commit object
Then install brew install pinentry-mac and set the in terminal profile the env variable GPG_TTY to export GPG_TTY=$(tty)
plus change the location of the pinentry-program to
vi ~/.gnupg/gpg-agent.conf
change or add:
pinentry-program /usr/local/bin/pinentry-mac
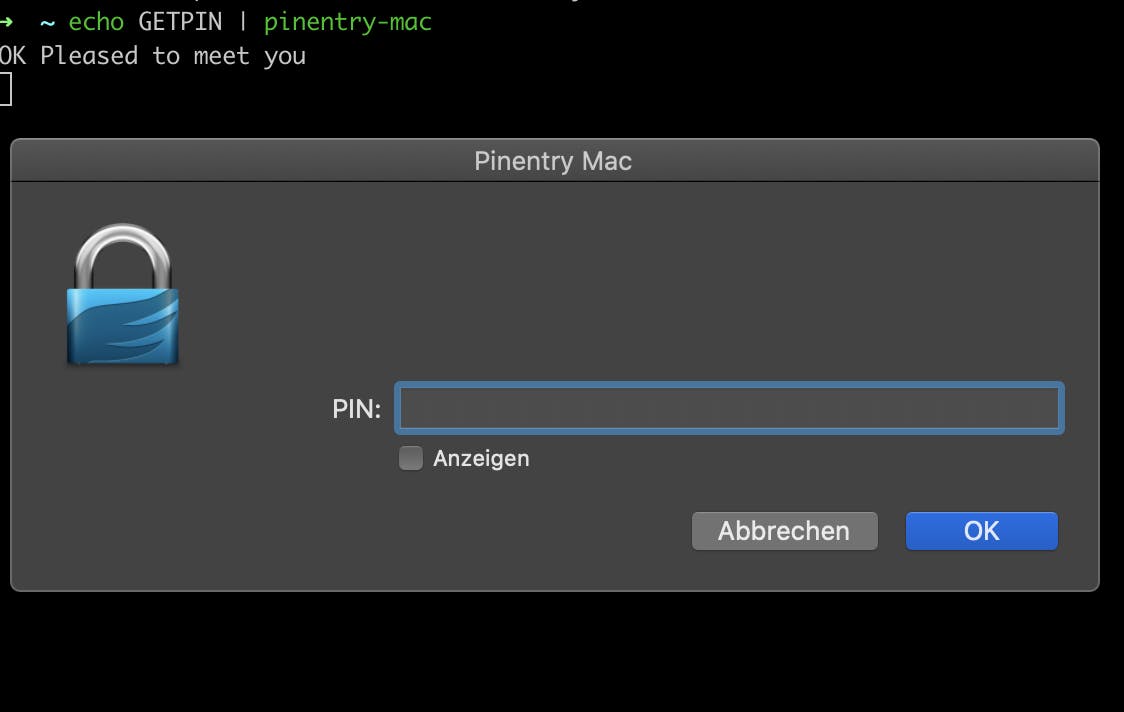
Test that the pinentry UI pops up with
echo GETPIN | pinentry-mac

Additional config for Linux and macOS
You can enable the GPG agent to avoid having to type the secret key’s password every time.
Add this line to ~/.gnupg/gpg.conf (you may need to create the file):
use-agent
The end
If everything works well, you should see the green verified badge, like this


Resources:

