Deploying a Kubernetes Cluster in Strasbourg?!
Yes, with Pulumi and OVH Public Cloud!
Cloud Native Pilgrim | Kubernetes Enthusiast | Serverless Believer | Customer Experience Architect @ Pulumi | (he/him) | CK{A,AD} |
TL;DR: The code
Introduction
Thanks to the posts of Aurélie Vache, I discovered the OVH Managed Kubernetes Service.
I had already heard about it, but I had never tried it. So I decided to give it a try and use Pulumi to deploy a Kubernetes cluster in the OVH data center in Strasbourg.
What could be better than a Kubernetes cluster in Strasbourg, one of the European Union capitals, to deploy a Minecraft server?
Prerequisites
Pulumi Account - this is optional, but convenient to handle the state of stack.
OVH Account - this is required to use the OVH Managed Kubernetes Service.
kubectl - this is required to interact with the Kubernetes cluster. You can install it by following the instructions here.
Minecraft client - this is required to connect to the Minecraft server. You can download it here.
Create a Pulumi Project
Everything starts with a Pulumi project. Let's create one and we will use the Golang as our programming language of choice.
mkdir pulumi-ovh-kube
cd pulumi-ovh-kube
pulumi new go --force
For the sake of simplicity, we can keep all the default values in the wizard.
Now, we need to install the OVH provider for Pulumi. We can do that by running the following command:
go get github.com/dirien/pulumi-ovh/sdk
Now, we can start writing our code. Open the main.go file and replace the content with the following code:
package main
import (
"github.com/dirien/pulumi-ovh/sdk/go/ovh/cloudproject"
"github.com/pulumi/pulumi/sdk/v3/go/pulumi"
"github.com/pulumi/pulumi/sdk/v3/go/pulumi/config"
)
func main() {
pulumi.Run(func(ctx *pulumi.Context) error {
serviceName := config.Require(ctx, "serviceName")
mykube, err := cloudproject.NewKube(ctx, "mykube", &cloudproject.KubeArgs{
ServiceName: pulumi.String(serviceName),
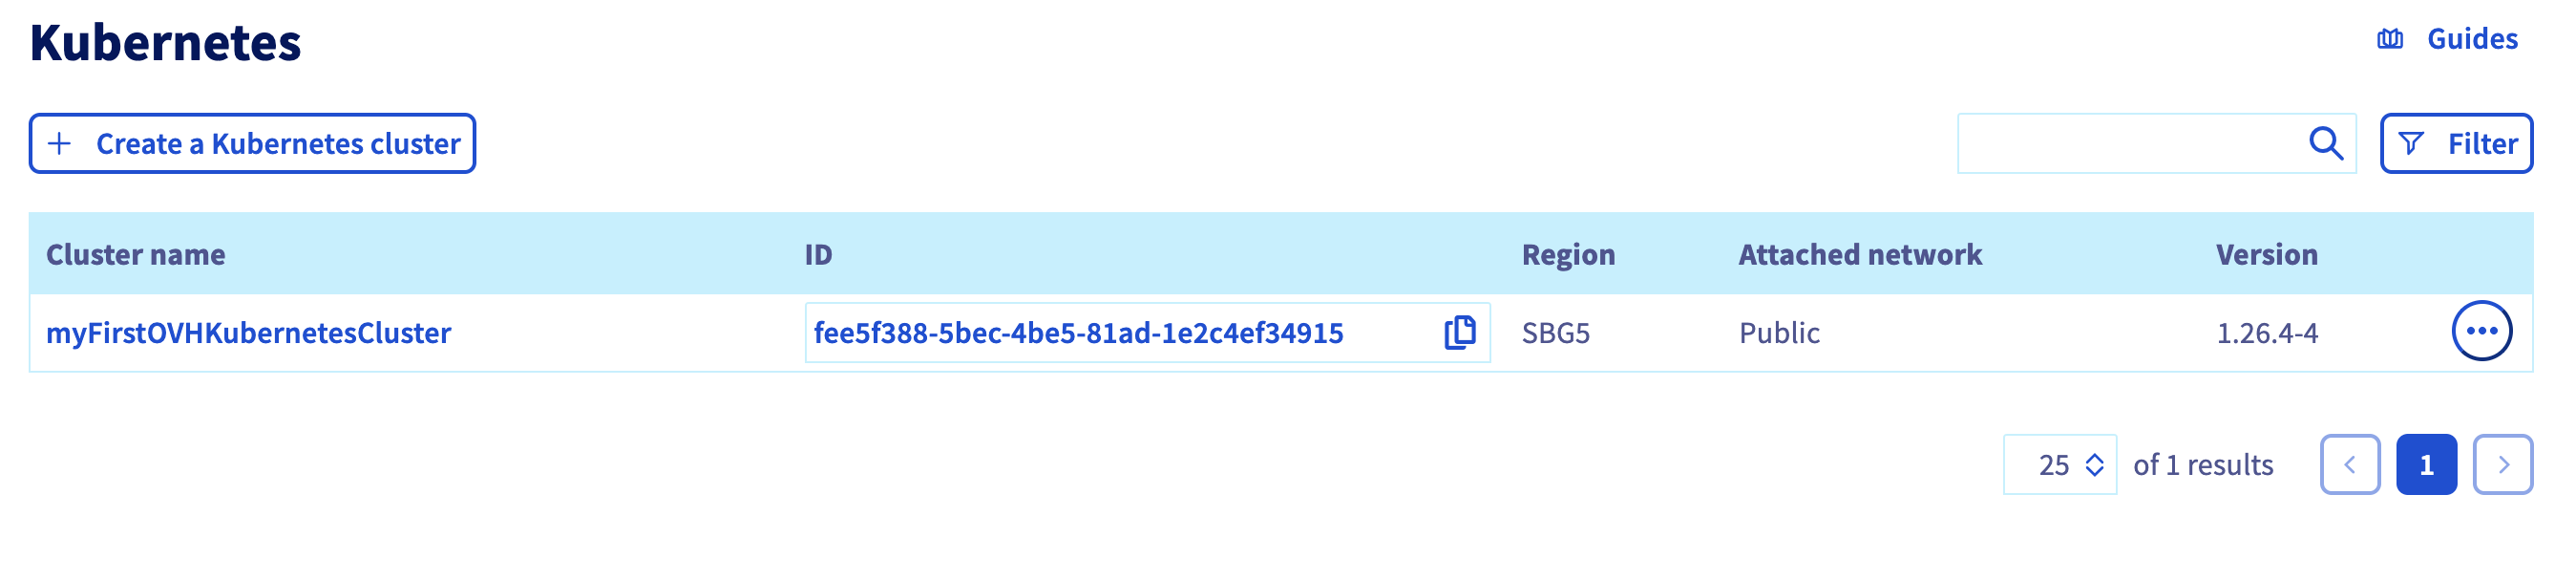
Name: pulumi.String("myFirstOVHKubernetesCluster"),
Region: pulumi.String("SBG5"),
})
if err != nil {
return err
}
ctx.Export("kubeconfig", mykube.Kubeconfig)
nodePool, err := cloudproject.NewKubeNodePool(ctx, "mykubenodepool", &cloudproject.KubeNodePoolArgs{
ServiceName: pulumi.String(serviceName),
KubeId: mykube.ID(),
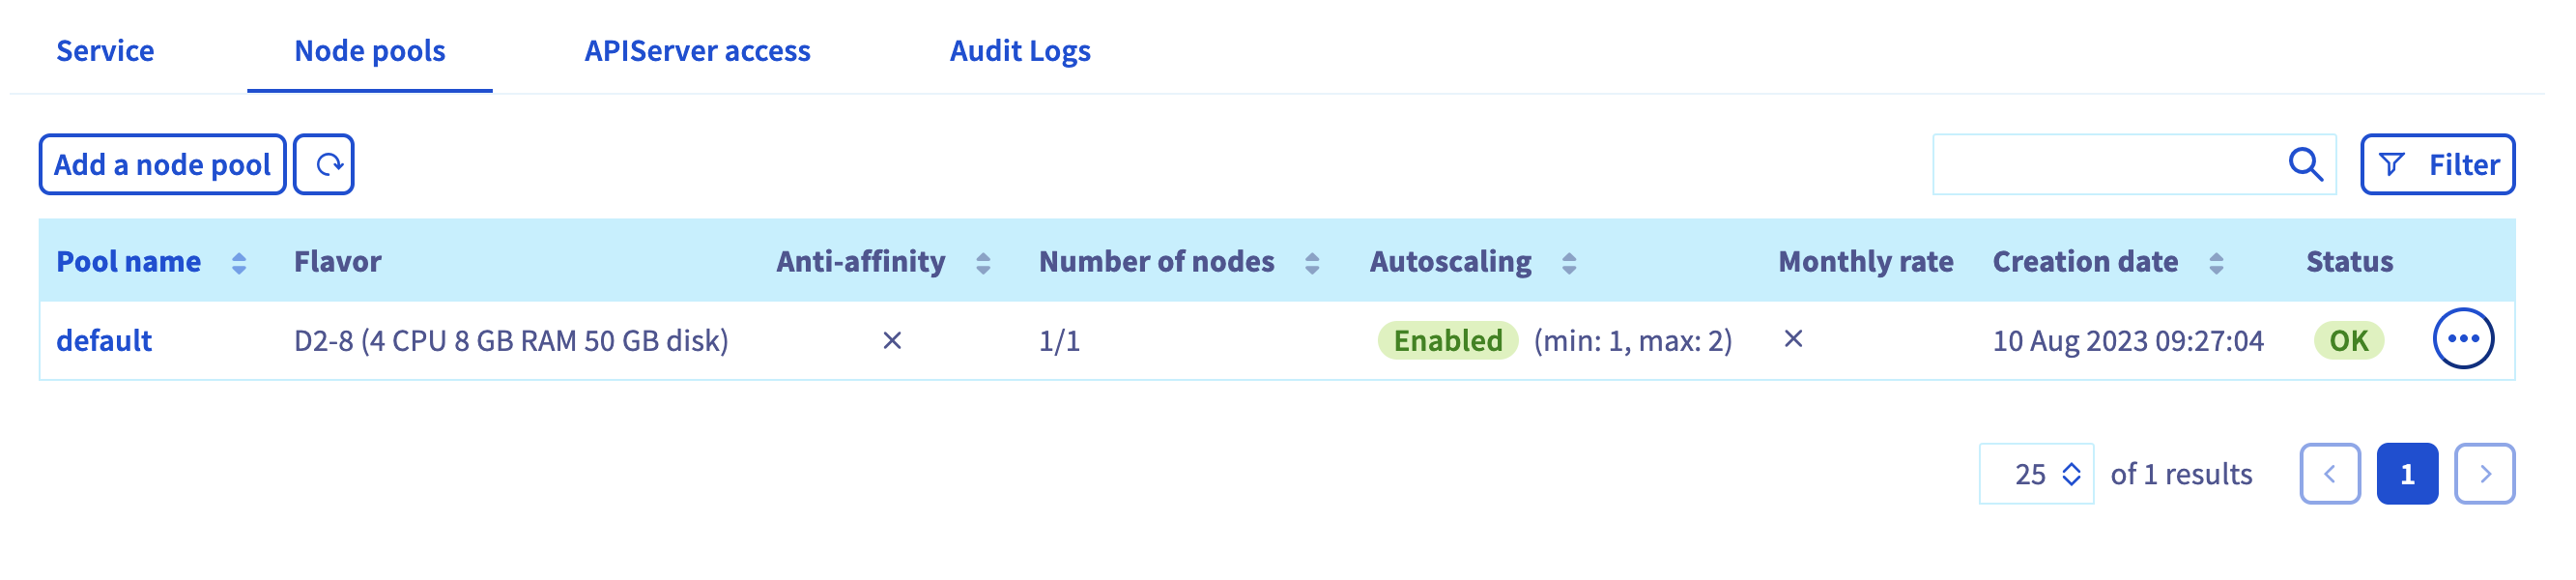
Name: pulumi.String("default"),
Autoscale: pulumi.BoolPtr(true),
DesiredNodes: pulumi.Int(1),
MinNodes: pulumi.Int(1),
MaxNodes: pulumi.Int(2),
FlavorName: pulumi.String("d2-8"),
MonthlyBilled: pulumi.BoolPtr(false),
})
if err != nil {
return err
}
ctx.Export("nodePoolId", nodePool.ID())
return nil
})
}
This code will create a Kubernetes cluster in the OVH data center in Strasbourg (SBG5). Additionally, it will create a node pool with 2 nodes. The node pool will be configured to scale between 1 and 2 nodes and I want that it starts with 1 (desiredNodes).
The node pool will use the flavor d2-8 which is a flavor with 4 vCPUs and 8GB of RAM from the so-called Discover range.
These instances are perfect for test, development and sandbox environments and Minecraft is a sandbox game, so it fits perfectly!
Add the Kubernetes provider
Before deploying applications in our Kubernetes clusters, we need to add the Kubernetes provider to our project as we are going to run the Minecraft server as a container.
I wrote a dedicated blog post about the usage of Helm charts in Pulumi, go check it out:
We need to add the Kubernetes provider like this:
go get github.com/pulumi/pulumi-kubernetes/sdk/v4
And after we successfully added the Kubernetes provider, we can add the following code to the main.go file:
package main
import (
"github.com/dirien/pulumi-ovh/sdk/go/ovh/cloudproject"
k8s "github.com/pulumi/pulumi-kubernetes/sdk/v4/go/kubernetes"
"github.com/pulumi/pulumi-kubernetes/sdk/v4/go/kubernetes/helm/v3"
"github.com/pulumi/pulumi/sdk/v3/go/pulumi"
"github.com/pulumi/pulumi/sdk/v3/go/pulumi/config"
)
func main() {
pulumi.Run(func(ctx *pulumi.Context) error {
// truncated for brevity
k8sProvider, err := k8s.NewProvider(ctx, "k8s", &k8s.ProviderArgs{
Kubeconfig: mykube.Kubeconfig,
}, pulumi.DependsOn([]pulumi.Resource{nodePool, mykube}))
if err != nil {
return err
}
_, err = helm.NewRelease(ctx, "minecraft", &helm.ReleaseArgs{
Chart: pulumi.String("minecraft"),
Version: pulumi.String("4.9.3"),
RepositoryOpts: &helm.RepositoryOptsArgs{
Repo: pulumi.String("https://itzg.github.io/minecraft-server-charts"),
},
CreateNamespace: pulumi.Bool(true),
Namespace: pulumi.String("minecraft"),
Values: pulumi.Map{
"minecraftServer": pulumi.Map{
"eula": pulumi.Bool(true),
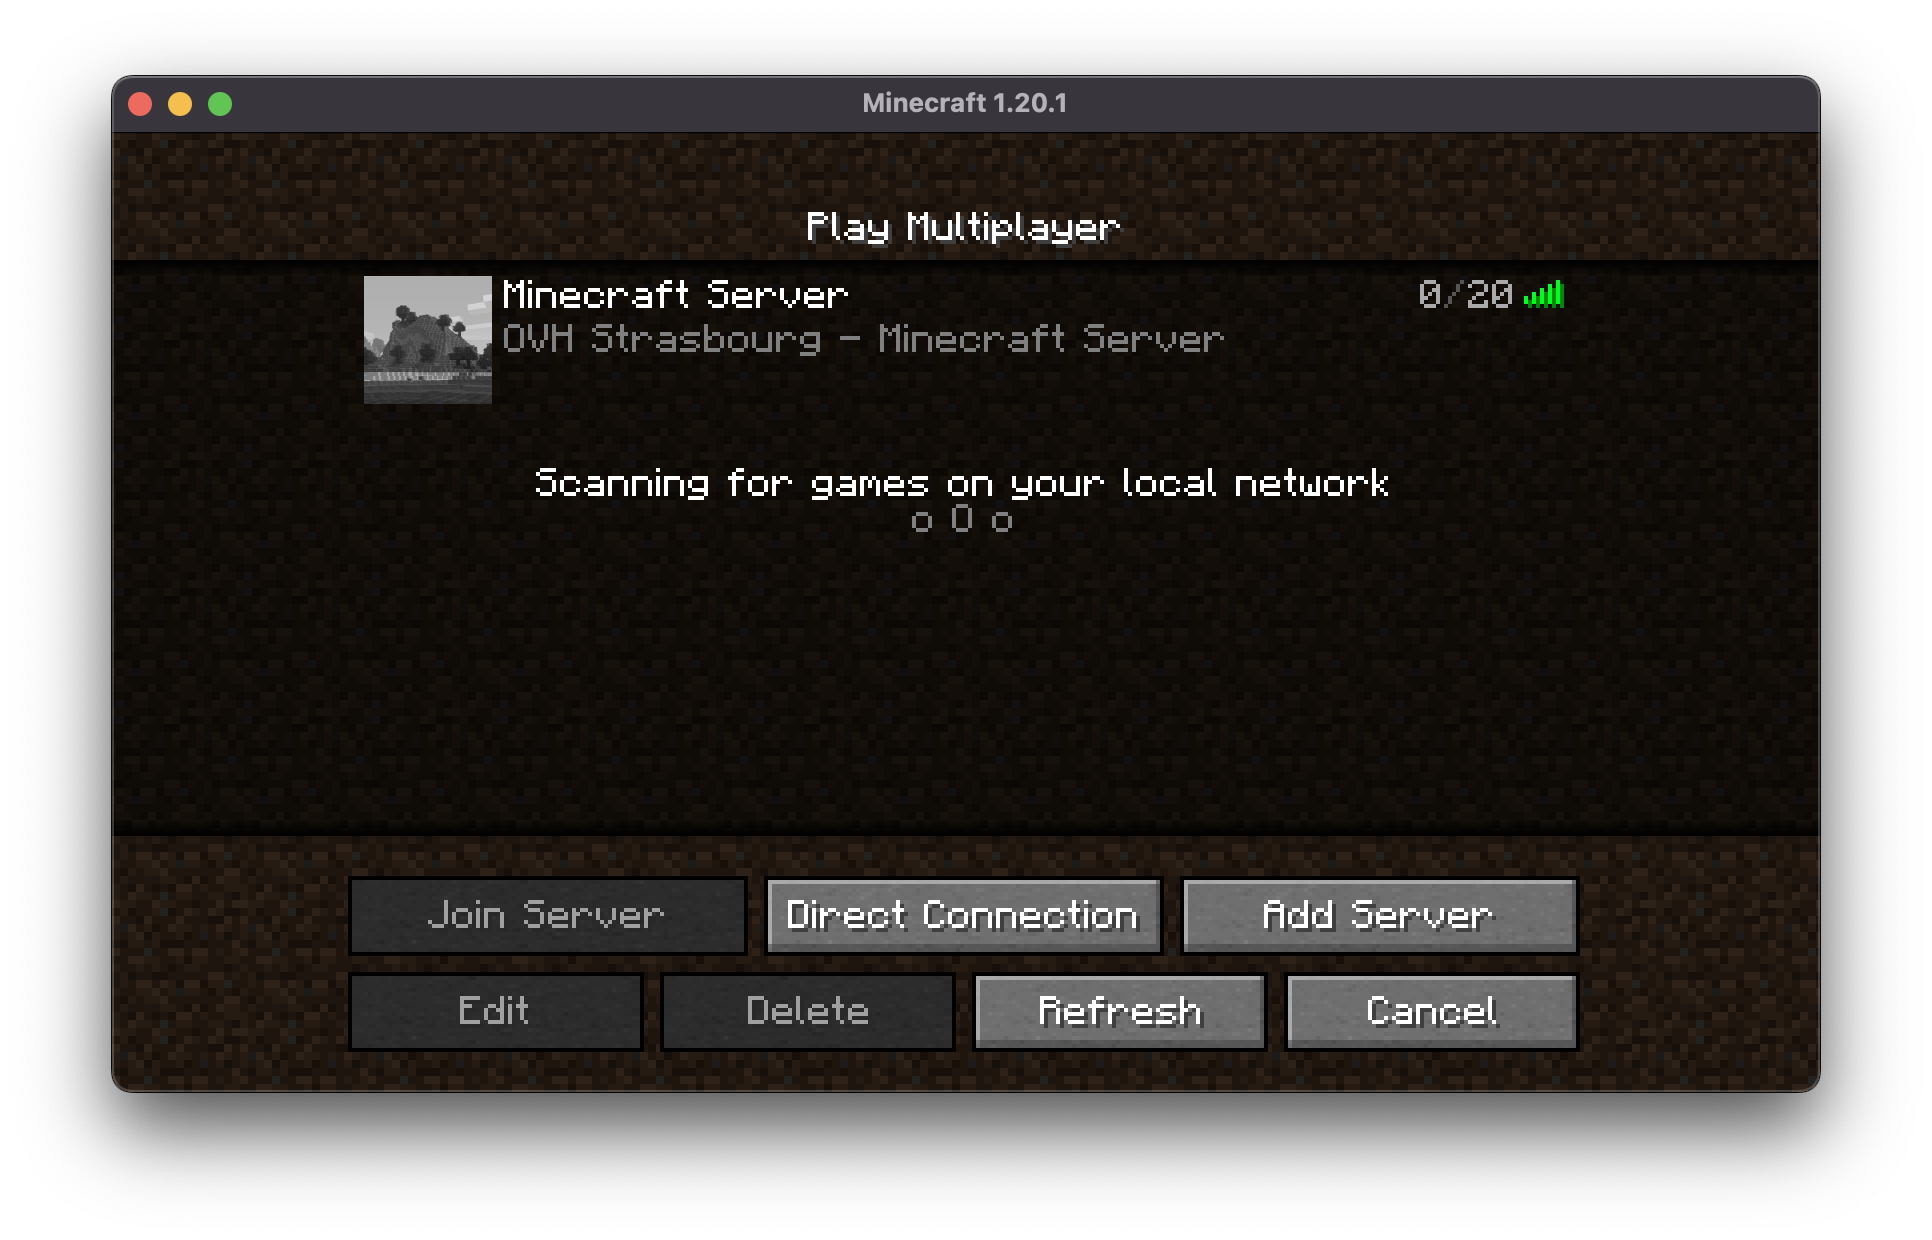
"motd": pulumi.String("OVH Strasbourg - Minecraft Server"),
"serviceType": pulumi.String("LoadBalancer"),
},
},
}, pulumi.Provider(k8sProvider))
if err != nil {
return err
}
return nil
})
}
This code will programmatically create a Kubernetes provider using the kubeconfig of the Kubernetes cluster we just created.
One thing to note here is the pulumi.DependsOn([]pulumi.Resource{nodePool, mykube}) part. This will make sure that the Kubernetes provider is created after the Kubernetes cluster AND the node pool are created. Because we need the be able to schedule pods on the Kubernetes cluster. Only the Kubernetes API up and running is not enough.
Secondly, it will create a Helm release using the itzg/minecraft-server-charts chart. This chart will create a vanilla Java Minecraft server with a load balancer service, so that we can connect to the Minecraft server from the internet.
Deploy the stack
Don't forget to set the
serviceNameconfiguration value to the name of your OVH Public Cloud project and add this to thePulumi.yamlfile.config: serviceName: <your-service-name>
Also, don't forget to set the OVH_APPLICATION_KEY, OVH_APPLICATION_SECRET, OVH_CONSUMER_KEY and OVH_ENDPOINT environment variables.
Now, we can deploy the stack by running the following command:
go mod tidy
pulumi up
This will take a few minutes, because it needs to create the Kubernetes cluster and the node pool.
Connect to the Minecraft server
To connect to the Minecraft server, we need to get the IP address of the load balancer service. We can do that by running the following command:
pulumi stack output kubeconfig --show-secrets  > kubeconfig.yaml
kubectl --kubeconfig=kubeconfig.yaml get svc -n minecraft -o jsonpath='{.items[0].status.loadBalancer.ingress[0].ip}'
This will give us the kubeconfig file we defined as output in the main.go file, and the kubectl command will be used to get the IP address of the load balancer service.
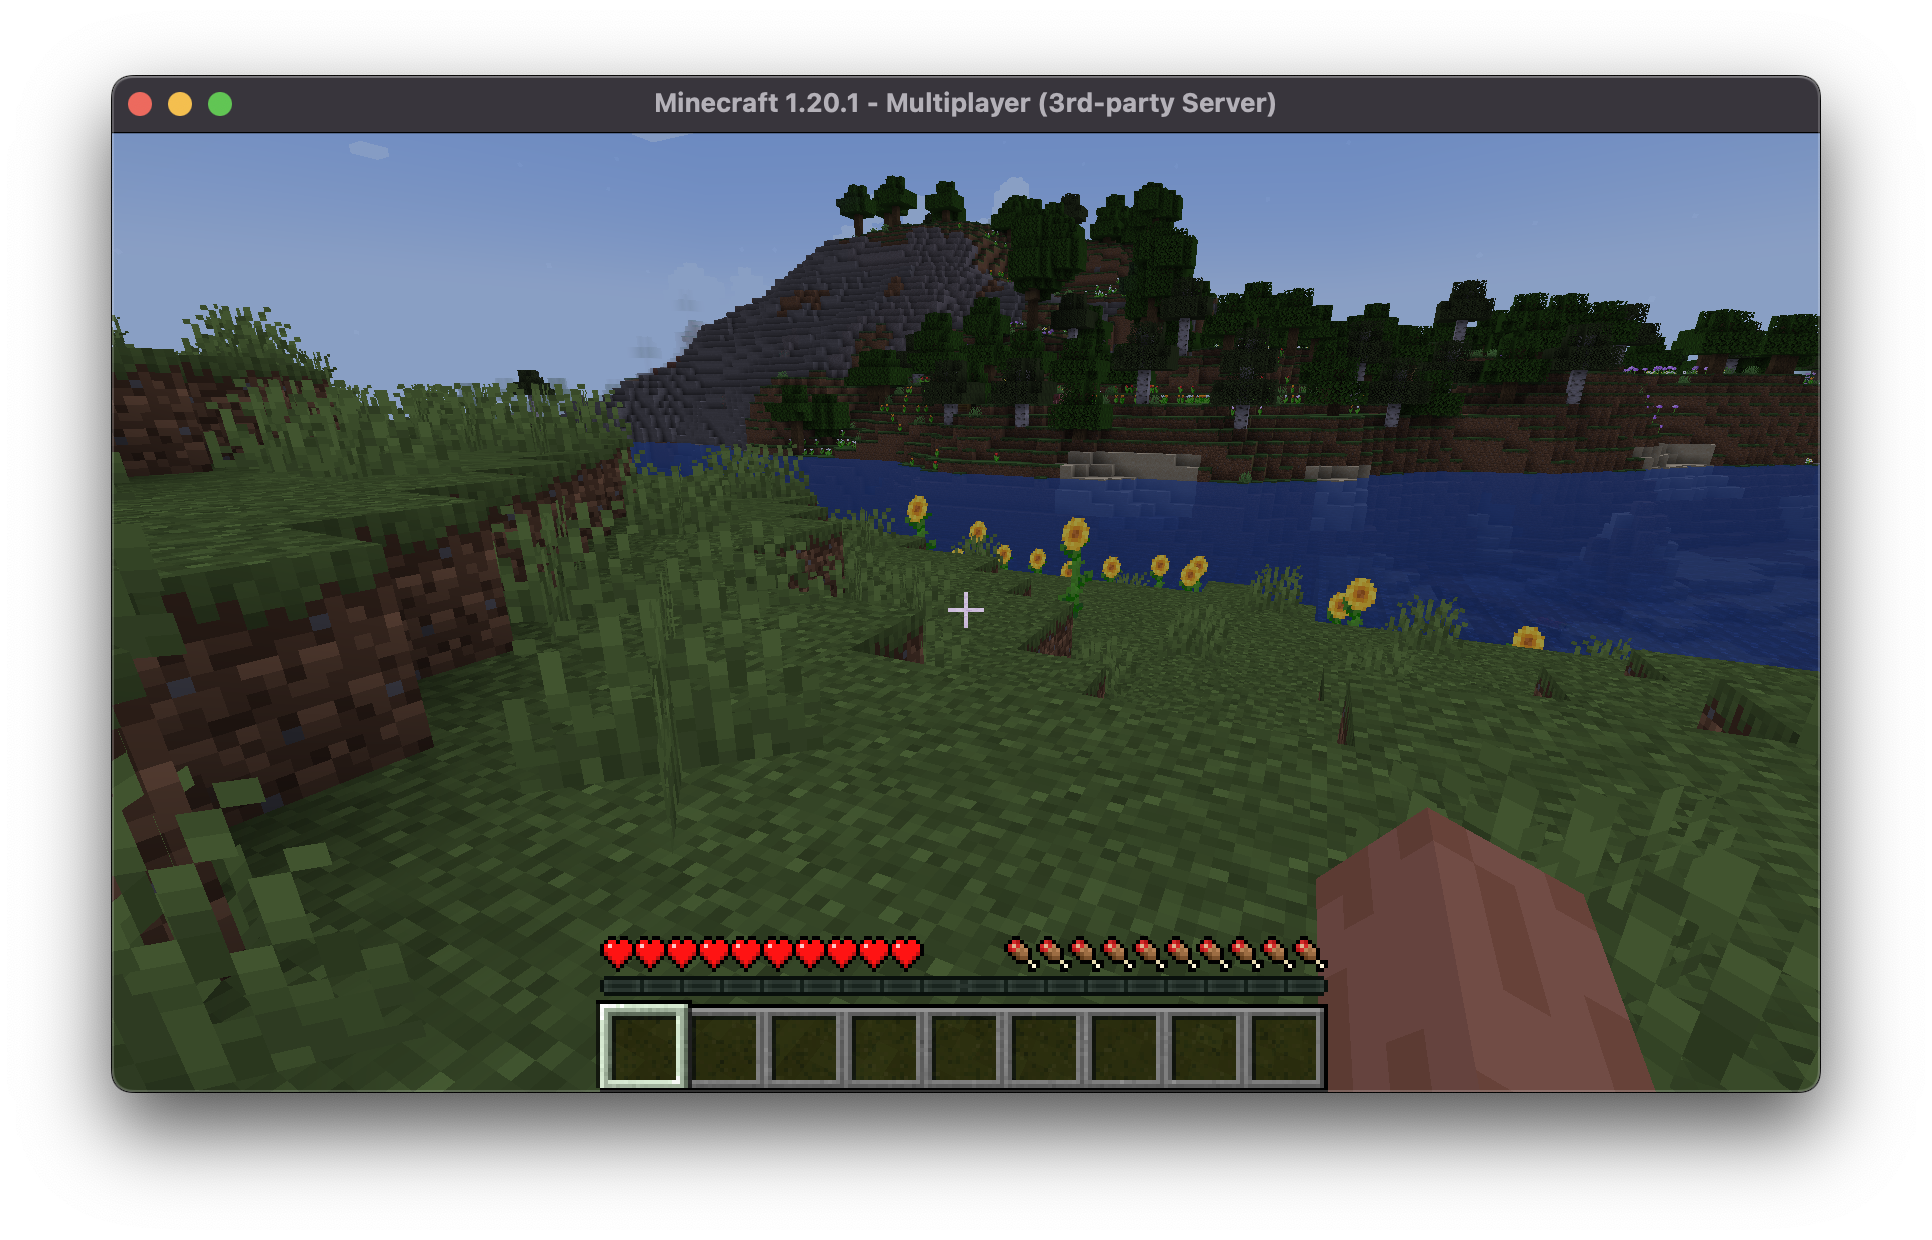
Now, we can connect to the Minecraft server using the IP address we just got:
Housekeeping
To clean up the resources we created, we can run the following command:
pulumi destroy
This will destroy all the resources we created.
Conclusion
We saw how easy it is to use Pulumi to create infrastructure as code.
This time, we used the OVH Public Cloud and it was a breeze to create a Kubernetes cluster and deploy a Minecraft server on it.


