

Introduction
This blog article explains my work on the Pulumi connector for Port. This connector allows you to create and manage Pulumi stacks from Port.
It is not meant to run in production, but rather as a proof-of-concept and a base for any further integration from Pulumi to Port.
What is Port?

Port is a Developer Platform made to make life easier for developers and DevOps in an organization, by creating a single platform that acts as a single source of truth for all the infrastructure assets and operations existing in the organization's tech stack.
Port allows engineers to perform actions on these assets in a self-service fashion. From provisioning a dev environment, understanding who is the owner of a microservice, or any unique use case DevOps wants to self-serve and automate.
Head over to Port to learn more about the product.
What is Pulumi?
Pulumi is an open-source infrastructure-as-code tool for creating, deploying and managing cloud infrastructure. Pulumi works with traditional infrastructures like VMs, networks, and databases and modern architectures, including containers, Kubernetes clusters, and serverless functions. Pulumi supports dozens of public, private, and hybrid cloud service providers.
Prerequisites
If you want to follow along with this article, you need to have access to the following items:
An IDE or text editor of your choice
Golang SDK installed (1.20)
A free Pulumi Account and the CLI
An AWS account
Architecture Diagram
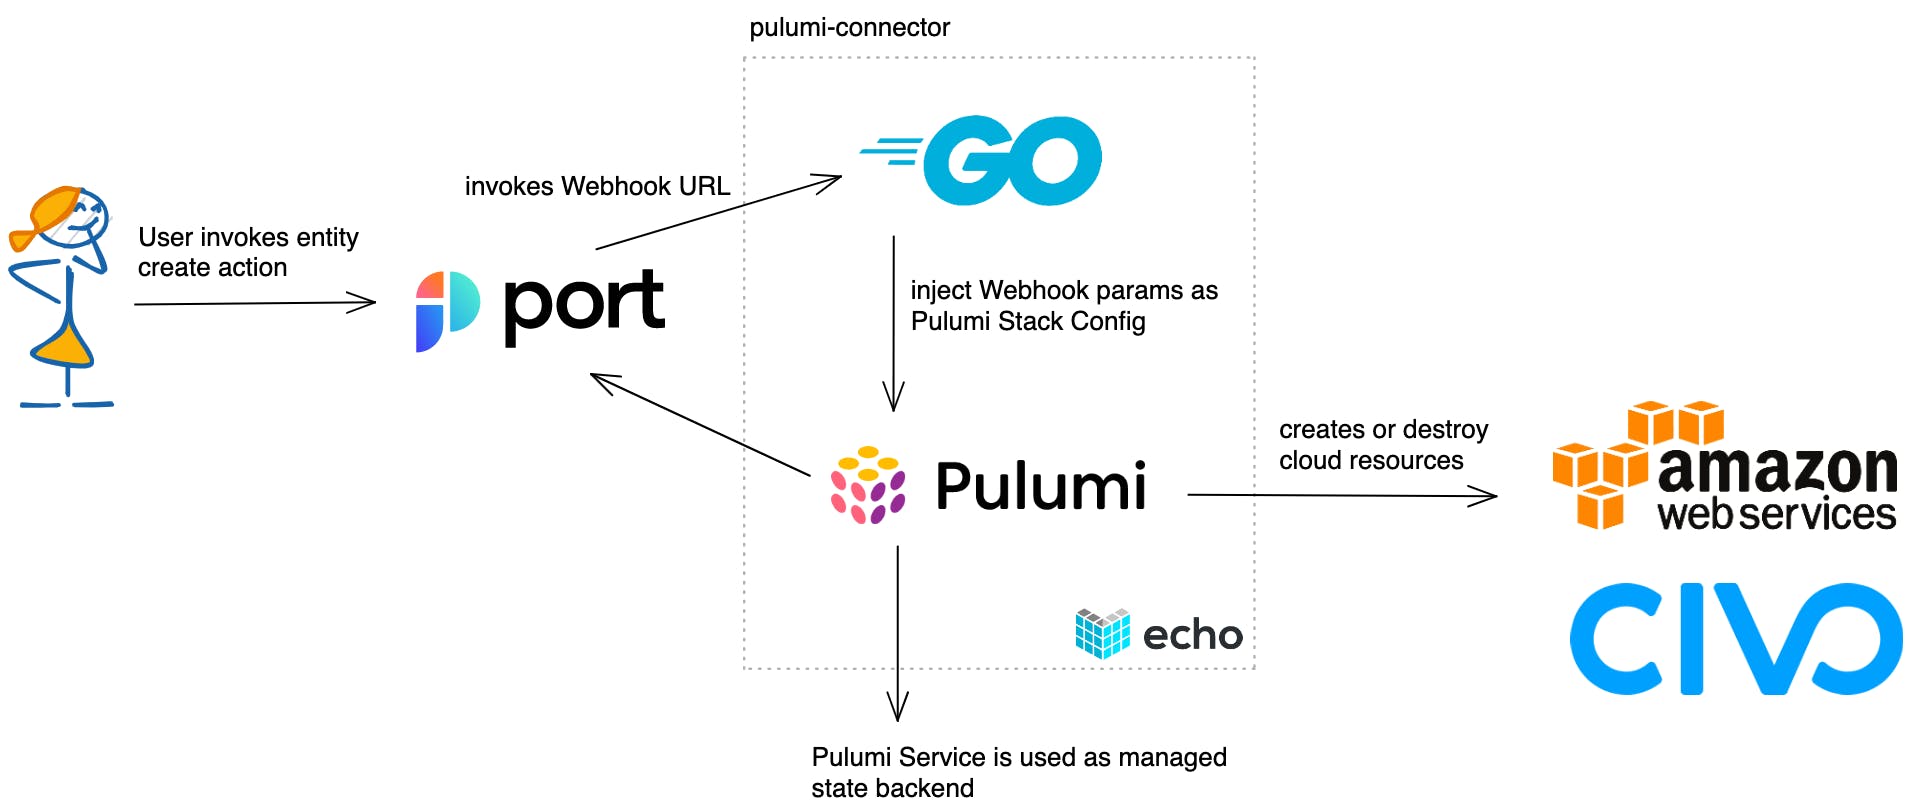
We will create a web server in Go, that will act as a webhook for Port. The web server itself uses the Echo web framework to facilitate the creation.
This service will then be called by Port, every time a user wants to self-service a resource from the service catalog. The service will implement Pulumi using the Pulumi Automation API.
But what is the Pulumi Automation API?

The Pulumi Automation API is a programmatic interface for running Pulumi programs without the Pulumi CLI. Conceptually, this can be thought of as encapsulating the functionality of the CLI (pulumi up, pulumi preview, pulumi destroy, pulumi stack init, etc.) but with more flexibility.
In our example, we will create AWS S3 buckets and Civo Kubernetes clusters. The state of these resources will be stored in the Pulumi SaaS backend. So we don't need to worry about the handling of state files and how to store them correctly.
Getting Started
To allow Port to access our web server we need to expose it to the internet. In this article, we will use ngrok, but you can use any other tool with similar functionality.
Run the following command to expose the web server on port 8080:
ngrok http 8080
You should see something like this:
ngrok                                                                                                                                                                   (Ctrl+C to quit)

We added a plan for ngrok hobbyists @ https://ngrok.com/personal

Session Status                online
Account                       Engin Diri (Plan: Free)
Version                       3.1.1
Region                        Europe (eu)
Latency                       31ms
Web Interface                 http://127.0.0.1:4040
Forwarding                    https:/xxx.eu.ngrok.io -> http://localhost:8080

Connections                   ttl     opn     rt1     rt5     p50     p90
                              84      0       0.00    0.00    4.94    4.97
Note: The "Forwarding URL", we will need it later.
The next step is to run the web server as a container. You can either use ko with the following command to build the container image:
ko build .
Or run the following command, to run a pre-built image:
docker run \
  -e PORT_CLIENT_ID=<PORT_CLIENT_ID> \
  -e PORT_CLIENT_SECRET=<PORT_CLIENT_SECRET> \
  -e AWS_ACCESS_KEY_ID=<AWS_ACCESS_KEY_ID> \
  -e AWS_SECRET_ACCESS_KEY=<AWS_SECRET_ACCESS_KEY> \
  -e CIVO_TOKEN=<CIVO_TOKEN> \
  -e PULUMI_ACCESS_TOKEN=<PULUMI_ACCESS_TOKEN> \
  -e DEBUG=true \
  -p 8080:8080 \
  -it ghcr.io/dirien/pulumi-connector:latest
We pass all credentials via environment variable to the running container! For now, we need these variables:
| Variable | Description |
| PORT_CLIENT_ID | The Port client ID |
| PORT_CLIENT_SECRET | The Port client secret |
| AWS_ACCESS_KEY_ID | The AWS access Key ID |
| AWS_SECRET_ACCESS_KEY | The AWS secret access key |
| CIVO_TOKEN | The Civo Token |
| PULUMI_ACCESS_TOKEN | The Pulumi access token |
| DEBUG | If you want to see some debug logs |
Now with the web server running, we can create the so-called Blueprint in Port! But what is a blueprint?
A Blueprint is the generic building block in Port. It represents assets that can be managed in Port, such as Microservice, Environments, Packages, Clusters, Databases, and many more.
Blueprints are completely customizable, and they support any number of properties the user chooses, all of which can be modified as you go.
The creation of a Blueprint can be done by either using the Pulumi Port provider or the Port UI. In this article, I will use the Port UI.
If you want to know more about Port Blueprints, check out the Port documentation.
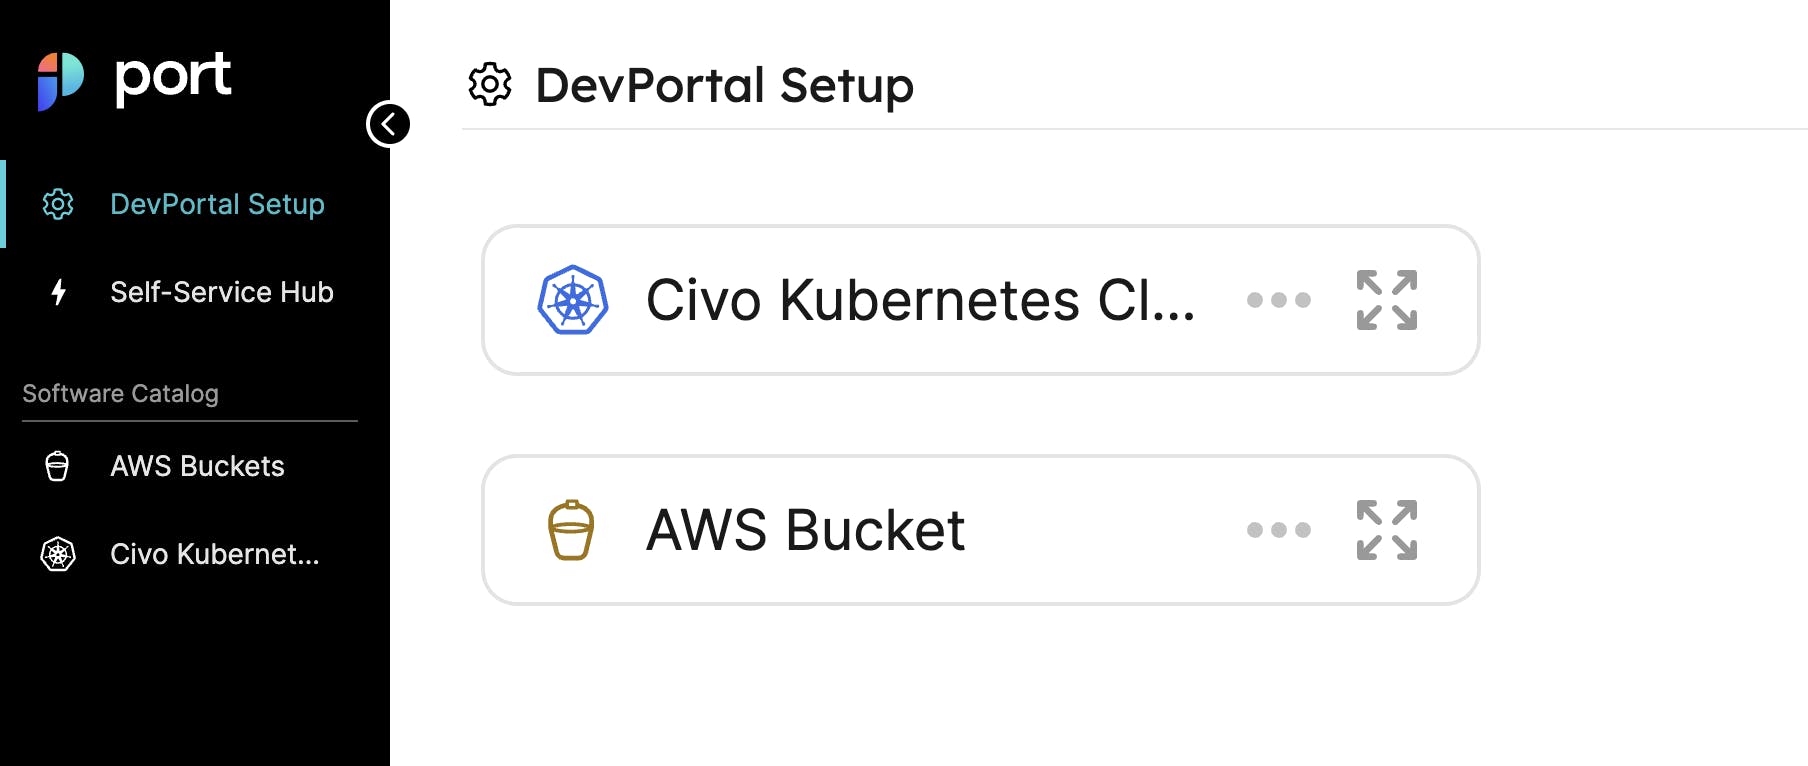
Go to the DevPortal Setup page in Port and click on the Create Blueprint button.
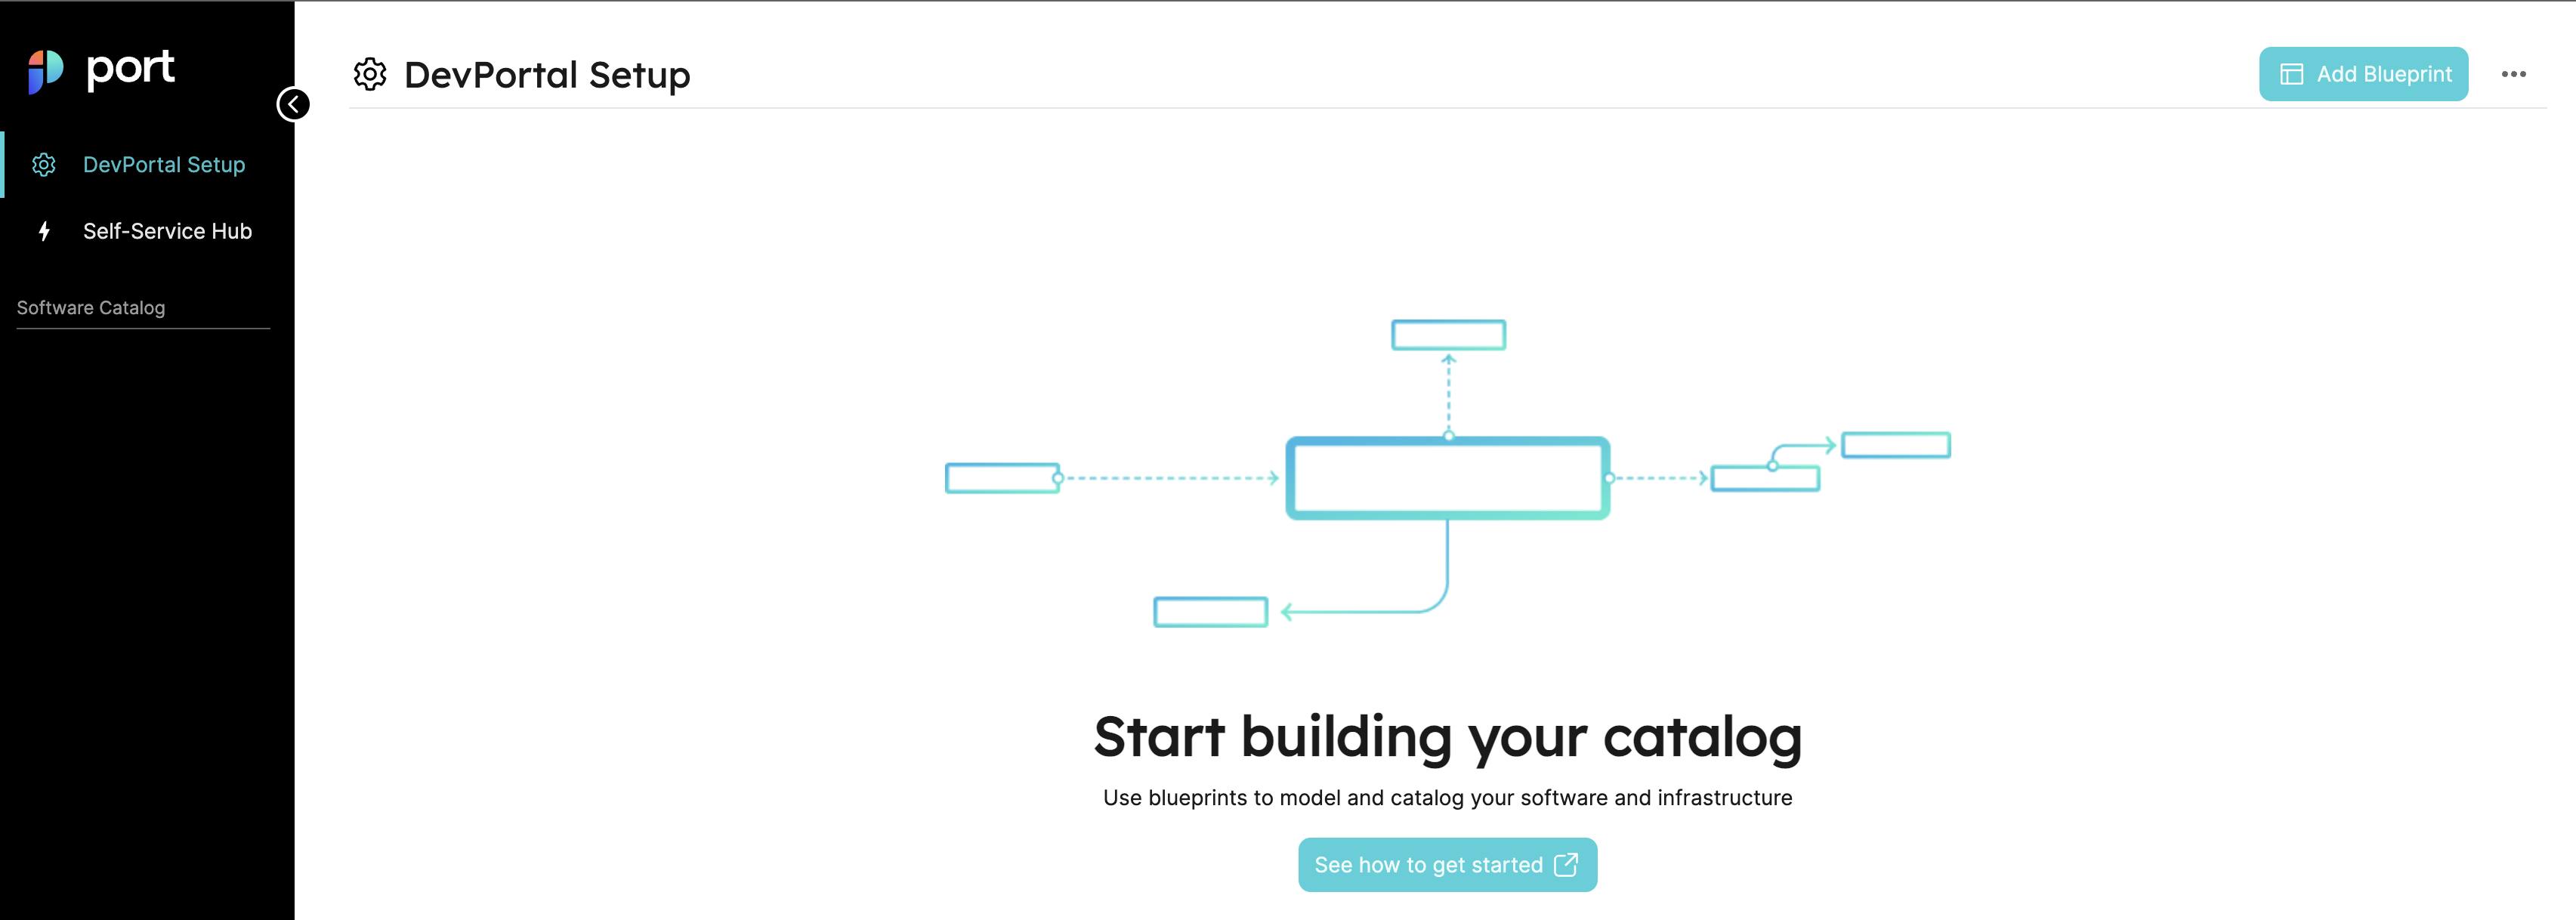
You should see a dialogue similar to this:
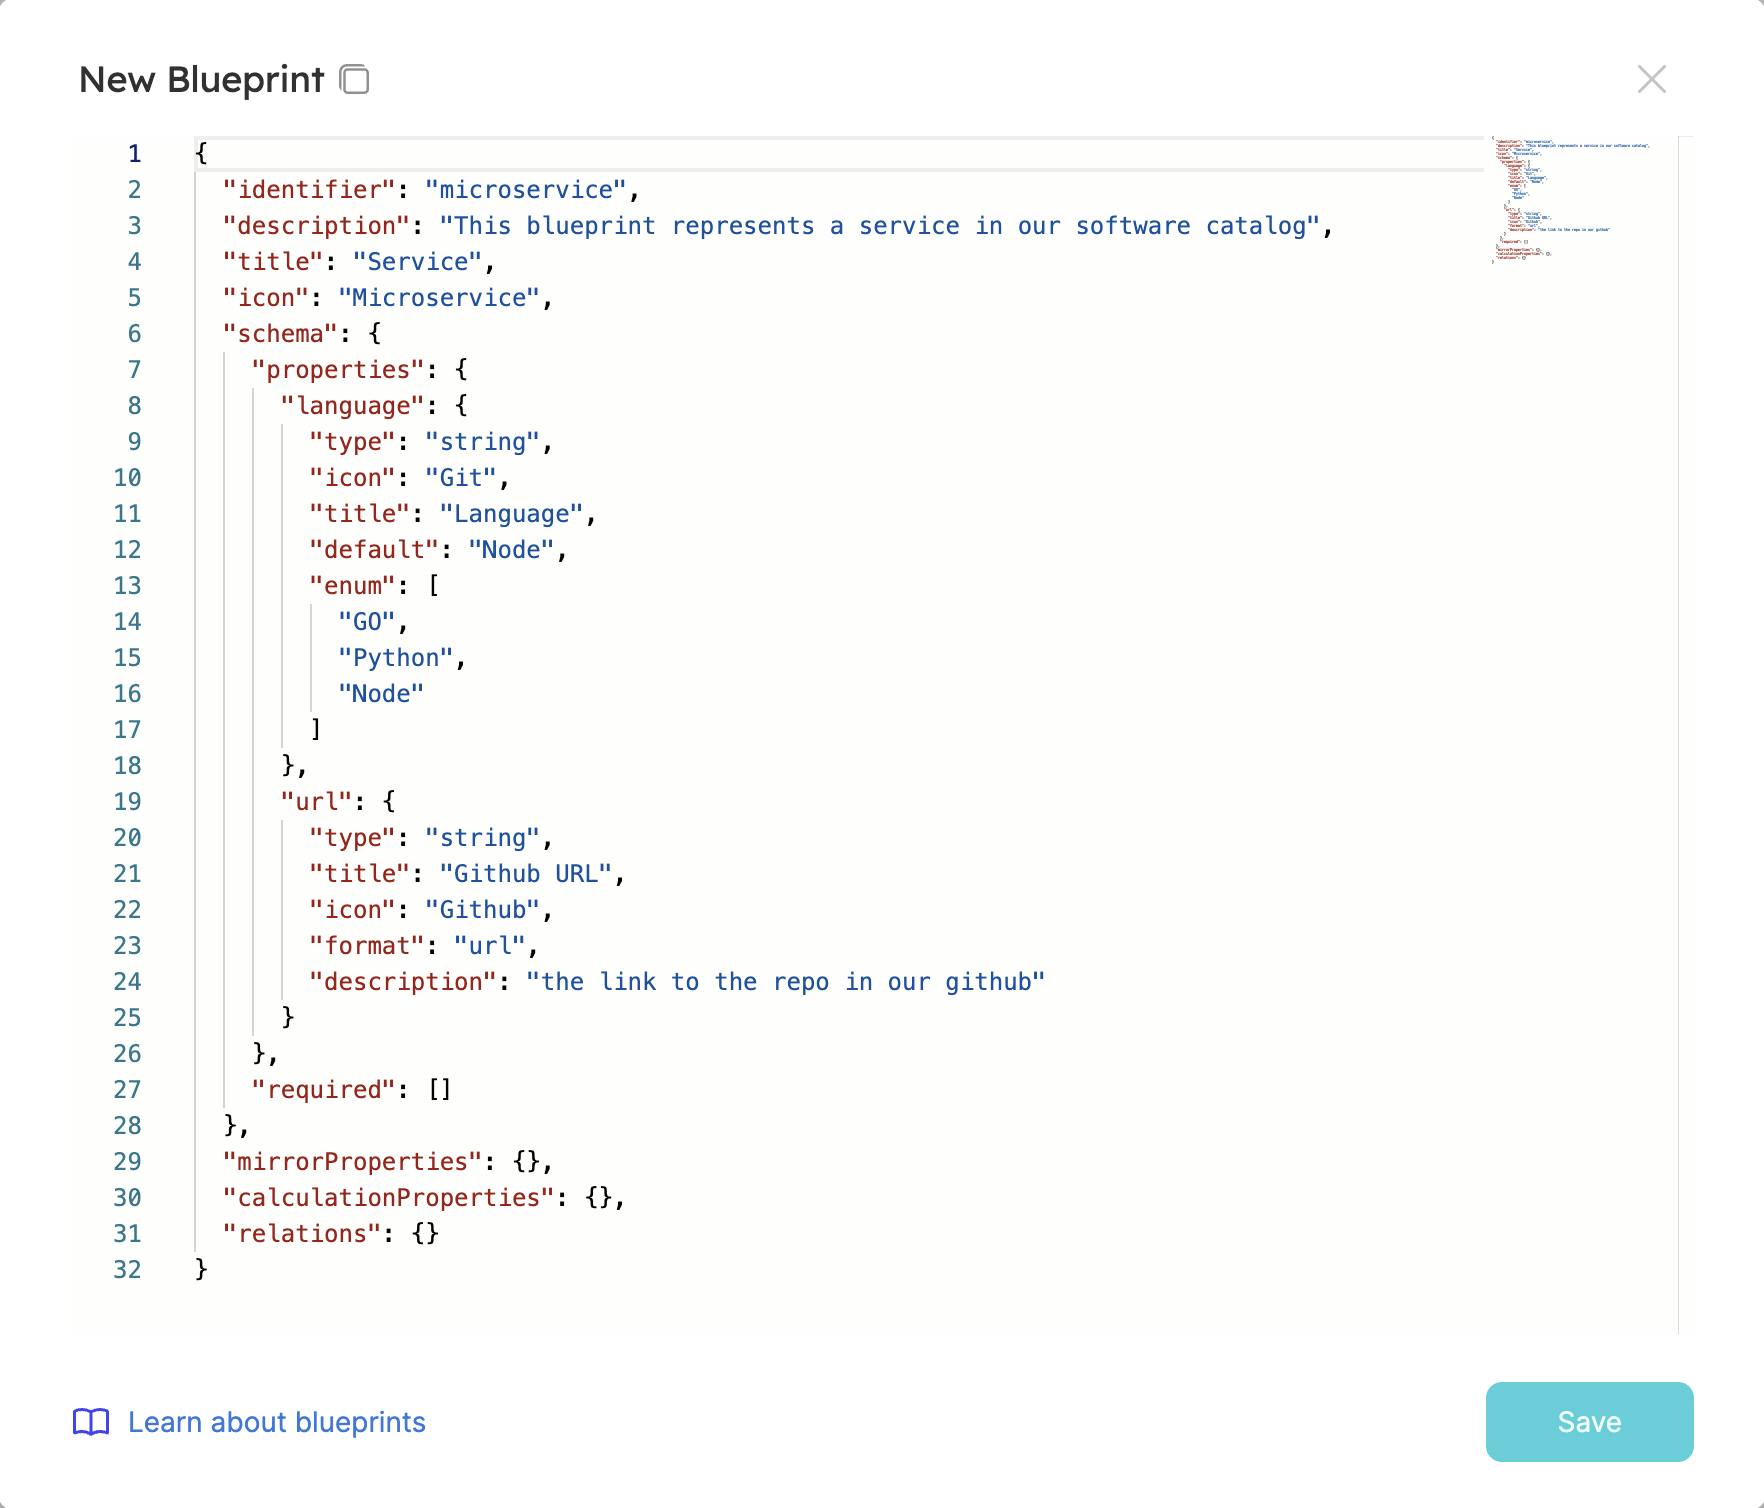
Remove the example and paste this Blueprint for the S3 bucket creation:
{
  "identifier": "s3_bucket",
  "title": "AWS Bucket",
  "icon": "Bucket",
  "schema": {
    "properties": {
      "url": {
        "type": "string",
        "title": "URL",
        "format": "url"
      },
      "bucket_name": {
        "type": "string",
        "title": "Bucket Name"
      },
      "bucket_acl": {
        "type": "string",
        "title": "Bucket ACL",
        "default": "private"
      },
      "tags": {
        "type": "object",
        "title": "Tags"
      },
      "region": {
        "type": "string",
        "title": "The AWS region to deploy to",
        "default": "eu-central-1"
      }
    },
    "required": [
      "url",
      "bucket_name"
    ]
  },
  "mirrorProperties": {},
  "calculationProperties": {},
  "relations": {}
}
You can create as much as properties as you want. In this example, we will use the following properties: url, bucket_name, bucket_acl, tags and region.
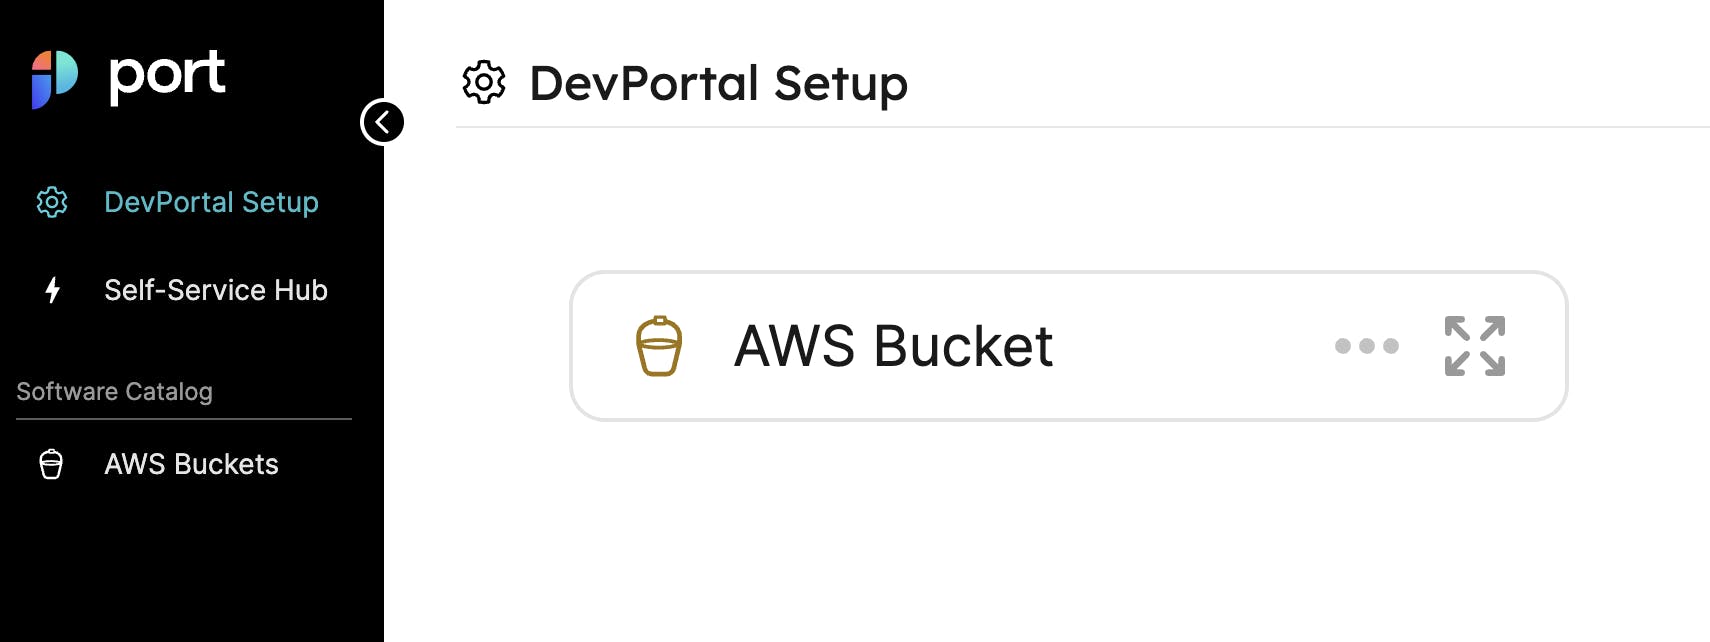
Press the Save button, and you should see a new catalog entry!
Now we can create actions for the Blueprint. Select your Blueprint and click on the Actions button in the dropdown menu.
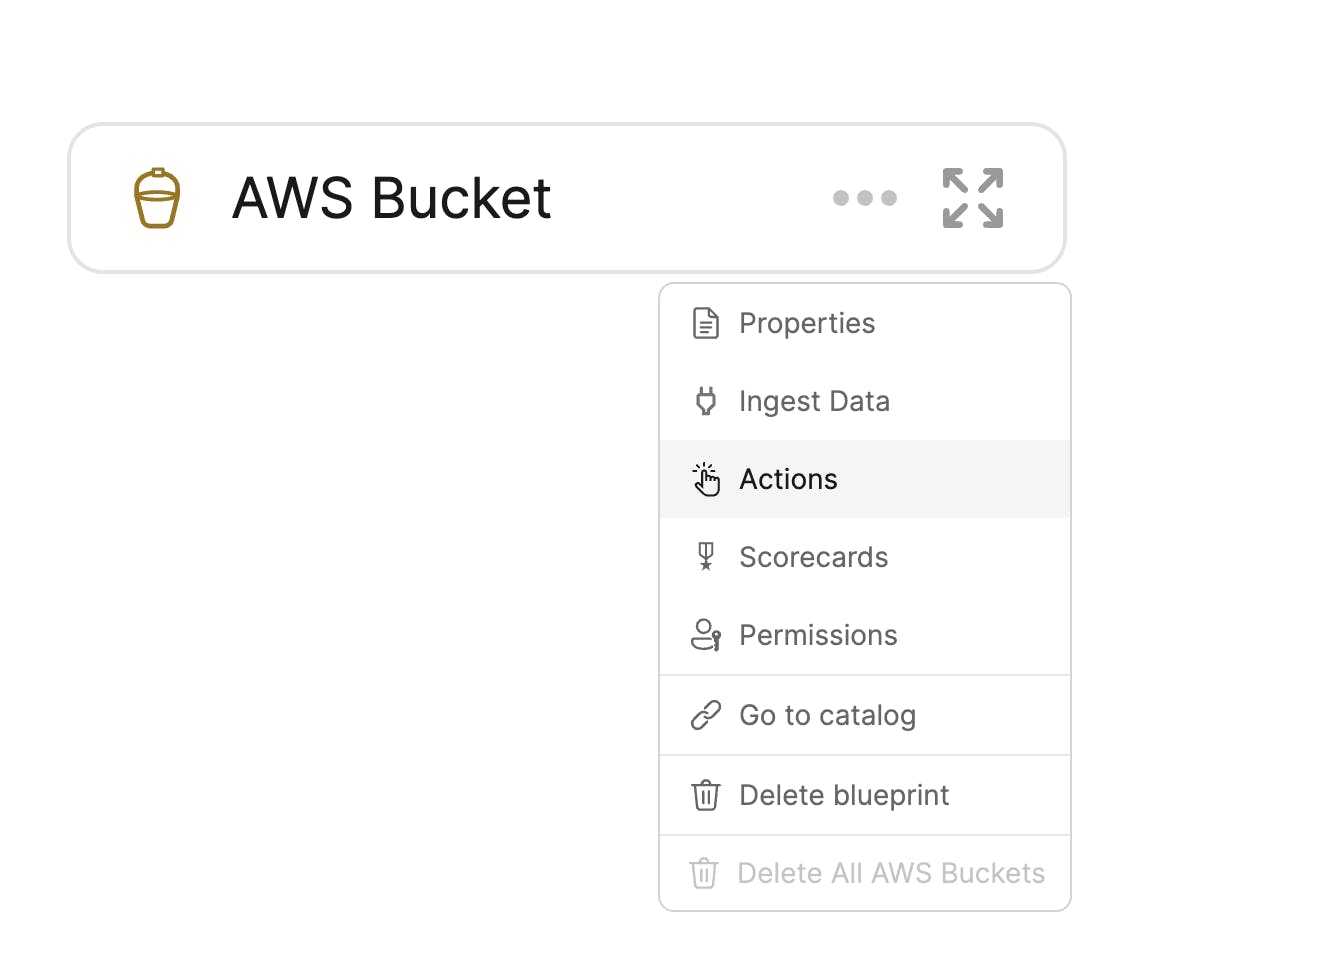
Then paste the following JSON into the dialog:
Note: You need to replace the with the forwarding URL from ngrok.
[
  {
    "identifier": "create_bucket",
    "title": "Create Bucket",
    "icon": "Bucket",
    "userInputs": {
      "properties": {
        "bucket_name": {
          "type": "string",
          "title": "Name for the S3 bucket"
        },
        "region": {
          "type": "string",
          "title": "The AWS region to deploy to",
          "default": "eu-central-1"
        },
        "tags": {
          "type": "object",
          "title": "Tags",
          "default": {}
        }
      },
      "required": [
        "bucket_name"
      ]
    },
    "invocationMethod": {
      "type": "WEBHOOK",
      "url": "<your ngrok forwarding URL>"
    },
    "trigger": "CREATE",
    "description": "Create a new S3 Bucket in AWS"
  }
]
Now we can test our action. Go to the AWS Bucket service catalog and click on the Create Bucket action.
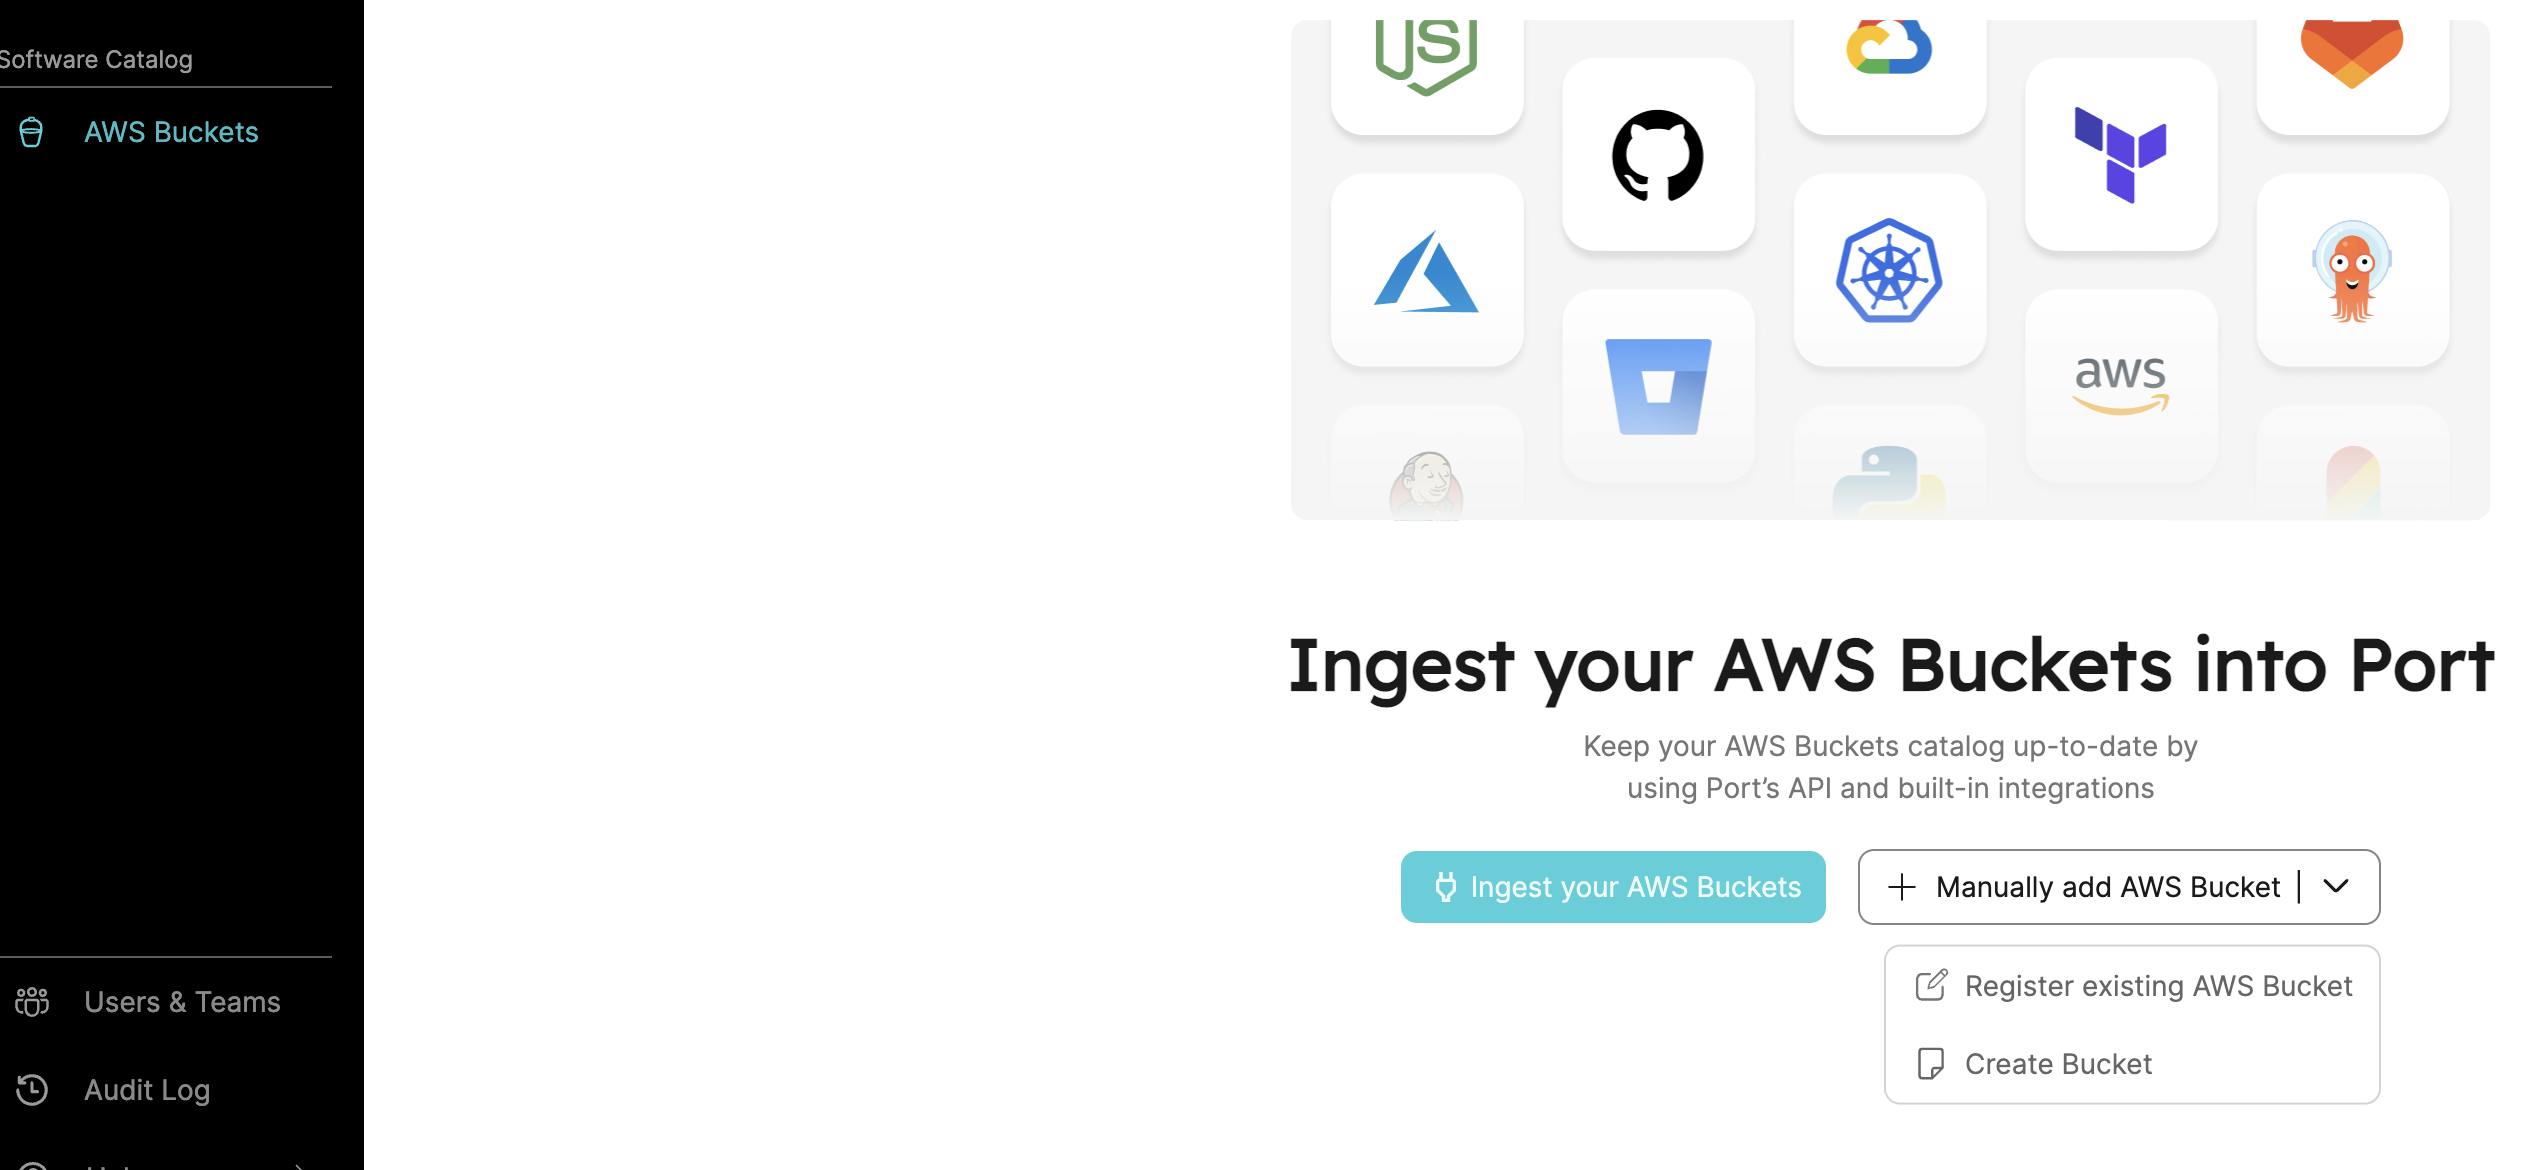
Fill in the Bucket Name and Region and if needed the Tags and click on the Create button. You should see after a while the bucket created and listed in the AWS Bucket service catalog.
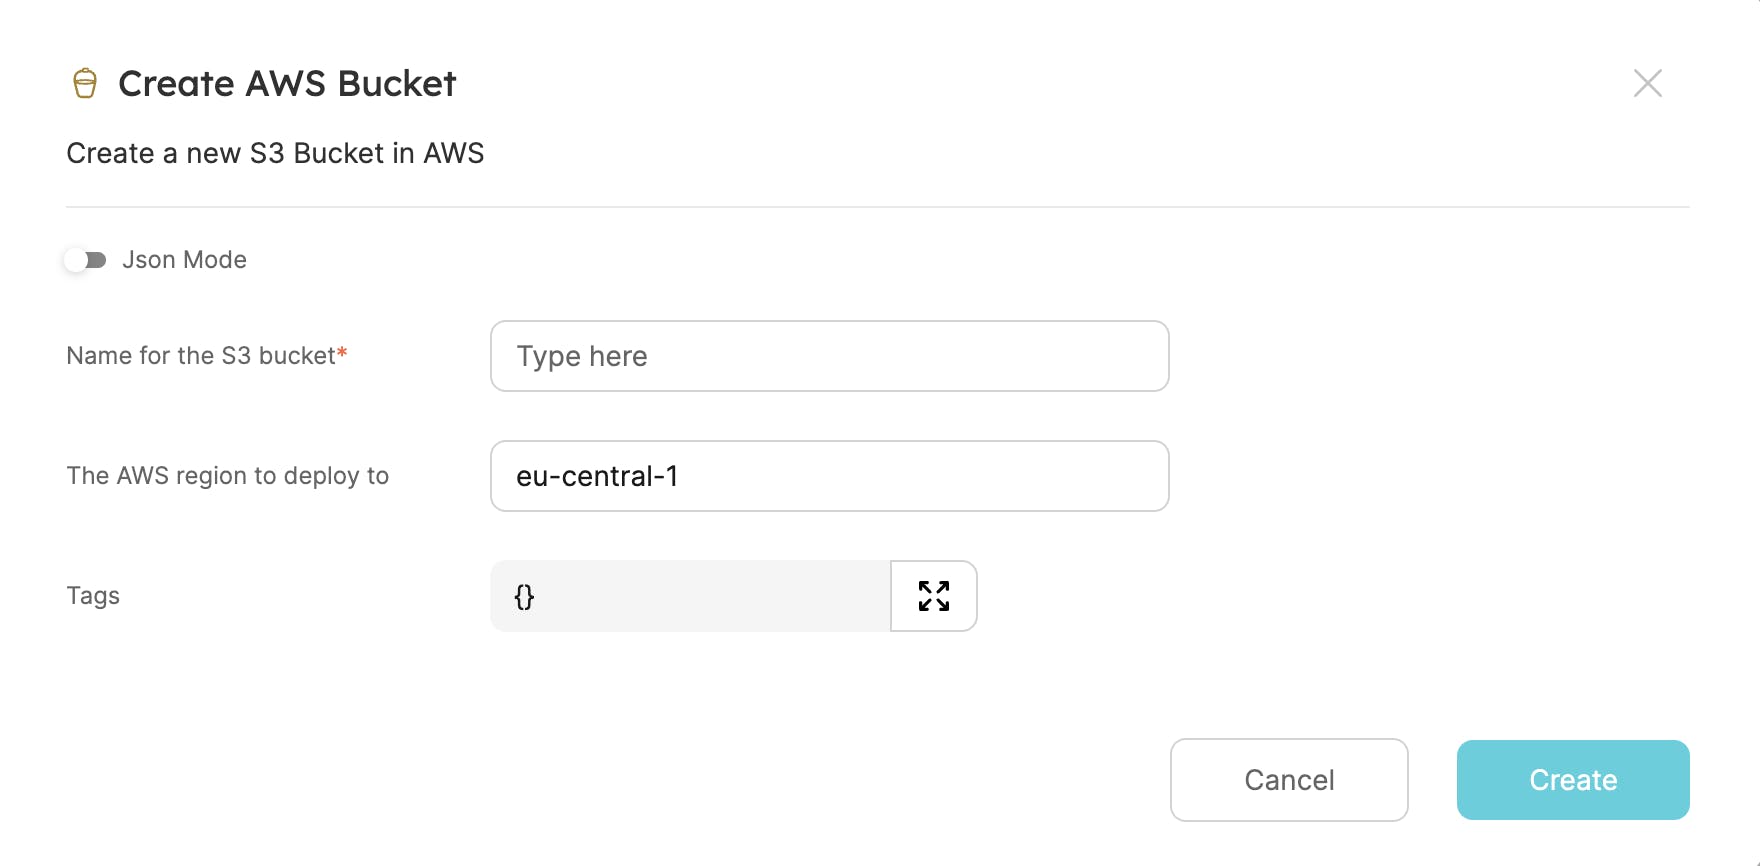
Click the Create button, and wait until your Bucket is ready

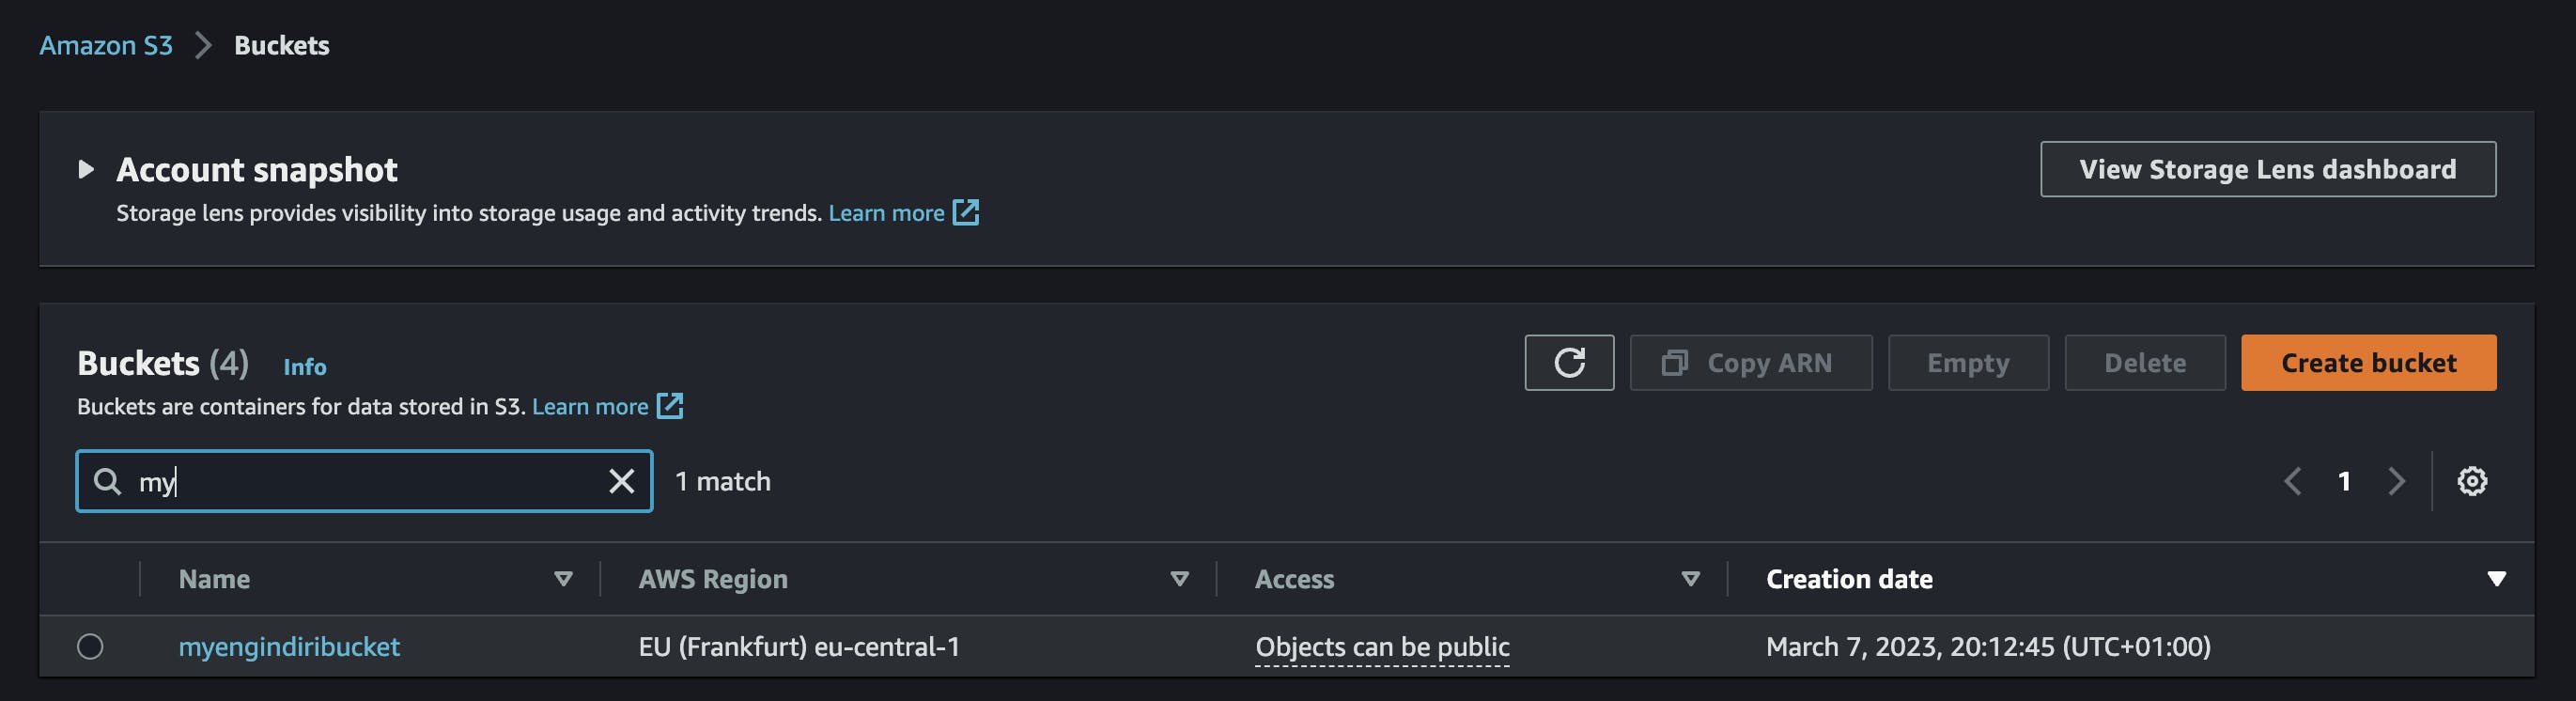
You can check the AWS console too:
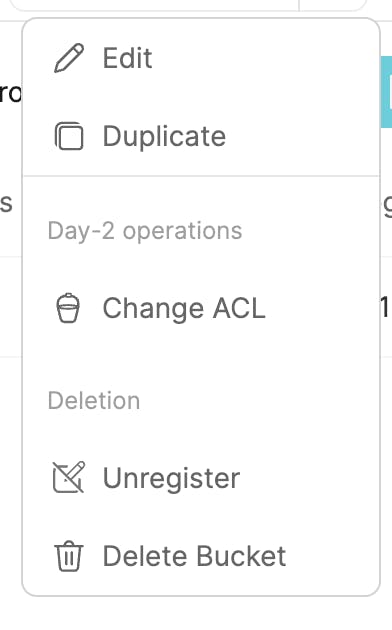
We can now add additional actions to our blueprint. For example, we can add an action to change the ACL of the bucket and delete the bucket. Add the following JSON to the Actions dialog:
[
  {
    "identifier": "change_acl",
    "title": "Change ACL",
    "icon": "Bucket",
    "userInputs": {
      "properties": {
        "bucket_acl": {
          "type": "string",
          "enum": [
            "private",
            "public-read"
          ],
          "title": "ACL"
        }
      },
      "required": [
        "bucket_acl"
      ]
    },
    "invocationMethod": {
      "type": "WEBHOOK",
      "url": "<your ngrok forwarding URL>"
    },
    "trigger": "DAY-2",
    "description": "Change S3 Bucket ACL"
  },
  {
    "identifier": "delete_bucket",
    "title": "Delete Bucket",
    "icon": "Bucket",
    "userInputs": {
      "properties": {},
      "required": []
    },
    "invocationMethod": {
      "type": "WEBHOOK",
      "url": "<your ngrok forwarding URL>"
    },
    "trigger": "DELETE",
    "description": "Delete an S3 Bucket from AWS"
  }
]
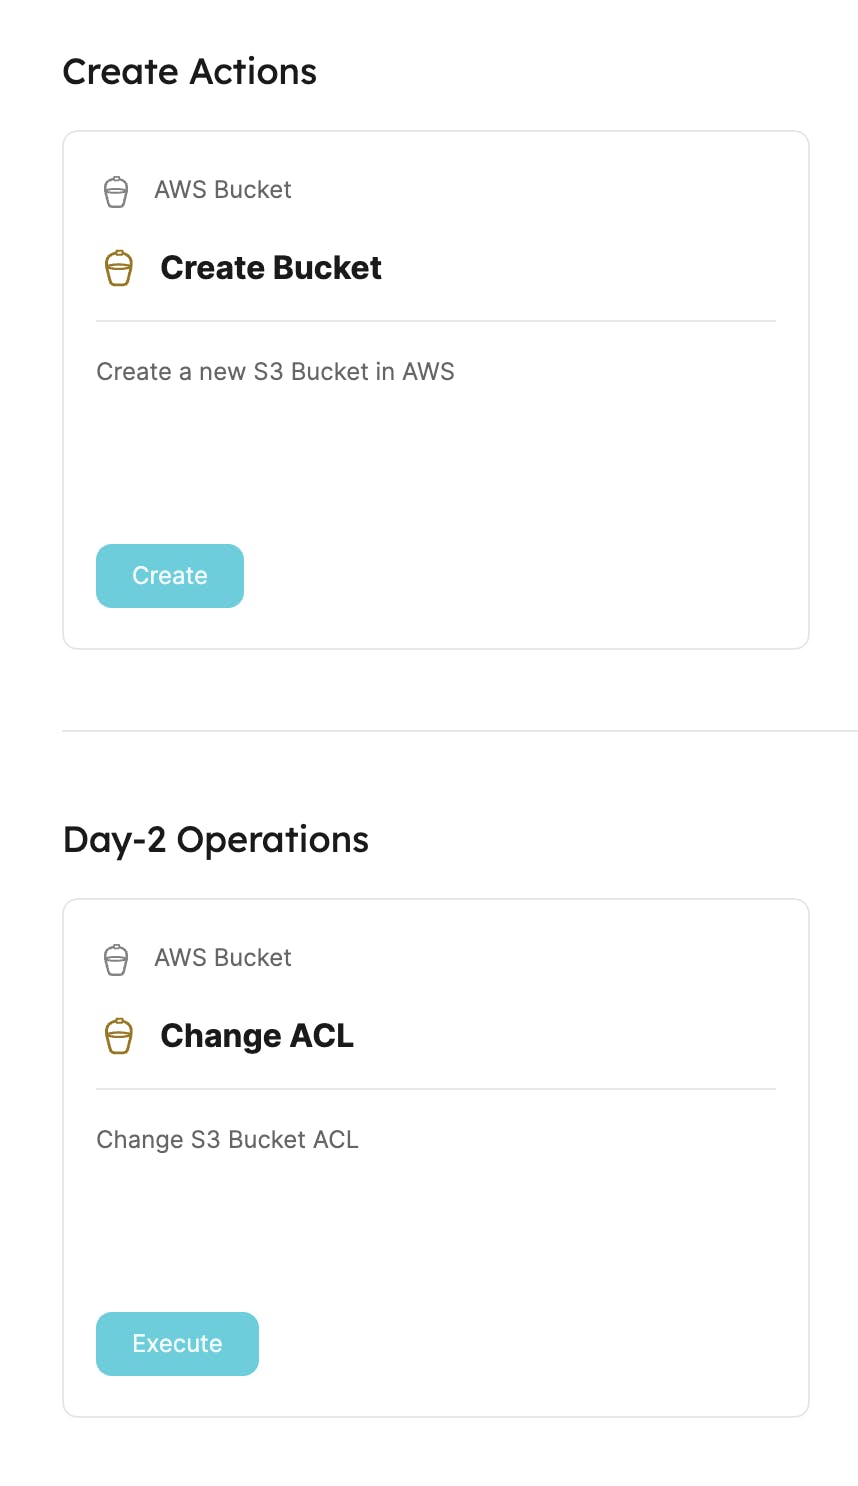
The Self-Service Hub should have now the action listed
We can test these new actions by deleting the bucket. Click on the Delete Bucket action and after a while, the bucket should be deleted.
Same for the Civo Kubernetes Cluster blueprint. Copy the following JSON and paste it in the New Blueprint dialog:
{
  "identifier": "civo_cluster",
  "title": "Civo Kubernetes Cluster",
  "icon": "Cluster",
  "schema": {
    "properties": {
      "type": {
        "type": "string",
        "title": "The type of cluster to create, valid options are k3s or talos",
        "default": "k3s",
        "enum": [
          "k3s",
          "talos"
        ]
      },
      "cni": {
        "type": "string",
        "title": "The cni for the k3s to install valid options are cilium or flannel",
        "default": "flannel",
        "enum": [
          "cilium",
          "flannel"
        ]
      },
      "cluster_name": {
        "type": "string",
        "title": "Name of your cluster"
      },
      "region": {
        "type": "string",
        "title": "The Civo region to deploy to",
        "default": "LON1",
        "enum": [
          "NYC1",
          "FRA1",
          "LON1",
          "PHX1"
        ]
      },
      "kconfig": {
        "title": "The kconfig file",
        "type": "string",
        "description": "The kubeconfig file for the cluster"
      },
      "count": {
        "type": "string",
        "title": "Number of nodes in the nodepool",
        "default": "1",
        "enum": [
          "1",
          "2",
          "3"
        ]
      },
      "size": {
        "type": "string",
        "title": "Size of the nodes in the nodepool",
        "default": "g4s.kube.medium"
      }
    },
    "required": [
      "cluster_name"
    ]
  },
  "mirrorProperties": {},
  "calculationProperties": {},
  "relations": {}
}
And same goes for the actions. Copy the following JSON and paste it in the Actions dialog:
[
  {
    "identifier": "create_civo_cluster",
    "title": "Create Civo Cluster",
    "icon": "Cluster",
    "userInputs": {
      "properties": {
        "type": {
          "type": "string",
          "title": "The type of cluster to create, valid options are k3s or talos",
          "default": "k3s",
          "enum": [
            "k3s",
            "talos"
          ]
        },
        "cni": {
          "type": "string",
          "title": "The cni for the k3s to install valid options are cilium or flannel",
          "default": "flannel",
          "enum": [
            "cilium",
            "flannel"
          ]
        },
        "cluster_name": {
          "type": "string",
          "title": "Name of your cluster"
        },
        "region": {
          "type": "string",
          "title": "The Civo region to deploy to",
          "default": "LON1",
          "enum": [
            "NYC1",
            "FRA1",
            "LON1",
            "PHX1"
          ]
        },
        "count": {
          "type": "string",
          "title": "Number of nodes in the nodepool",
          "default": "1",
          "enum": [
            "1",
            "2",
            "3"
          ]
        },
        "size": {
          "type": "string",
          "title": "Size of the nodes in the nodepool",
          "default": "g4s.kube.medium"
        }
      },
      "required": [
        "cluster_name"
      ]
    },
    "invocationMethod": {
      "type": "WEBHOOK",
      "url": "<your ngrok forwarding URL>"
    },
    "trigger": "CREATE",
    "description": "Create a new Civo Kubernetes Cluster"
  },
  {
    "identifier": "delete_civo_cluster",
    "title": "Delete Civo Cluster",
    "icon": "Cluster",
    "userInputs": {
      "properties": {},
      "required": []
    },
    "invocationMethod": {
      "type": "WEBHOOK",
      "url": "<your ngrok forwarding URL>"
    },
    "trigger": "DELETE",
    "description": "Delete a Civo Kubernetes Cluster"
  }
]
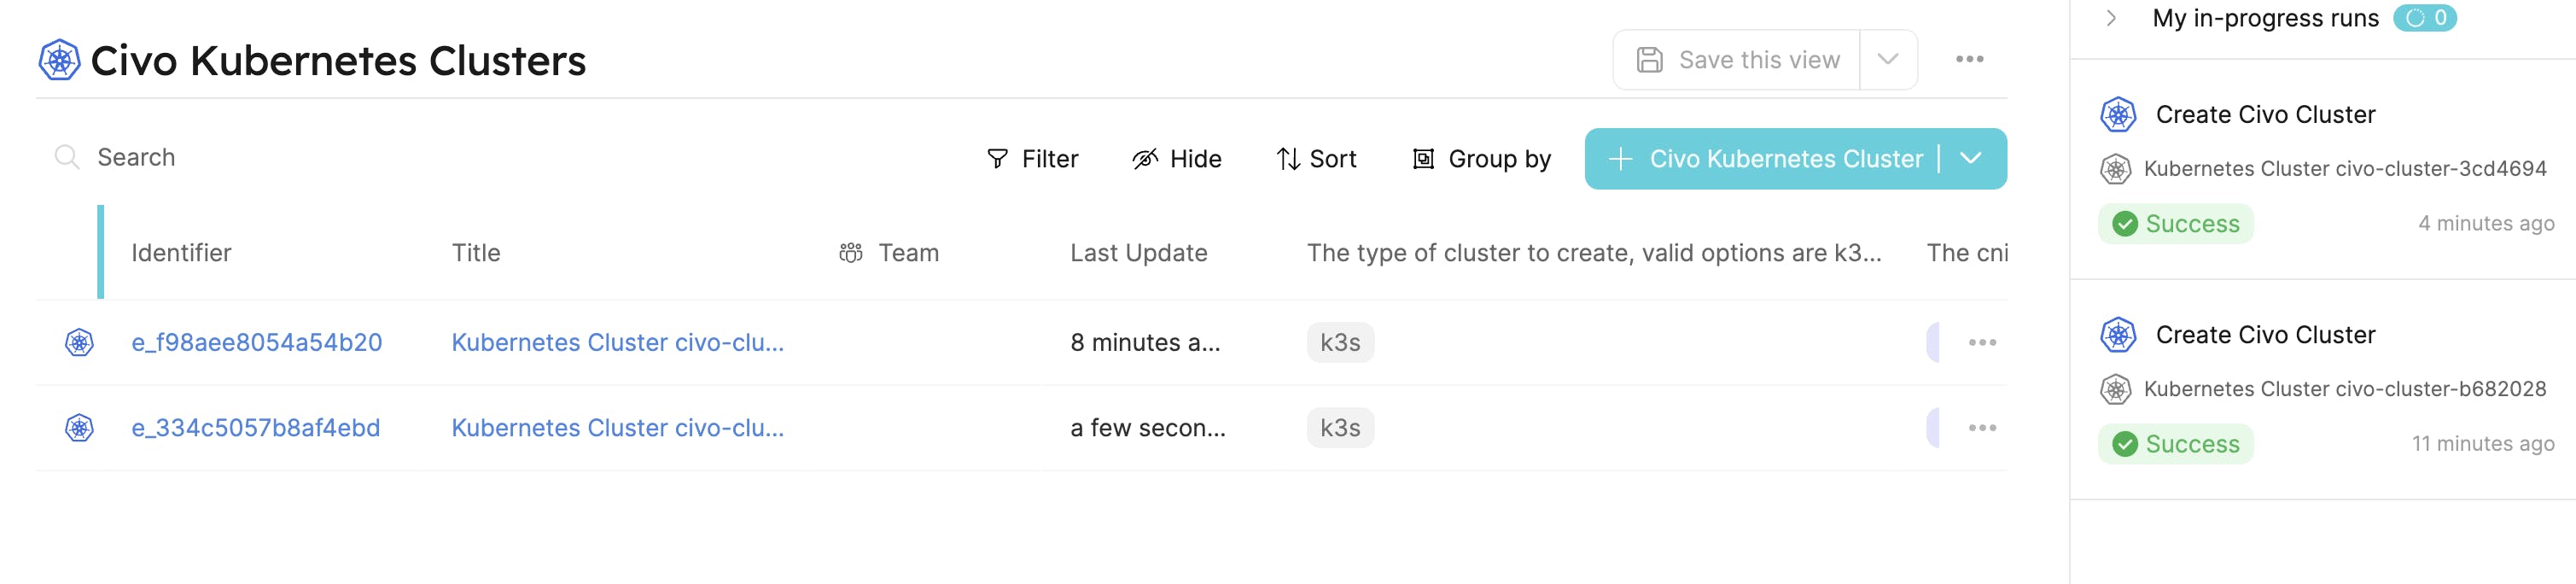
Again, we can test the blueprint by creating a new cluster. Click on the Create Civo Cluster action and fill in the required fields and choose your cluster settings.
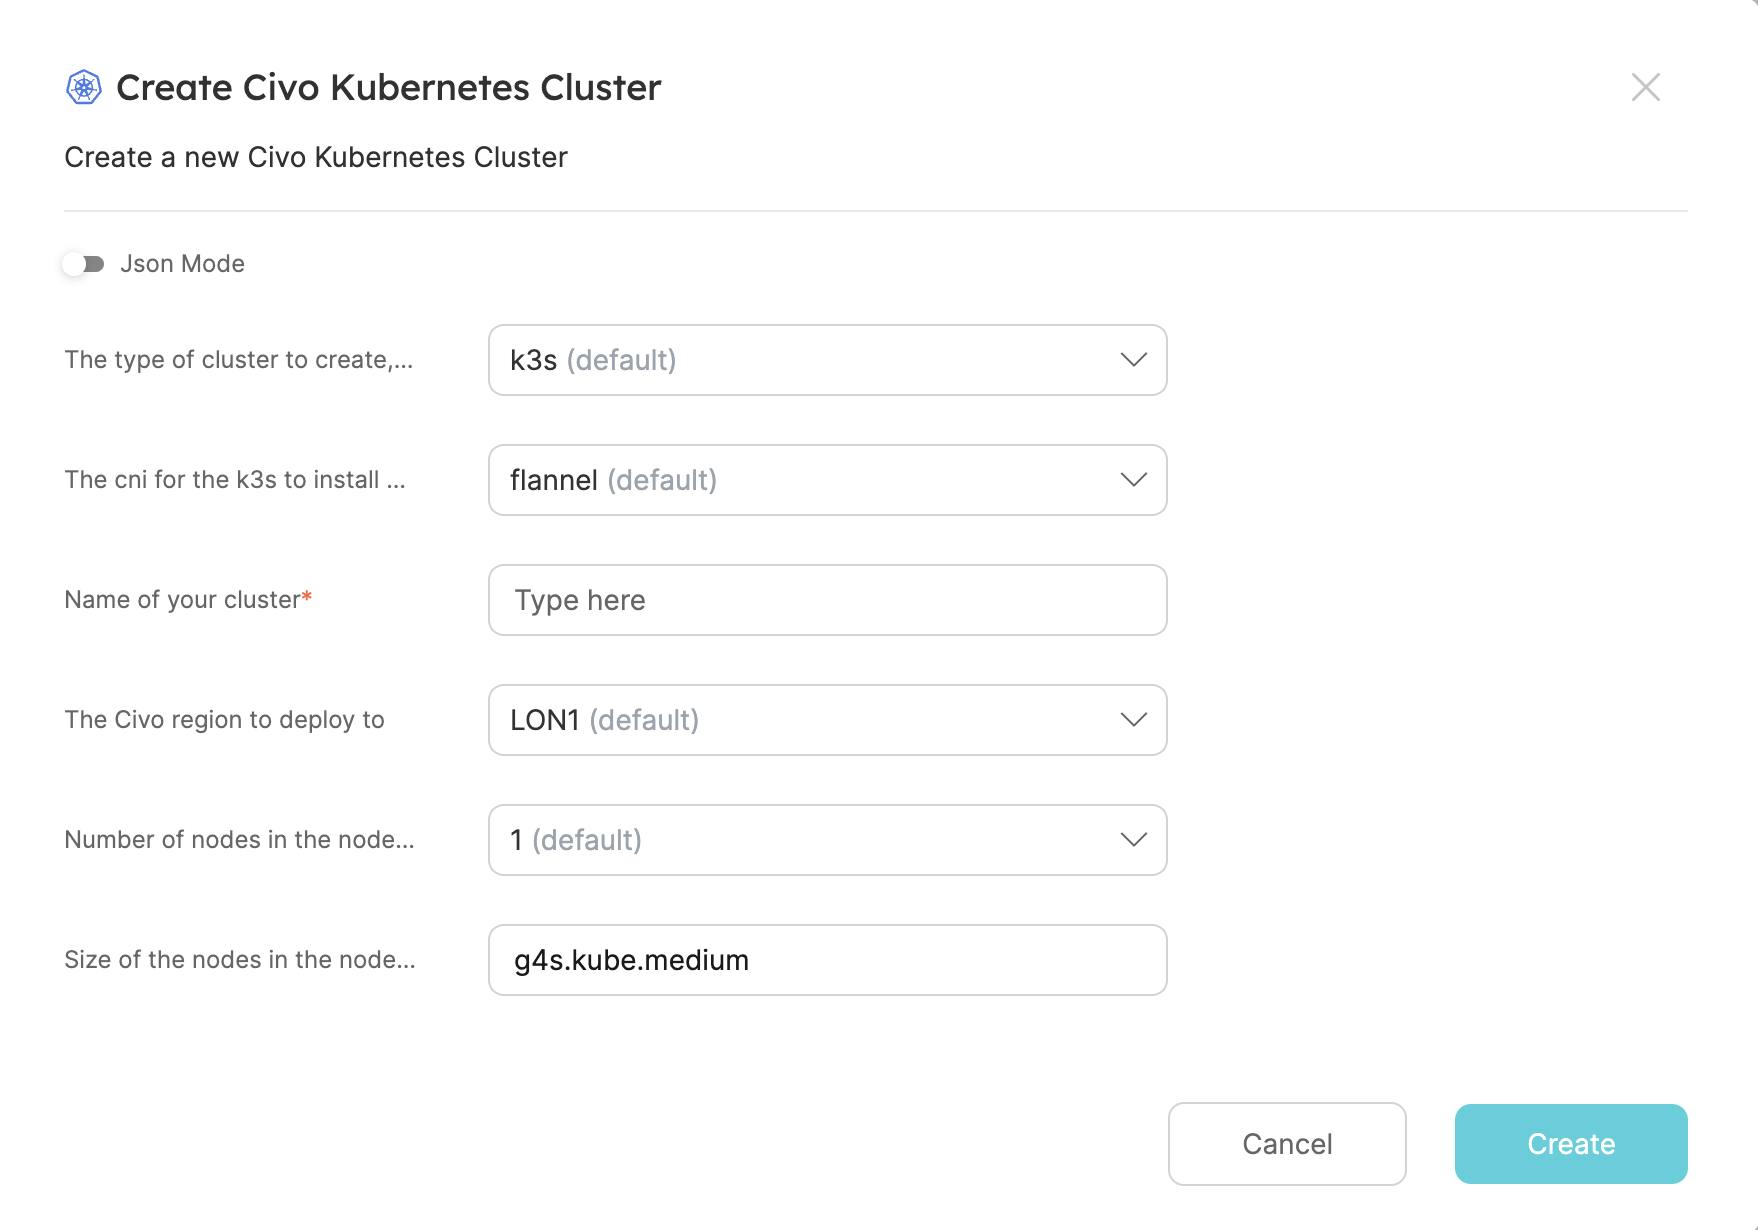
Click on Create and wait for the cluster to be created.
To delete the cluster, click on the Delete Civo Cluster action

Conclusion
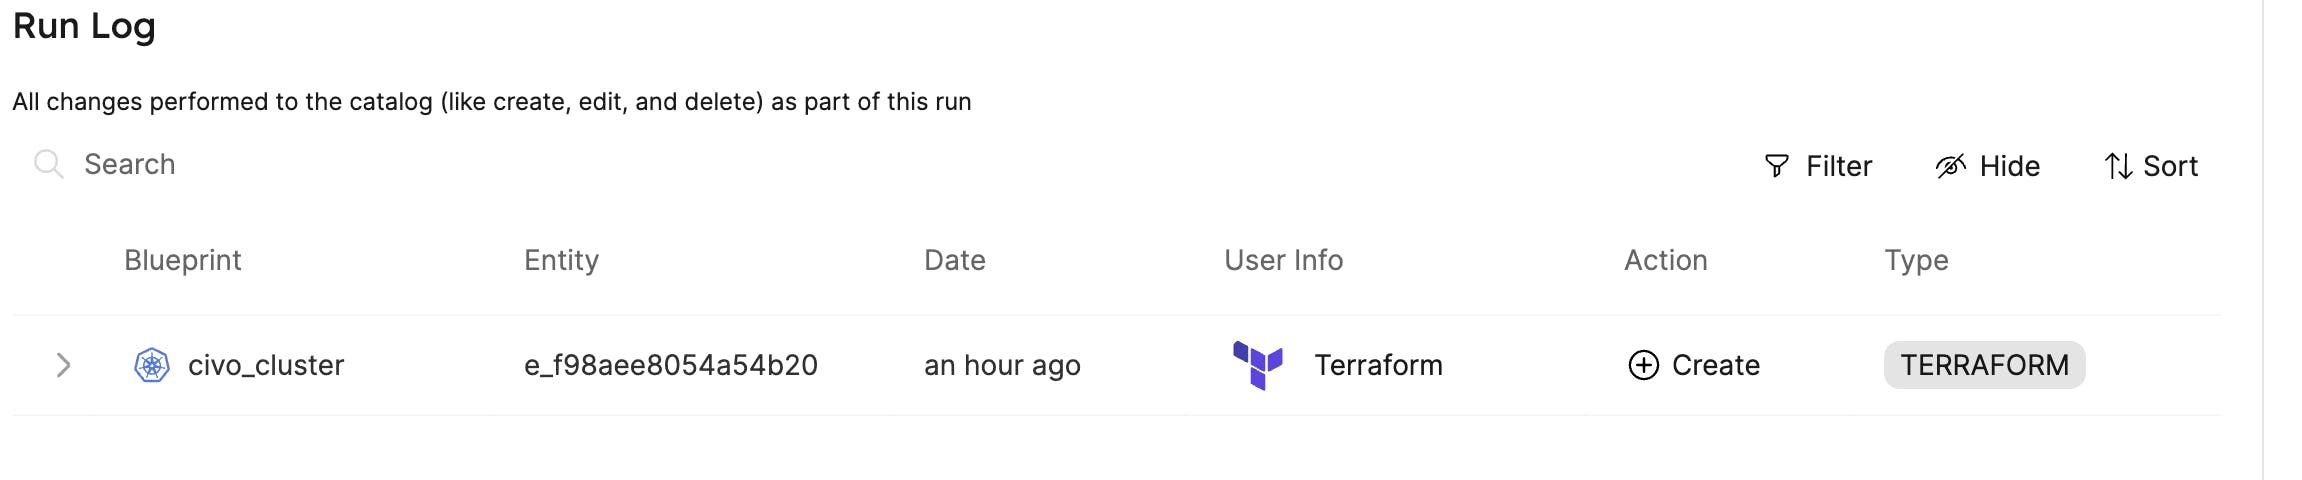
That's it, we managed to create an integration of Pulumi with Port. This is by far the end, I hope that I can donate my work to the development team of Port as a base or collaboration to enable better integration with Pulumi.
As you can see, there are places in the UI where it is still written Terraform